I never had any thought of growing any sort of grains in my garden until one day I went for a walk through the Sydney Botanic Gardens and ended up near the vegetable area. There they had rows of various types of grain growing in neat rows, including wheat, oats, barley and rye. The grain at that point was only about 30cm high, so I didn’t see any grain heads forming at that point. They just looked like long grasses (which I guess most grains are), but it piqued my interest enough to see whether it was possible to grow grain in a suburban setting.
The next time I needed to order seeds online, I looked for somewhere that also sells grain. I found a store that stocks Khorasan wheat, oats and rye, so I ordered a pack of each.
According to Wikipedia, “Khorasan wheat or Oriental wheat, commercially known as kamut, is a tetraploid wheat species. It is an ancient grain type; Khorasan refers to a historical region in modern-day Iran in the northeast and parts of Central Asia including modern-day Afghanistan. This grain is twice the size of modern-day wheat and is known for its rich, nutty flavor.”
It is supposed to be more nutritious than modern day wheat, less likely to cause inflammation associated with modern-day wheat, and is supposed to be a better option for those with gluten sensitivities. These all sounded like good traits, so I thought I would give it a try.
My goal was to see whether I could grow enough wheat to make a single loaf of bread.
Planting and growing
I planted out one of the veggie beds (roughly 1.8m x 1.8m) with the Khorasan wheat. I planted it in rows, however I think I could have improved my yield by spreading the seeds evenly throughout the bed.
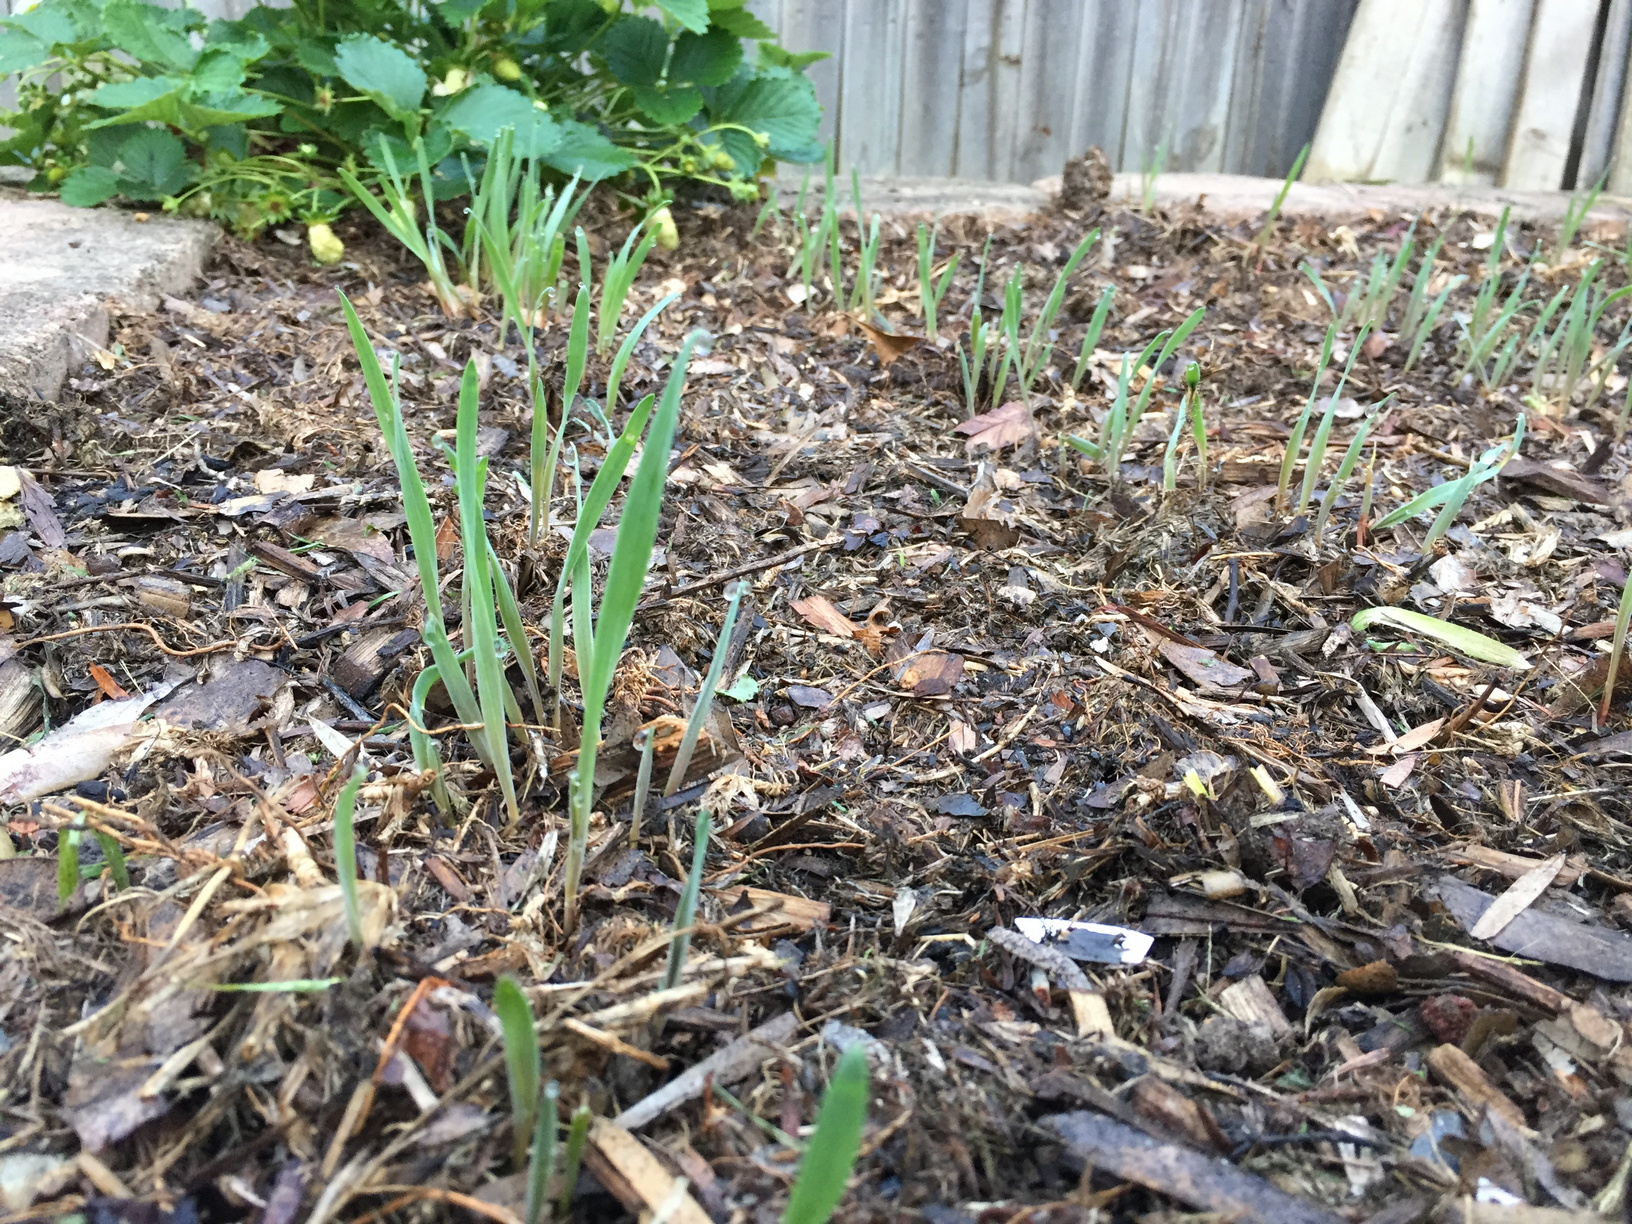
A few days later, I saw the first shoots coming up.
It begins! Wheat sprouts, roughly 1 week after planting.
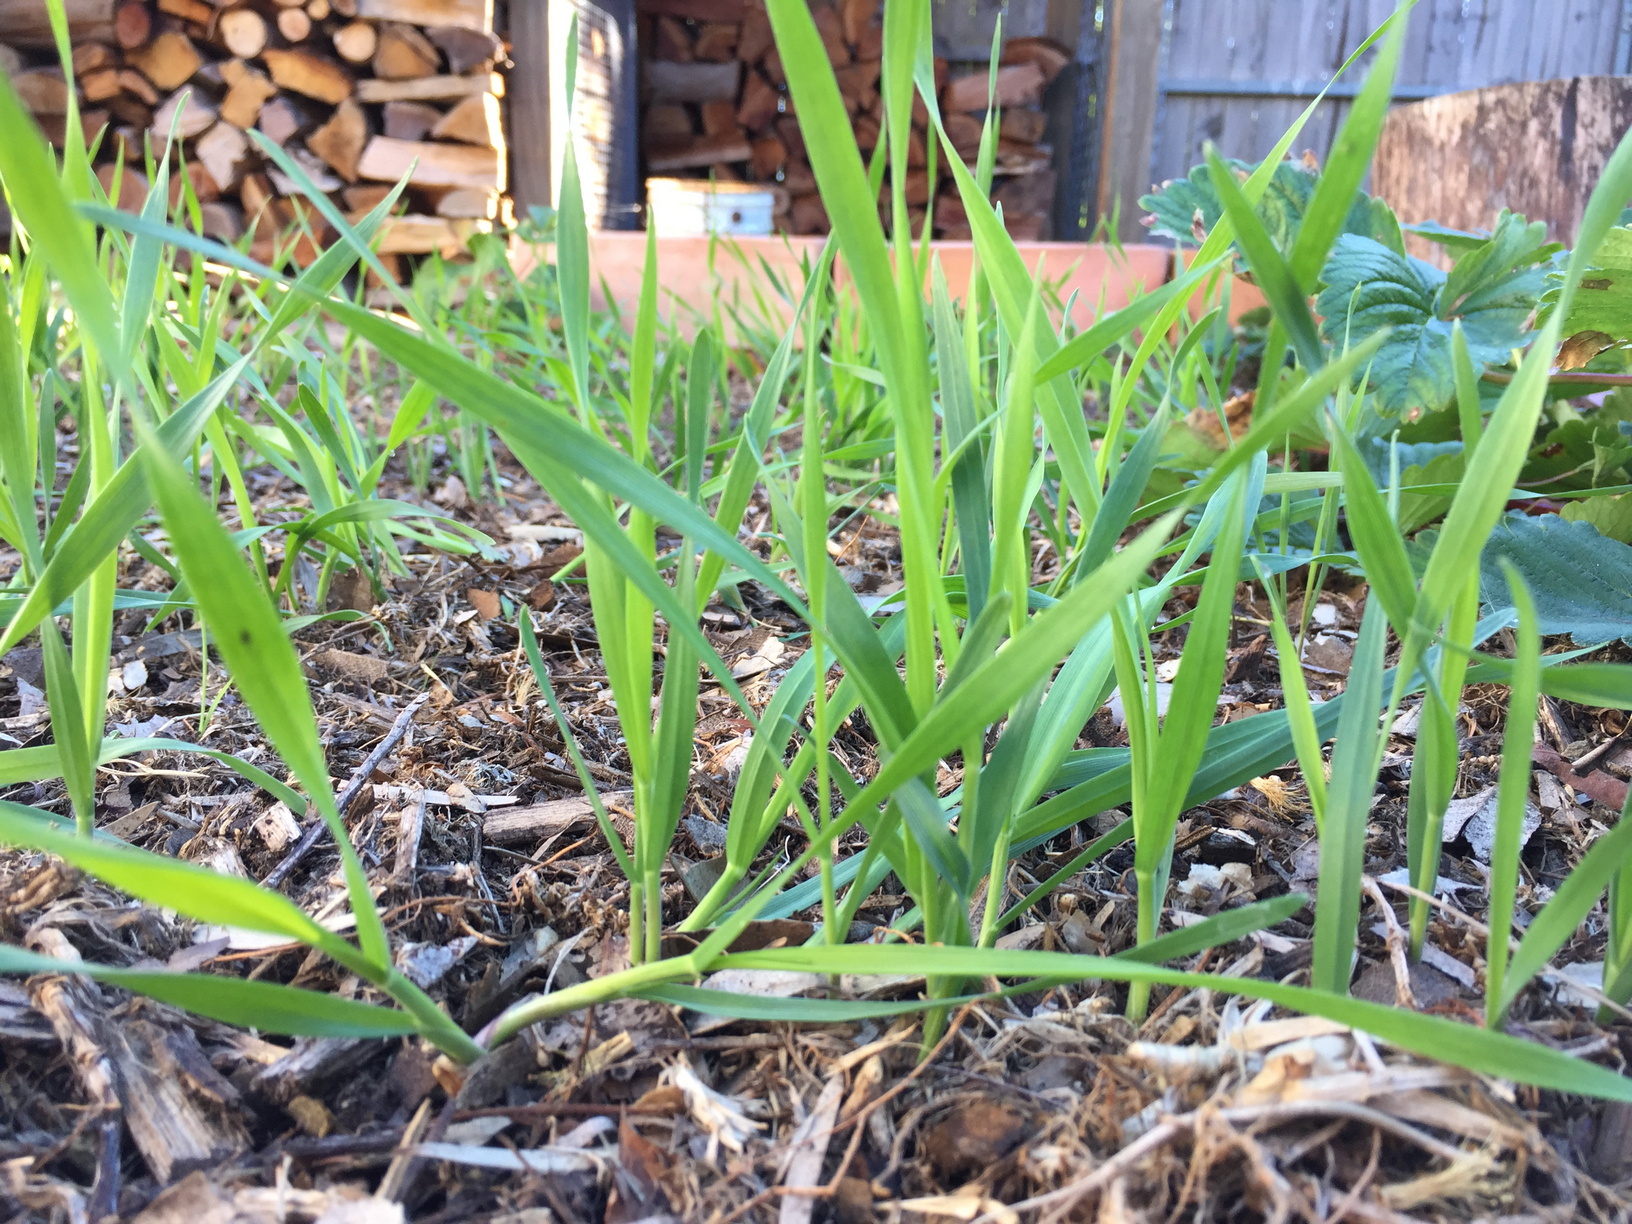
Wheat, roughly 3 weeks after planting
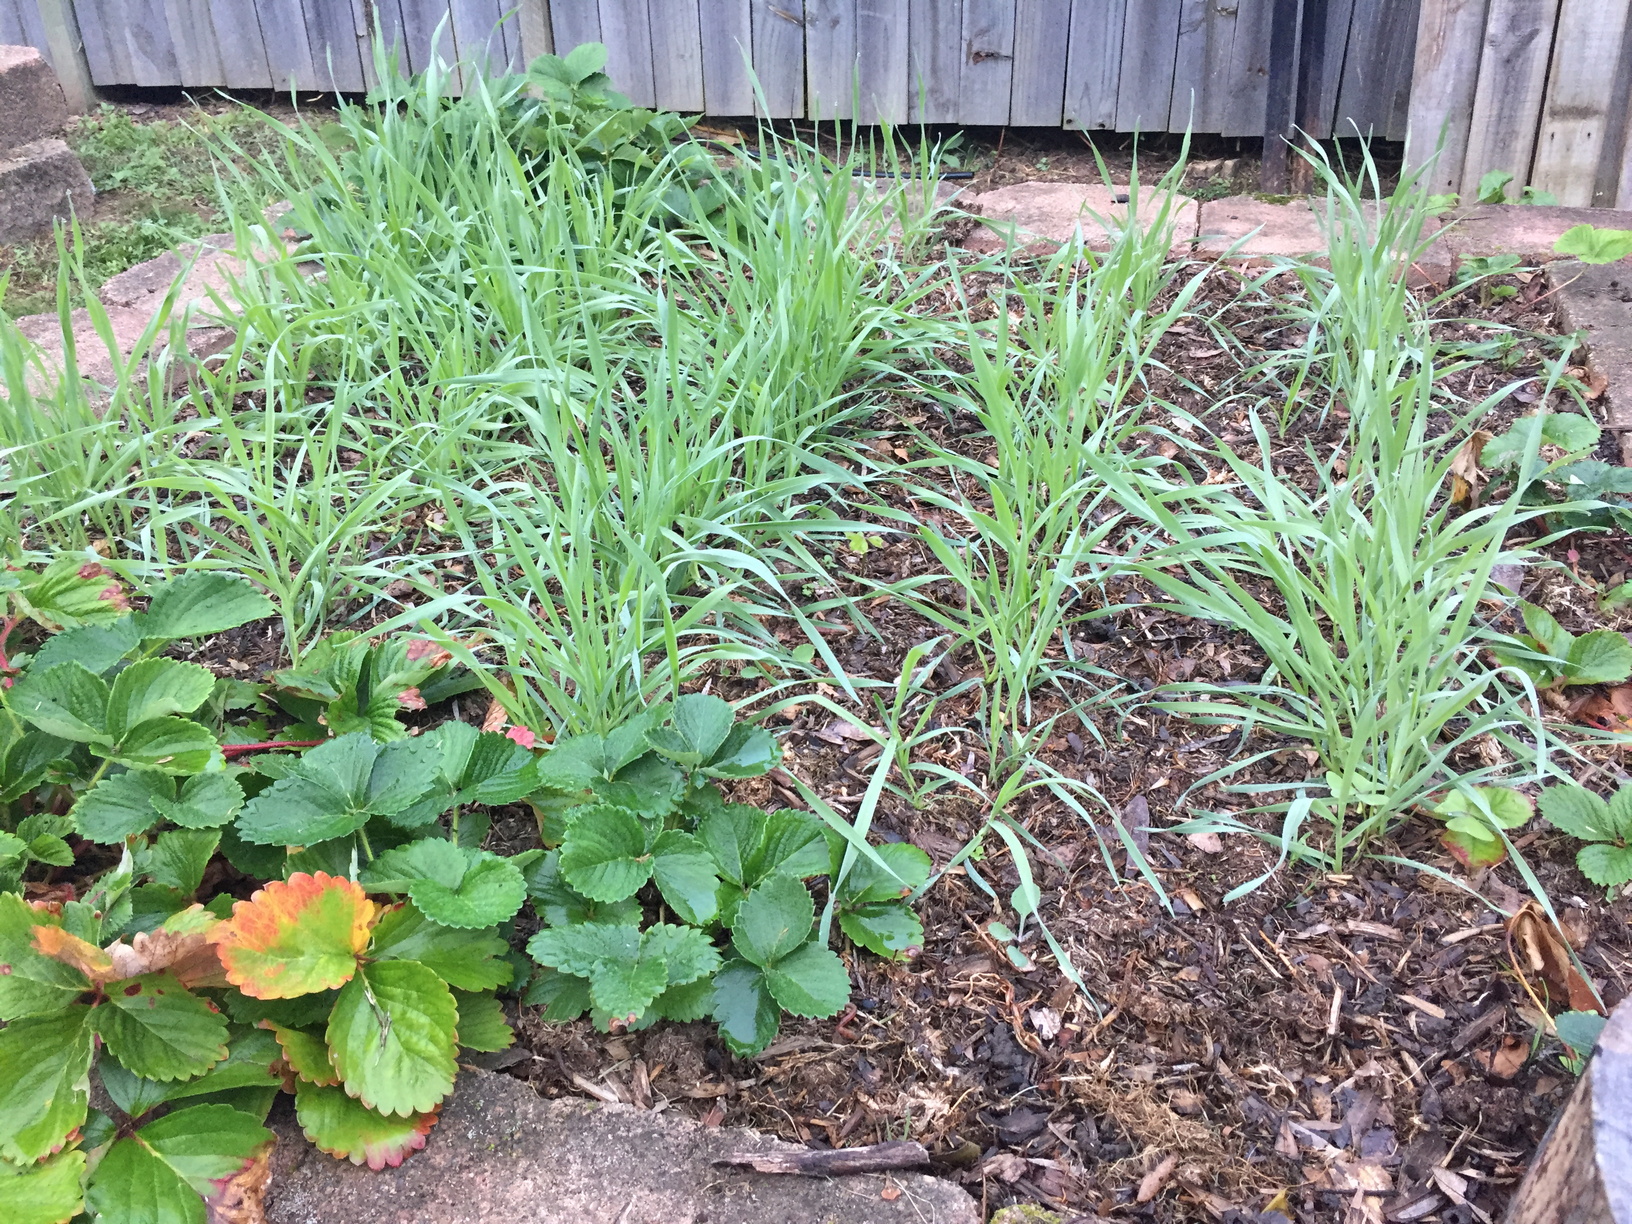
Wheat, 1.5 months after planting. You can see the rows and how it might have been better to space the seeds evenly throughout the bed.
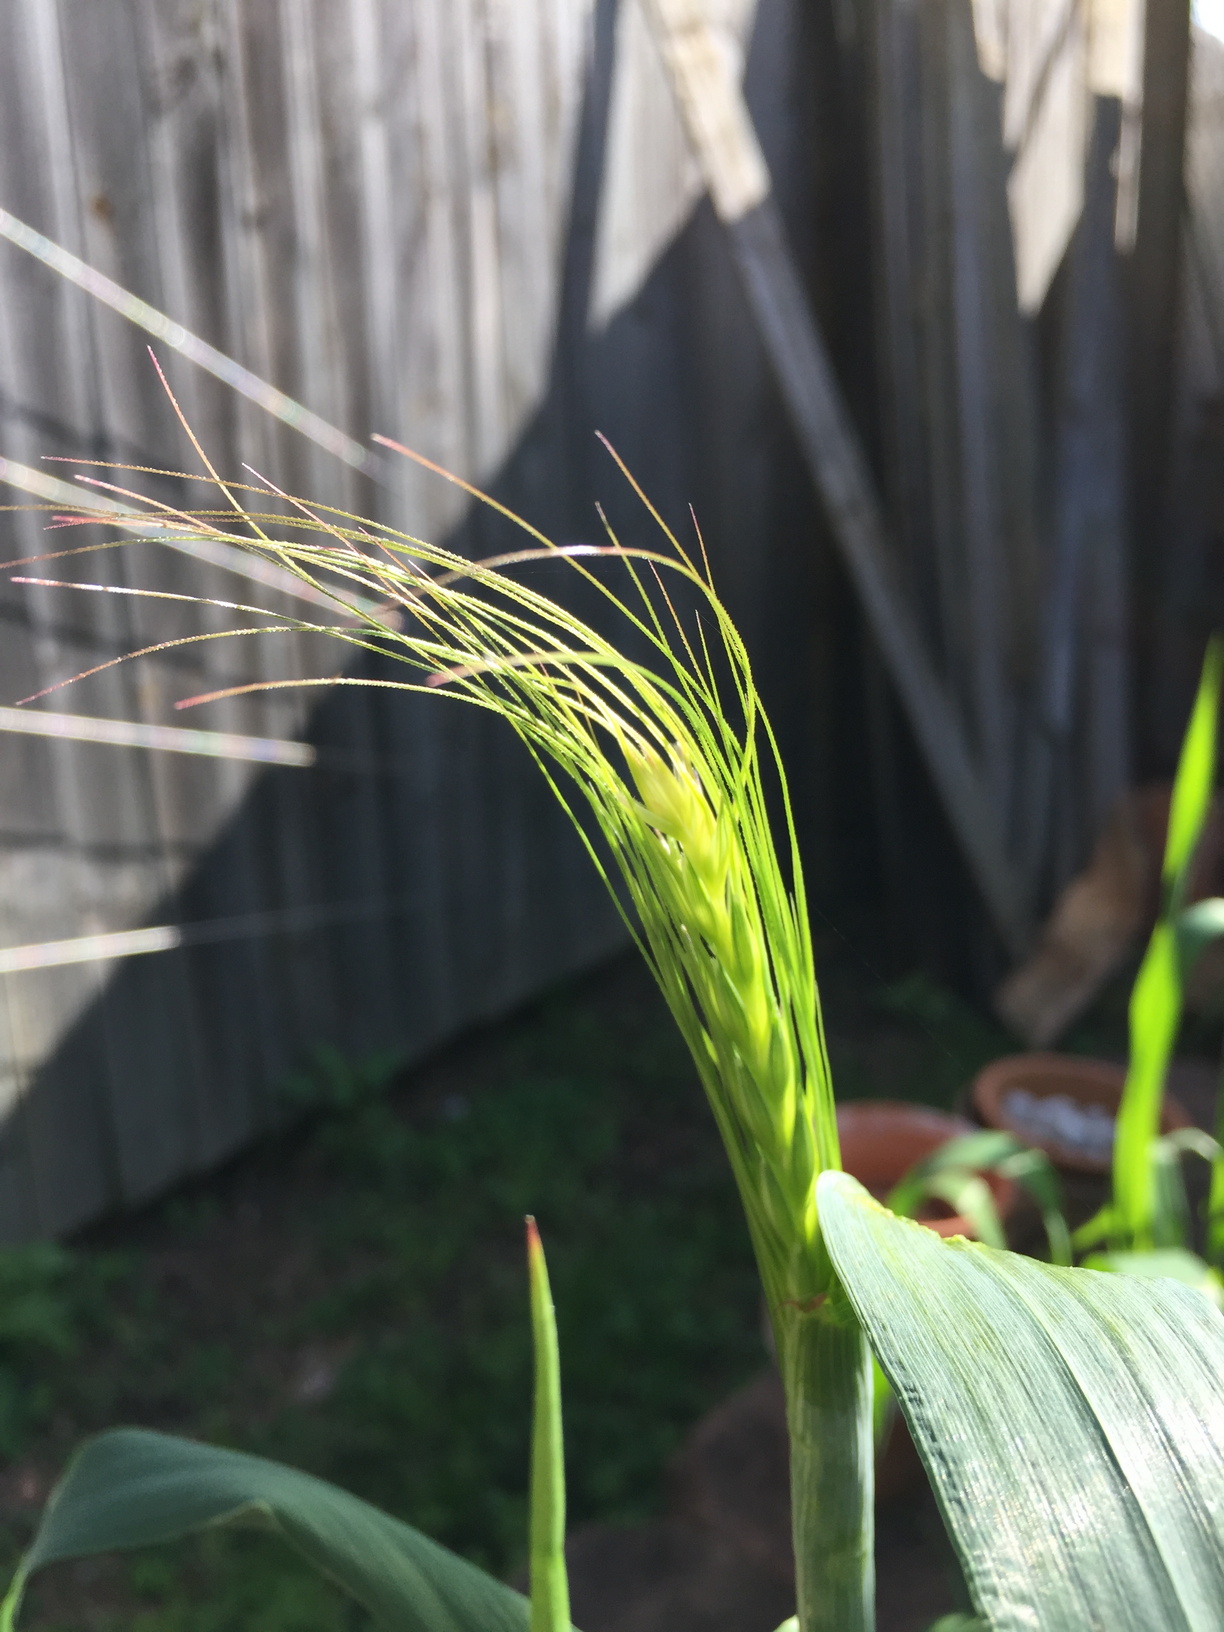
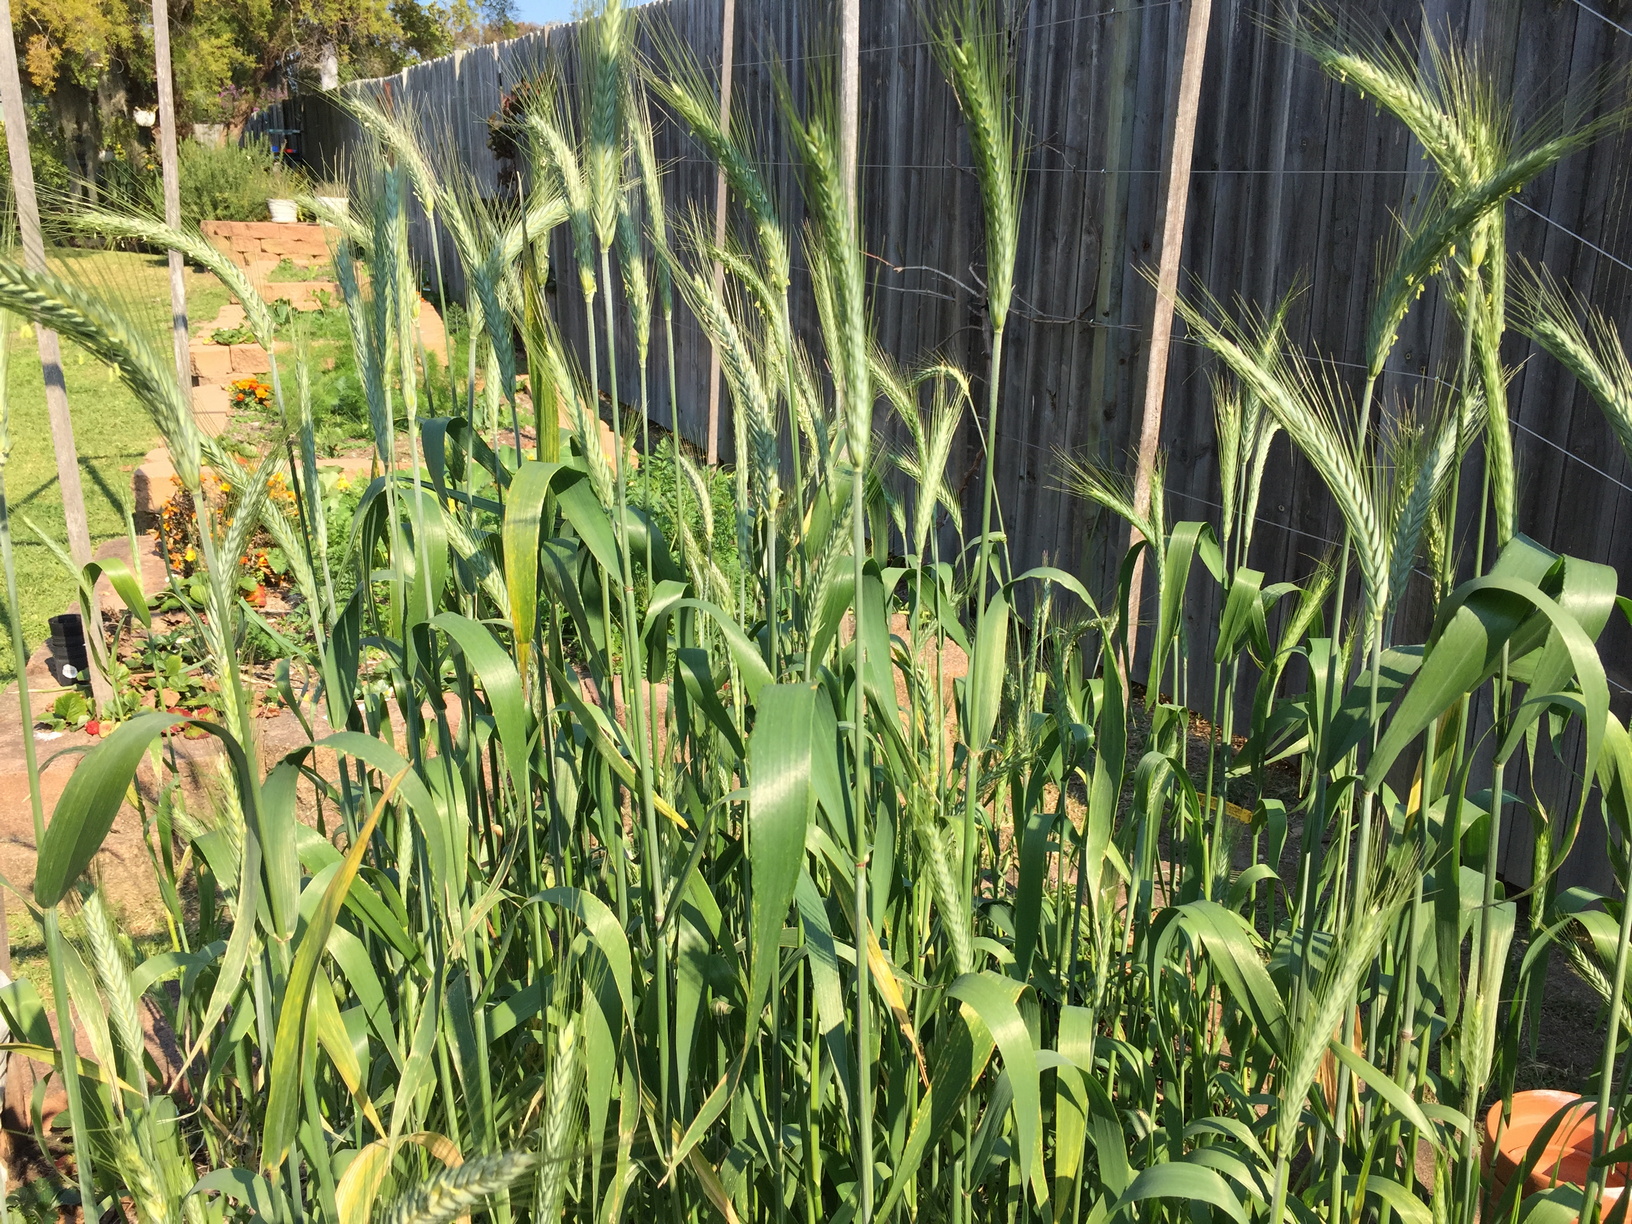
4 months after planting, the first heads are starting to form.
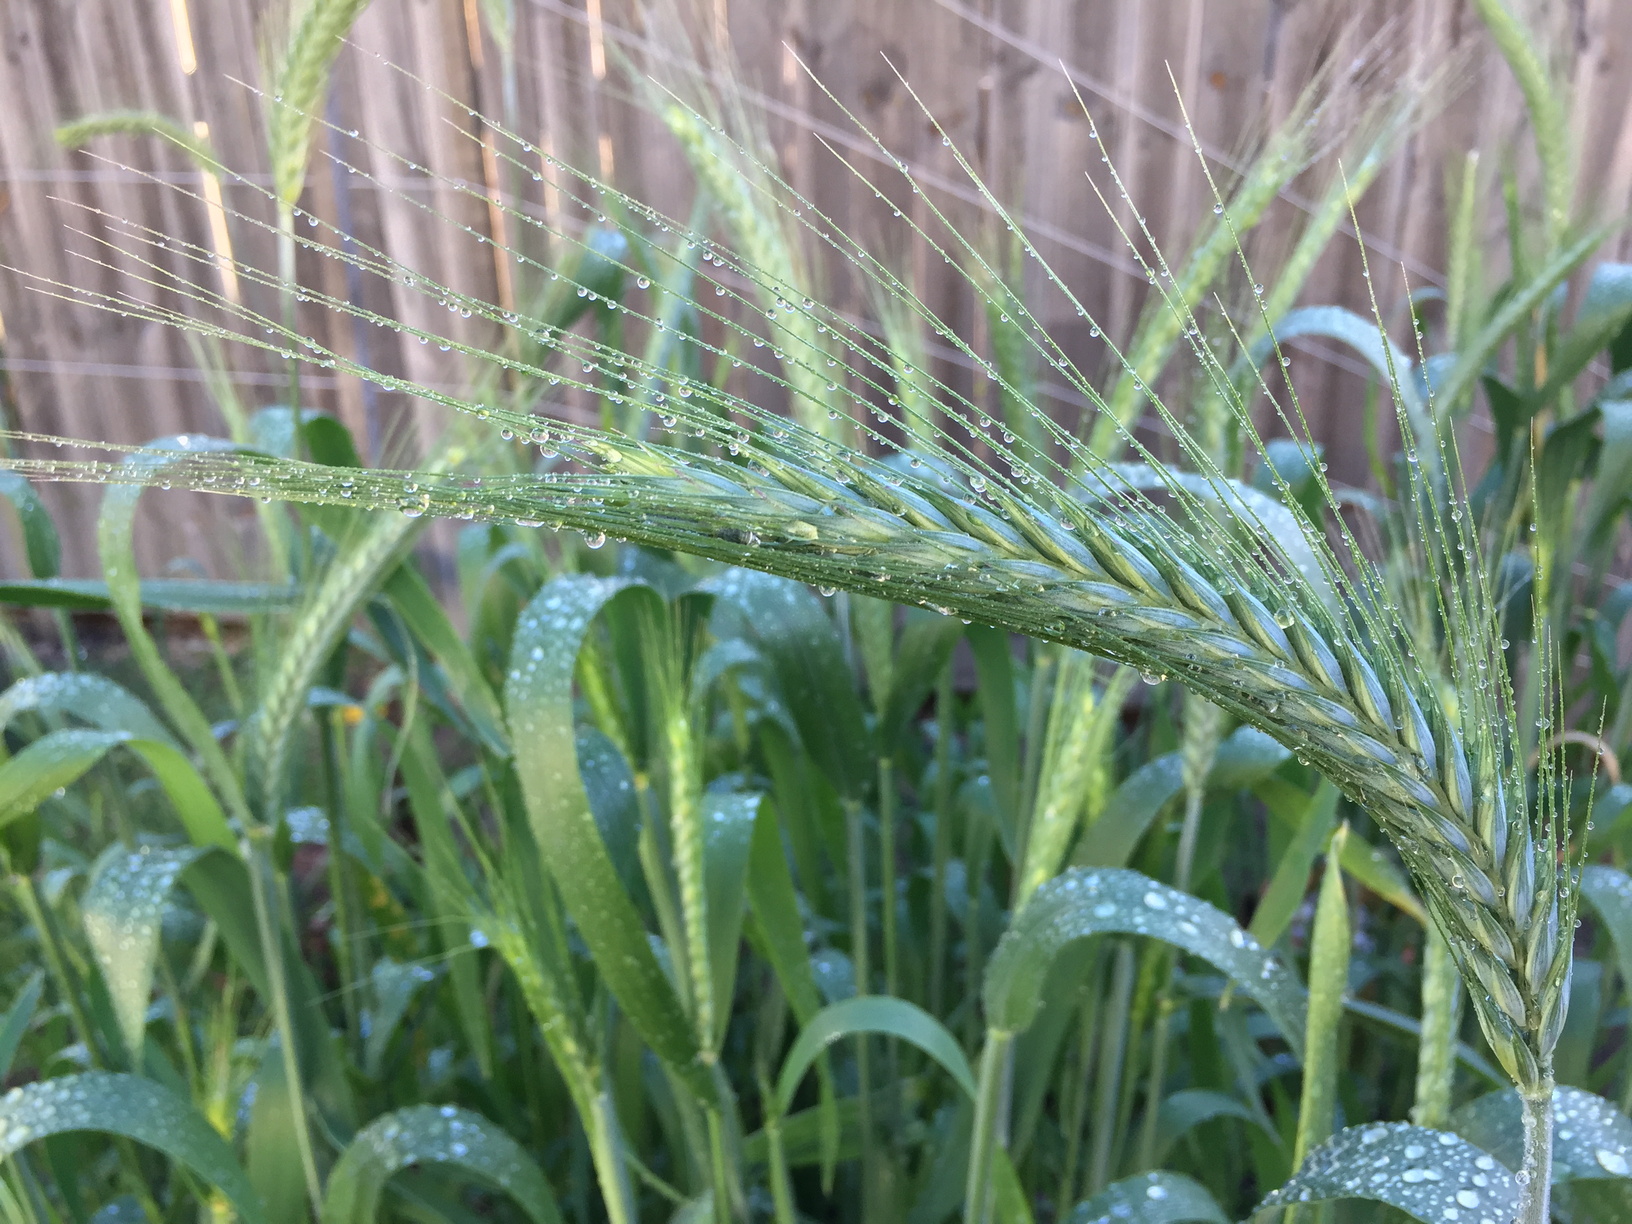
5 months after planting, the heads are starting to look fully formed.
Just over 5 months.
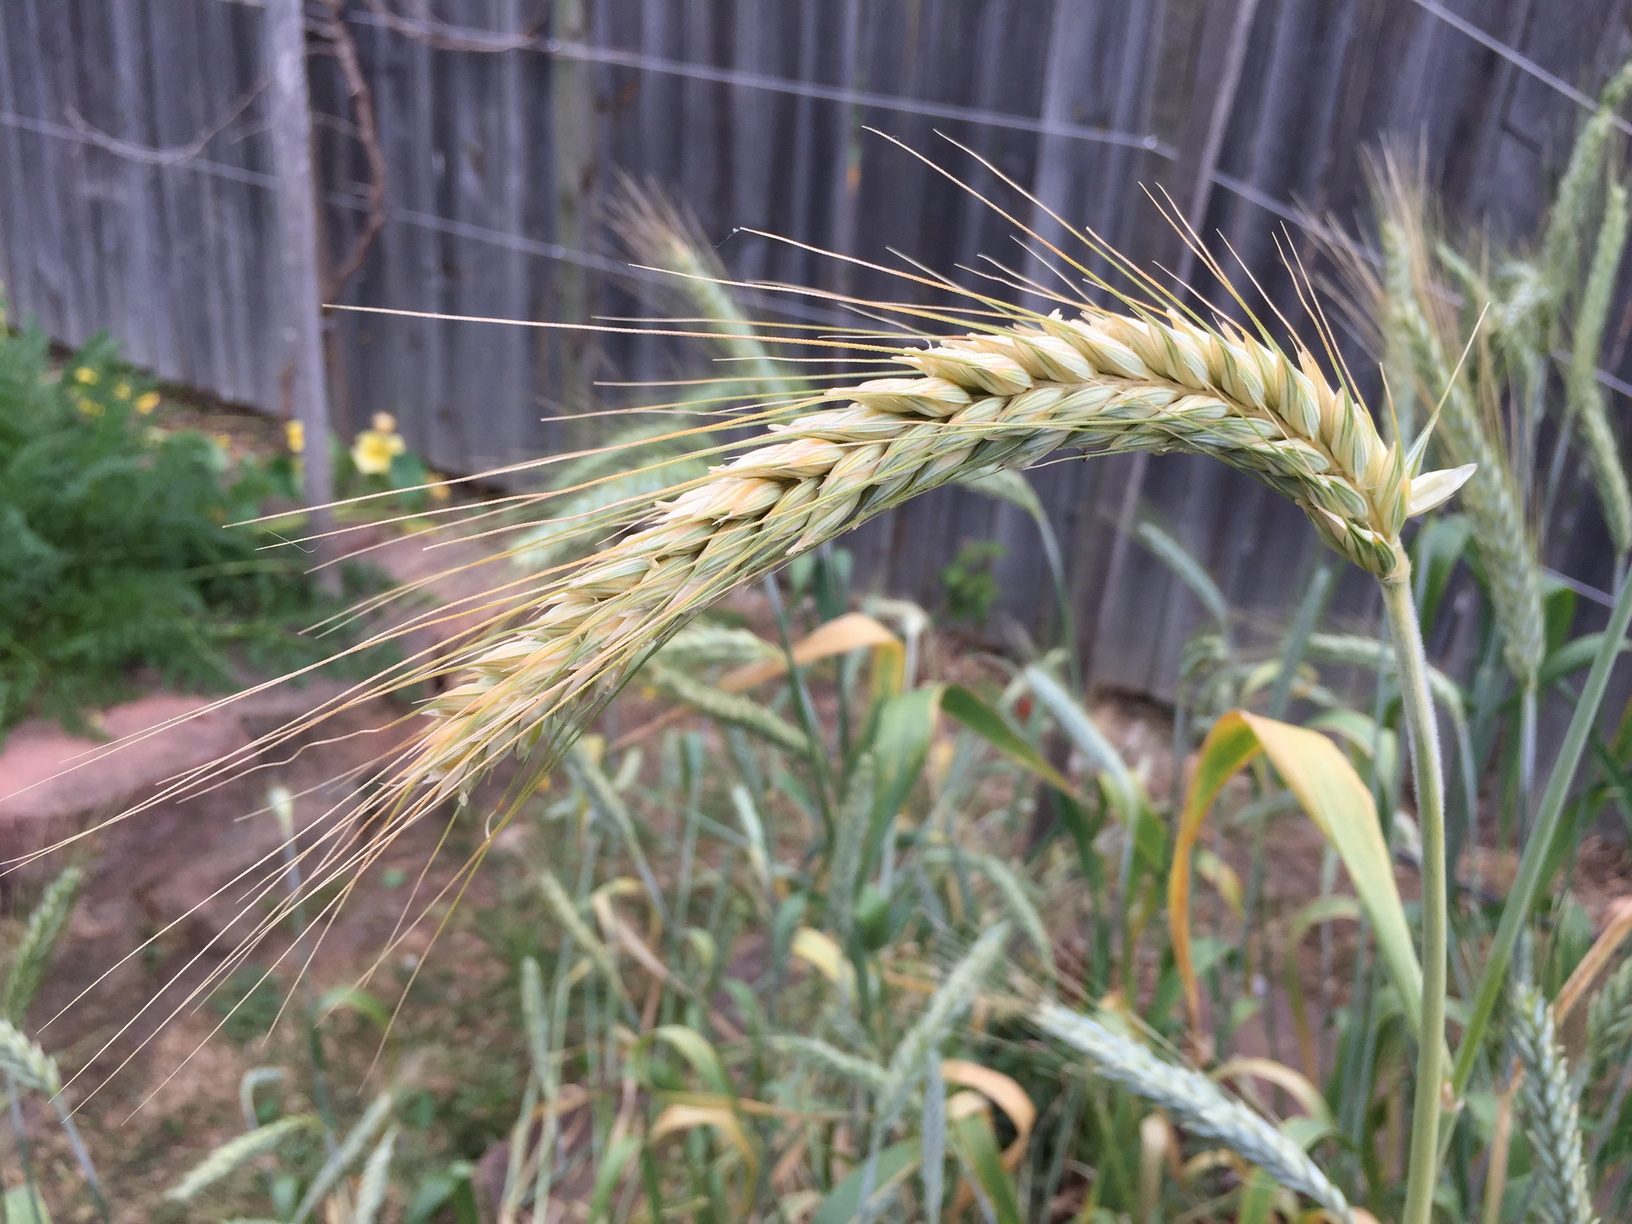
6 months, and some of the heads are starting to turn brown and droop down, both signs that harvesting time is drawing nigh.
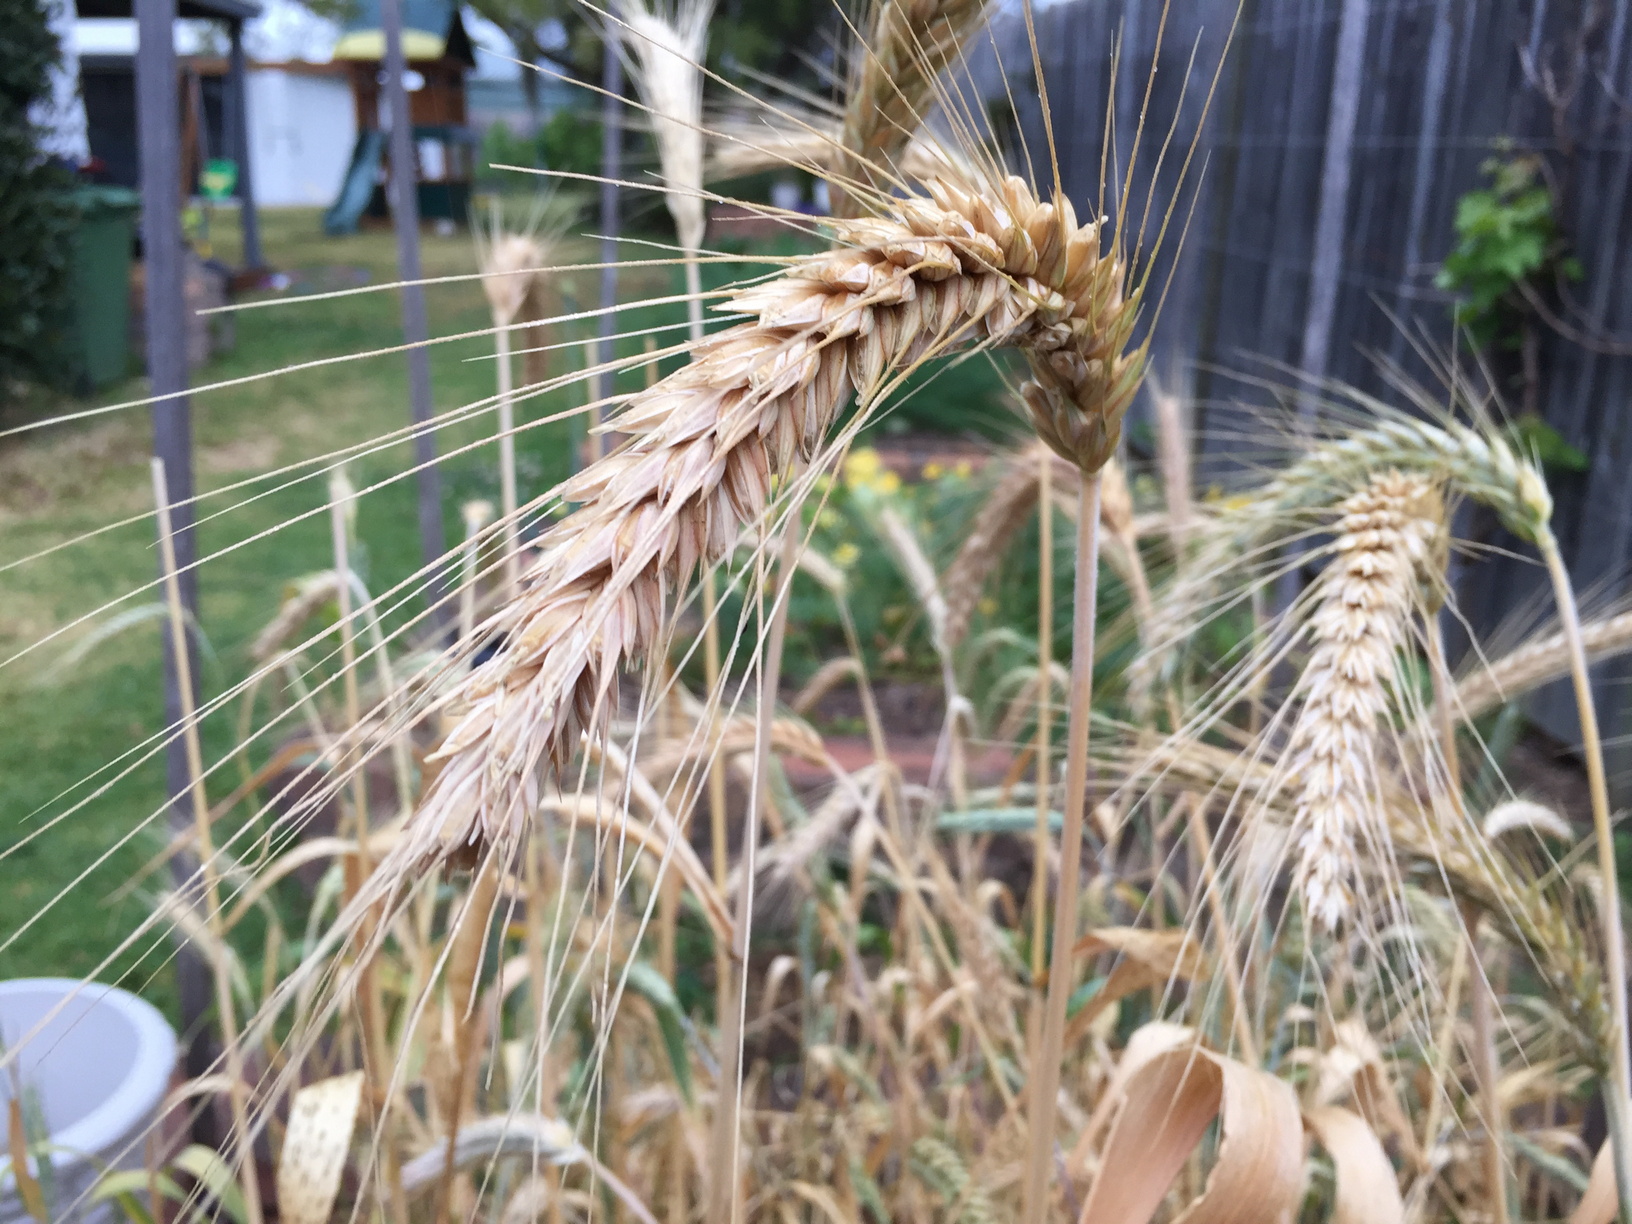
6.5 months and ready for harvest.
Harvesting and processing
For anyone who isn’t familiar with wheat terminology, I’ve compiled a list. Many of these I didn’t know and learned along the way:
Stalk/Straw - one head/ear per stalk/straw
Head/Ear - contains multiple husks, each containing a wheat berry
Husk - contains the wheat berry and is separated from the berry during threshing
Berry - the edible part of the wheat plant
Bran - the hard outer coating of the wheat berry
Germ - the embryo, or part of the wheat berry that sprouts to form a new wheat plant
Endosperm - the bulk of the wheat berry, which contains most of the starch found in wheat
Threshing - the process of separating the wheat berries from the husks
Winnowing - removing the husks and lighter material after threshing, leaving behind only the wheat berries
Milling - turning the wheat berries into flour
You can tell when wheat is ready to harvest if you take a wheat berry (that always sounds weird to me, I would have thought it would be a wheat grain) and crush it between your thumb and forefinger. If a milky substance comes out of it, it is not quite ready yet. You can harvest from any point after the wheat has passed the “milk stage”. You don’t want to leave the wheat berries on the plant for too long, as the heads will shatter while they are being harvested and drop all of the wheat berries onto the ground. This is apparently known as being “dead ripe”, after having passed the “fully ripe” stage.
I bascially went around with a set of scissors and cut off all the heads of wheat. I don’t own a scythe, and besides, a scythe would probably be overkill for a tiny patch of wheat like mine. I pulled the stalks out of the ground when I had harvested all the heads, put them in a pile, ran over them with the lawnmower and threw the shredded stalks into the compost.
The harvested wheat heads were left in the garage to dry out completely. After two weeks, the wheat berries were very hard and cracked when chewed, indicating that they were completely dry. There was no chewiness or moisture left in them.
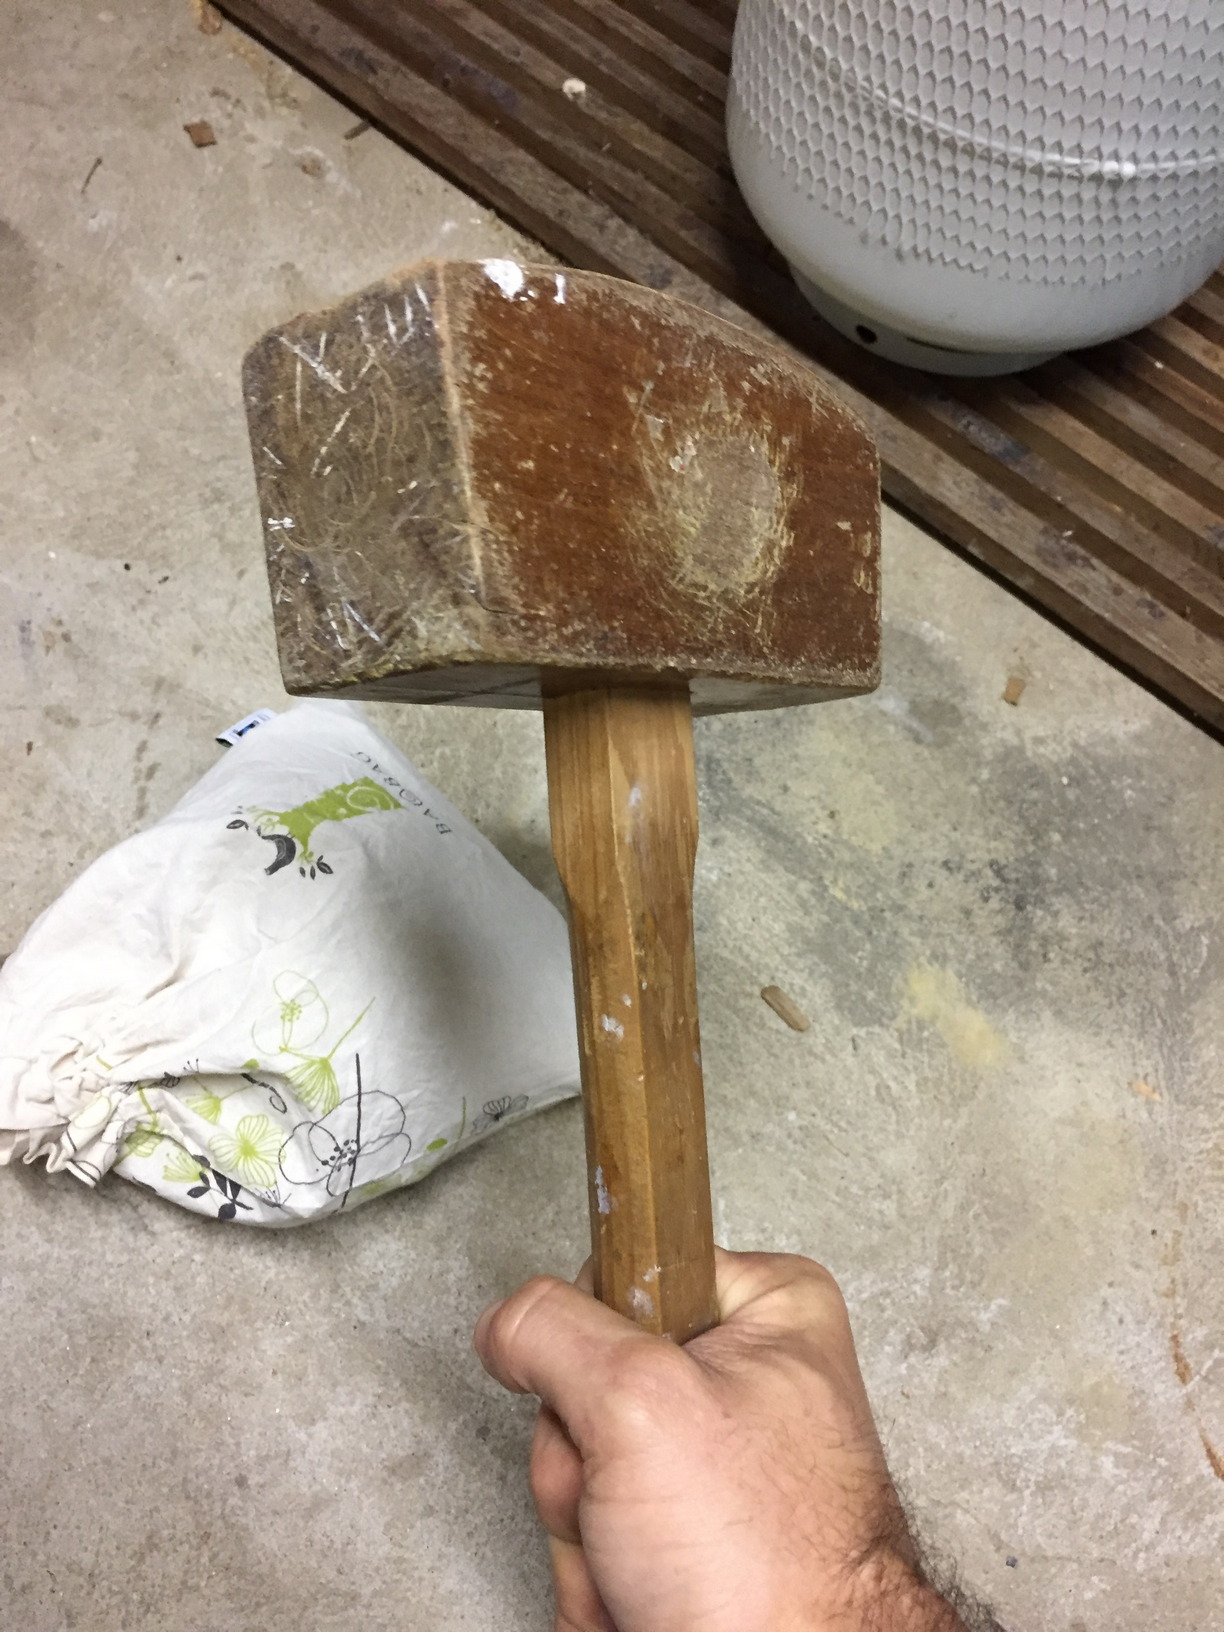
I looked up various methods of getting the wheat berries out of the heads and decided I would try putting them all into a canvas bag, and beat them gently with a large wooden mallet! It was somewhat successful, but there were still a lot of wheat berries left behind. I ended up tipping it all out into a large bucket and breaking up the heads by hand. This seemed to be more effective.
You end up with a mixture of wheat berries and husks or chaff. To get rid of the chaff, you need to winnow the wheat. There are a few different methods for doing this, but I found the pedestal fan method worked well for me. You set up a fan outside running at a medium speed, then get a second large bucket and pour your wheat from one bucket to the other in front of the fan. The wind blows away any of the chaff and the heavier berries fall straight down into the bucket below. Repeat process until there is no chaff left, and you have a bucket of only wheat berries left.
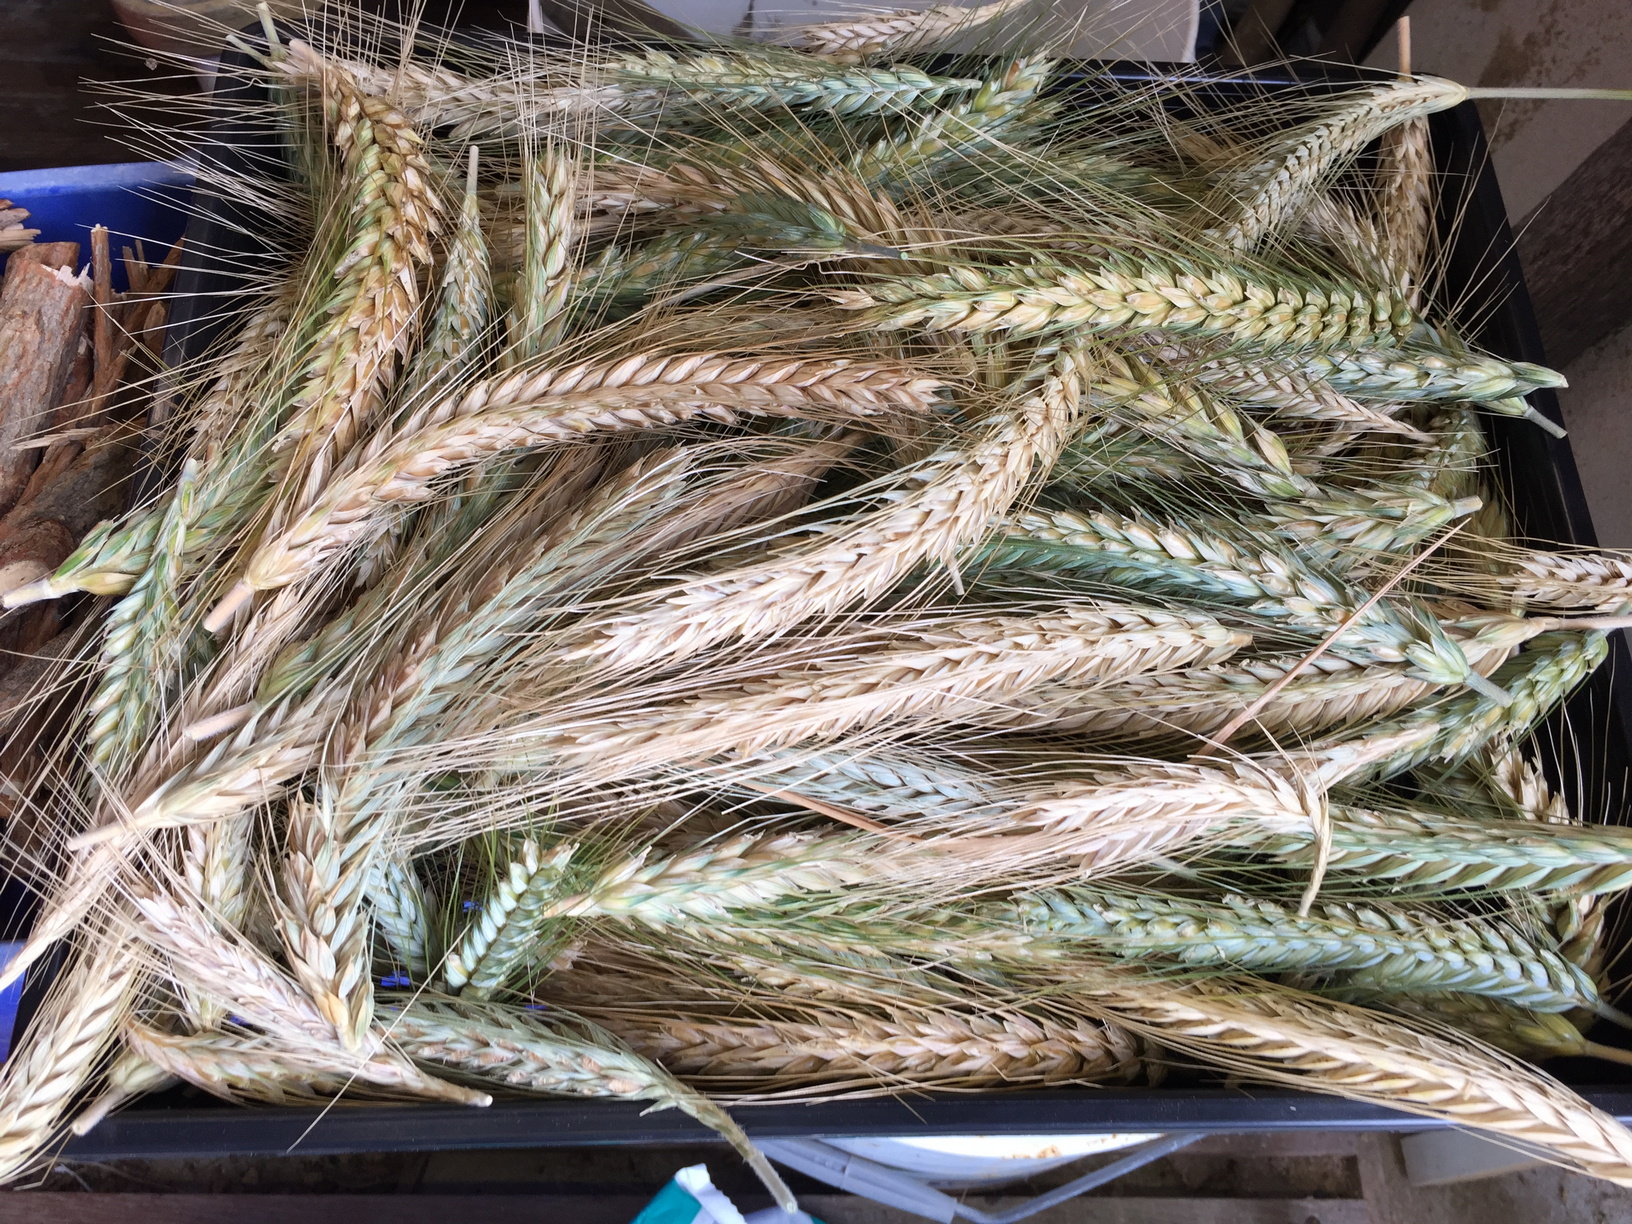
Harvested wheat to be dried.
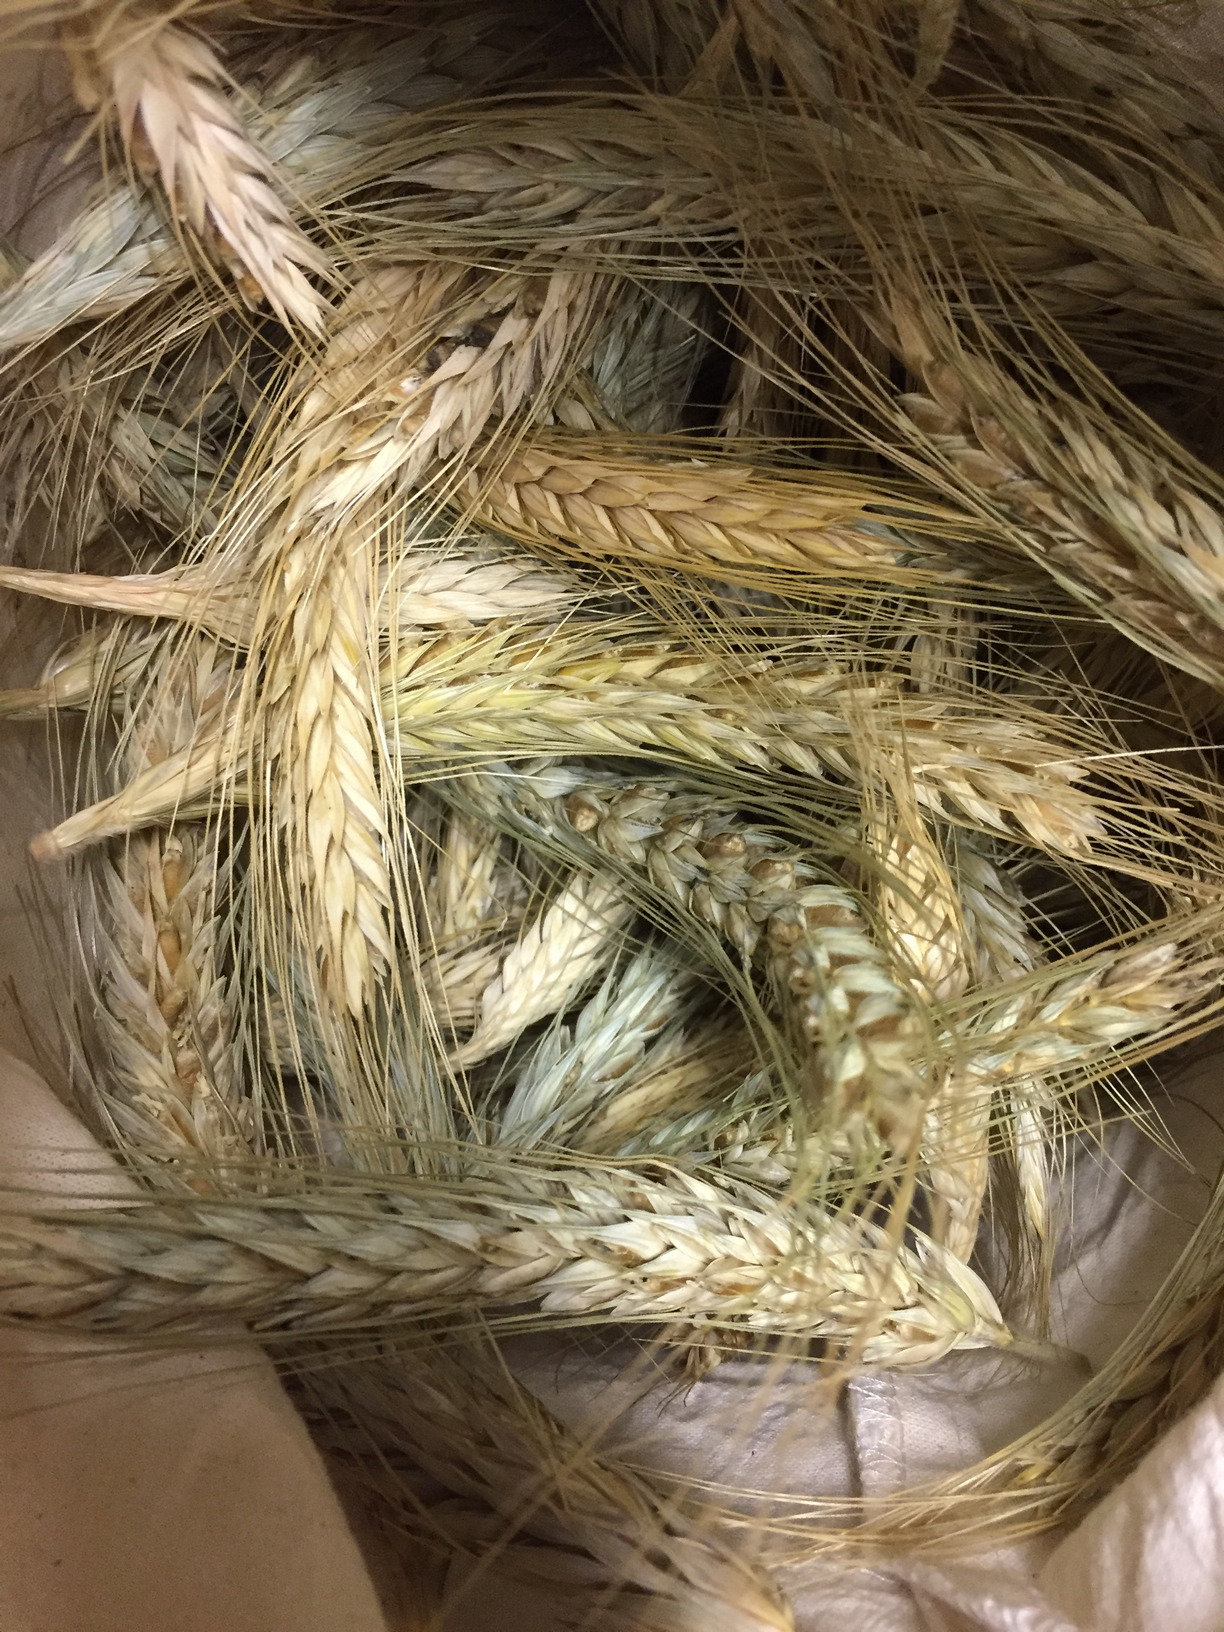
Wheat heads after two weeks of drying.
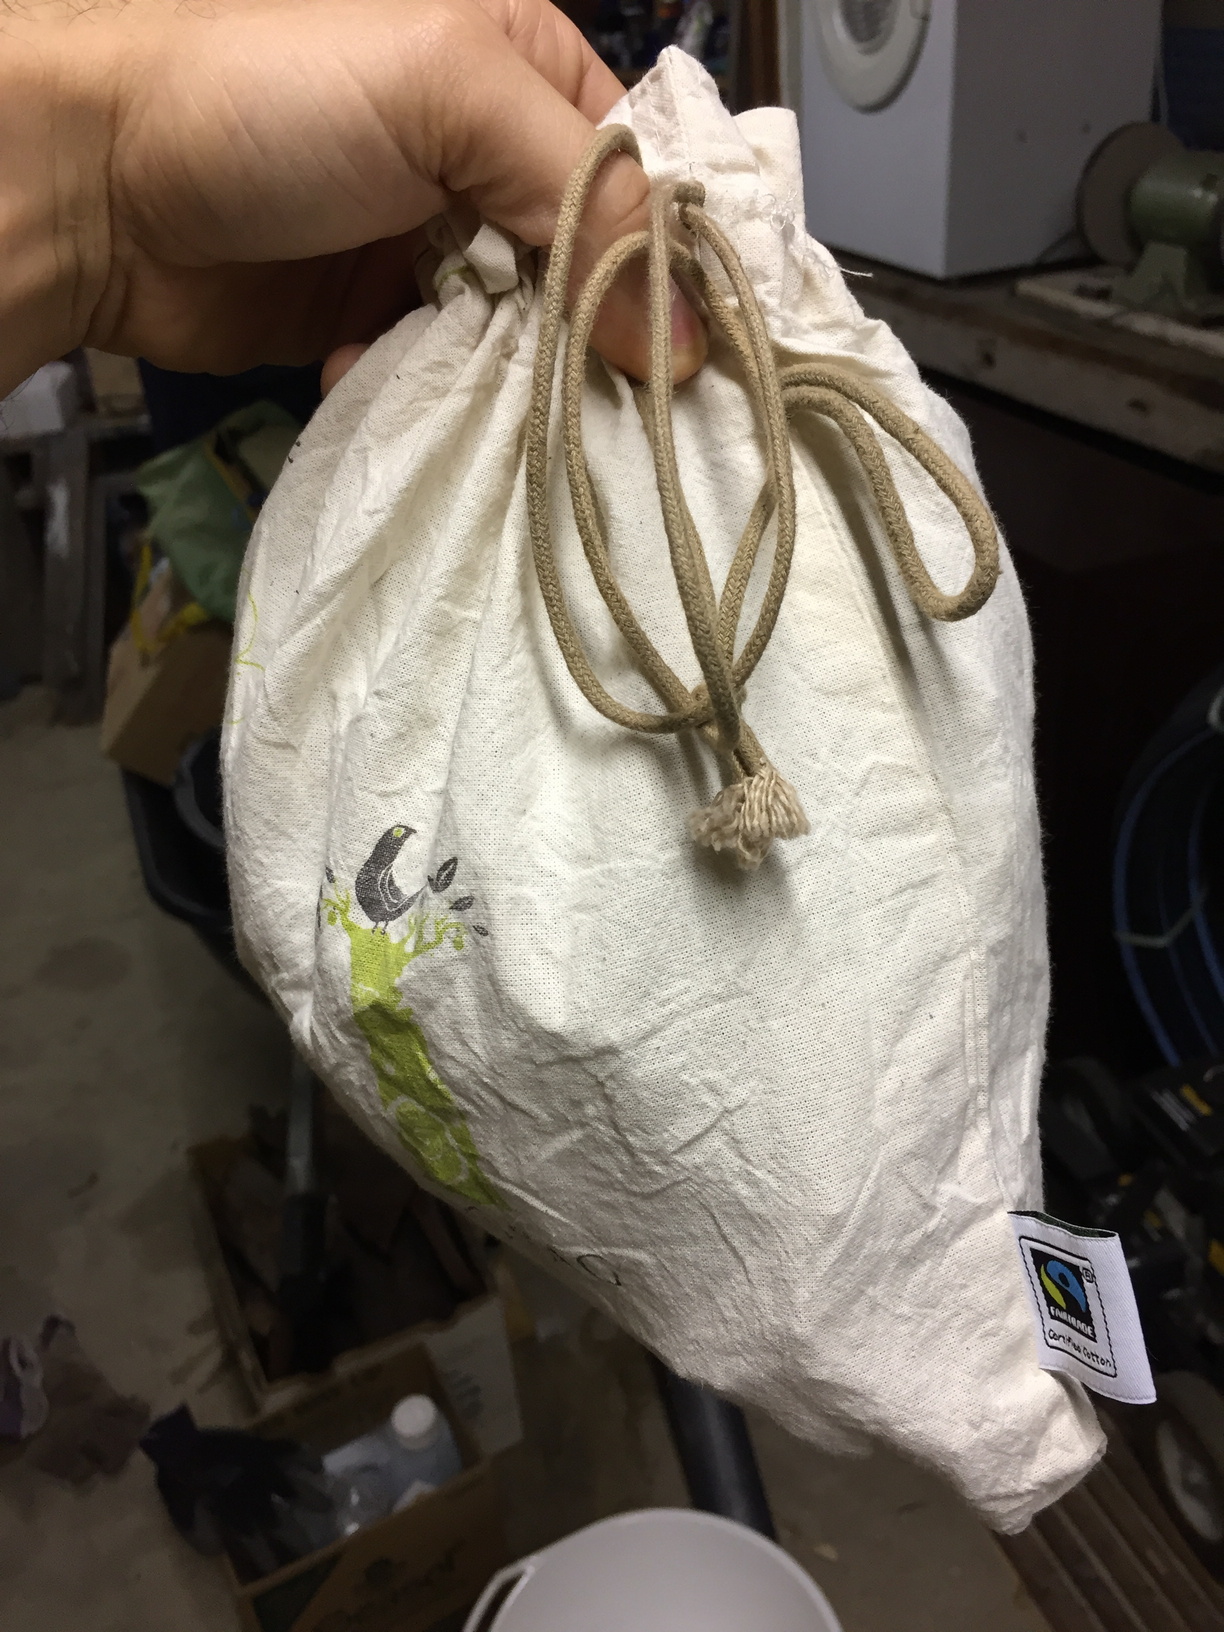
This is the canvas bag I stored the wheat in.
This is me trying to gently coax the wheat berries out of their husks with a wooden mallet.
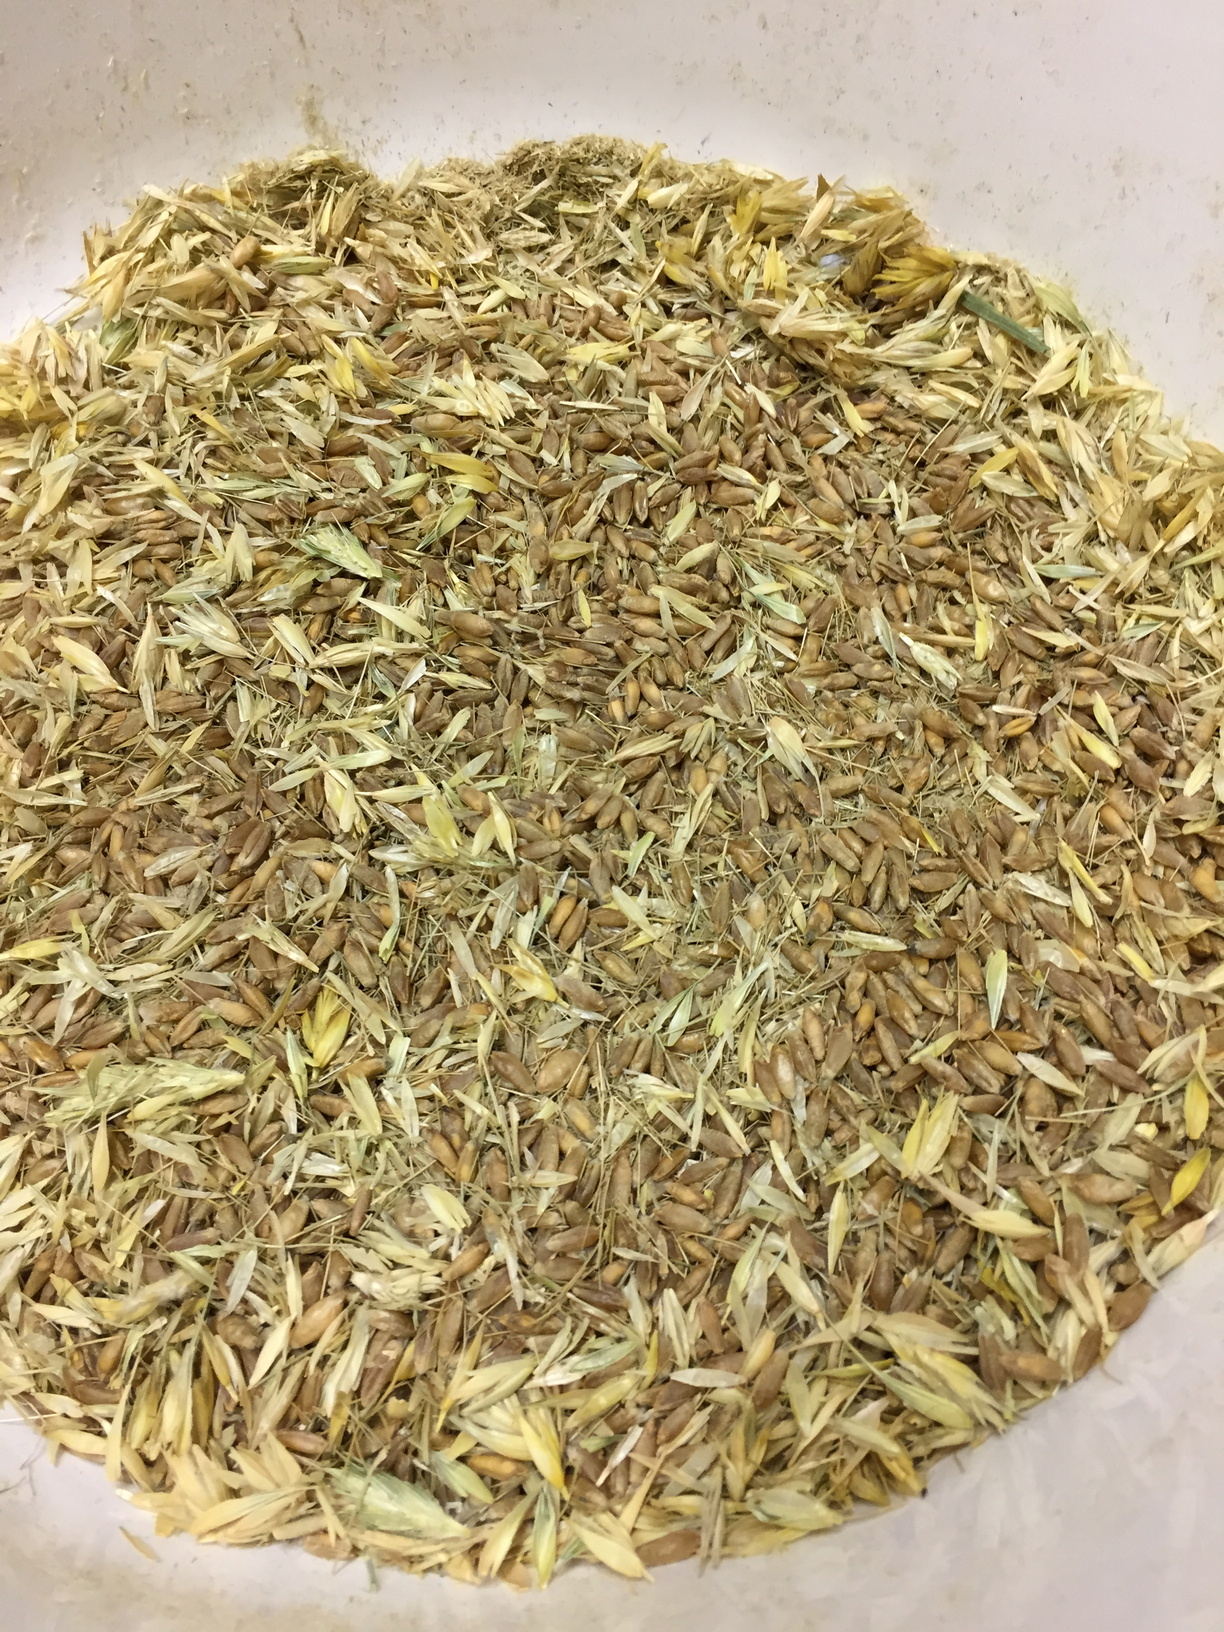
After beating with a mallet and crushing the remaining heads by hand, this is what you are left with.
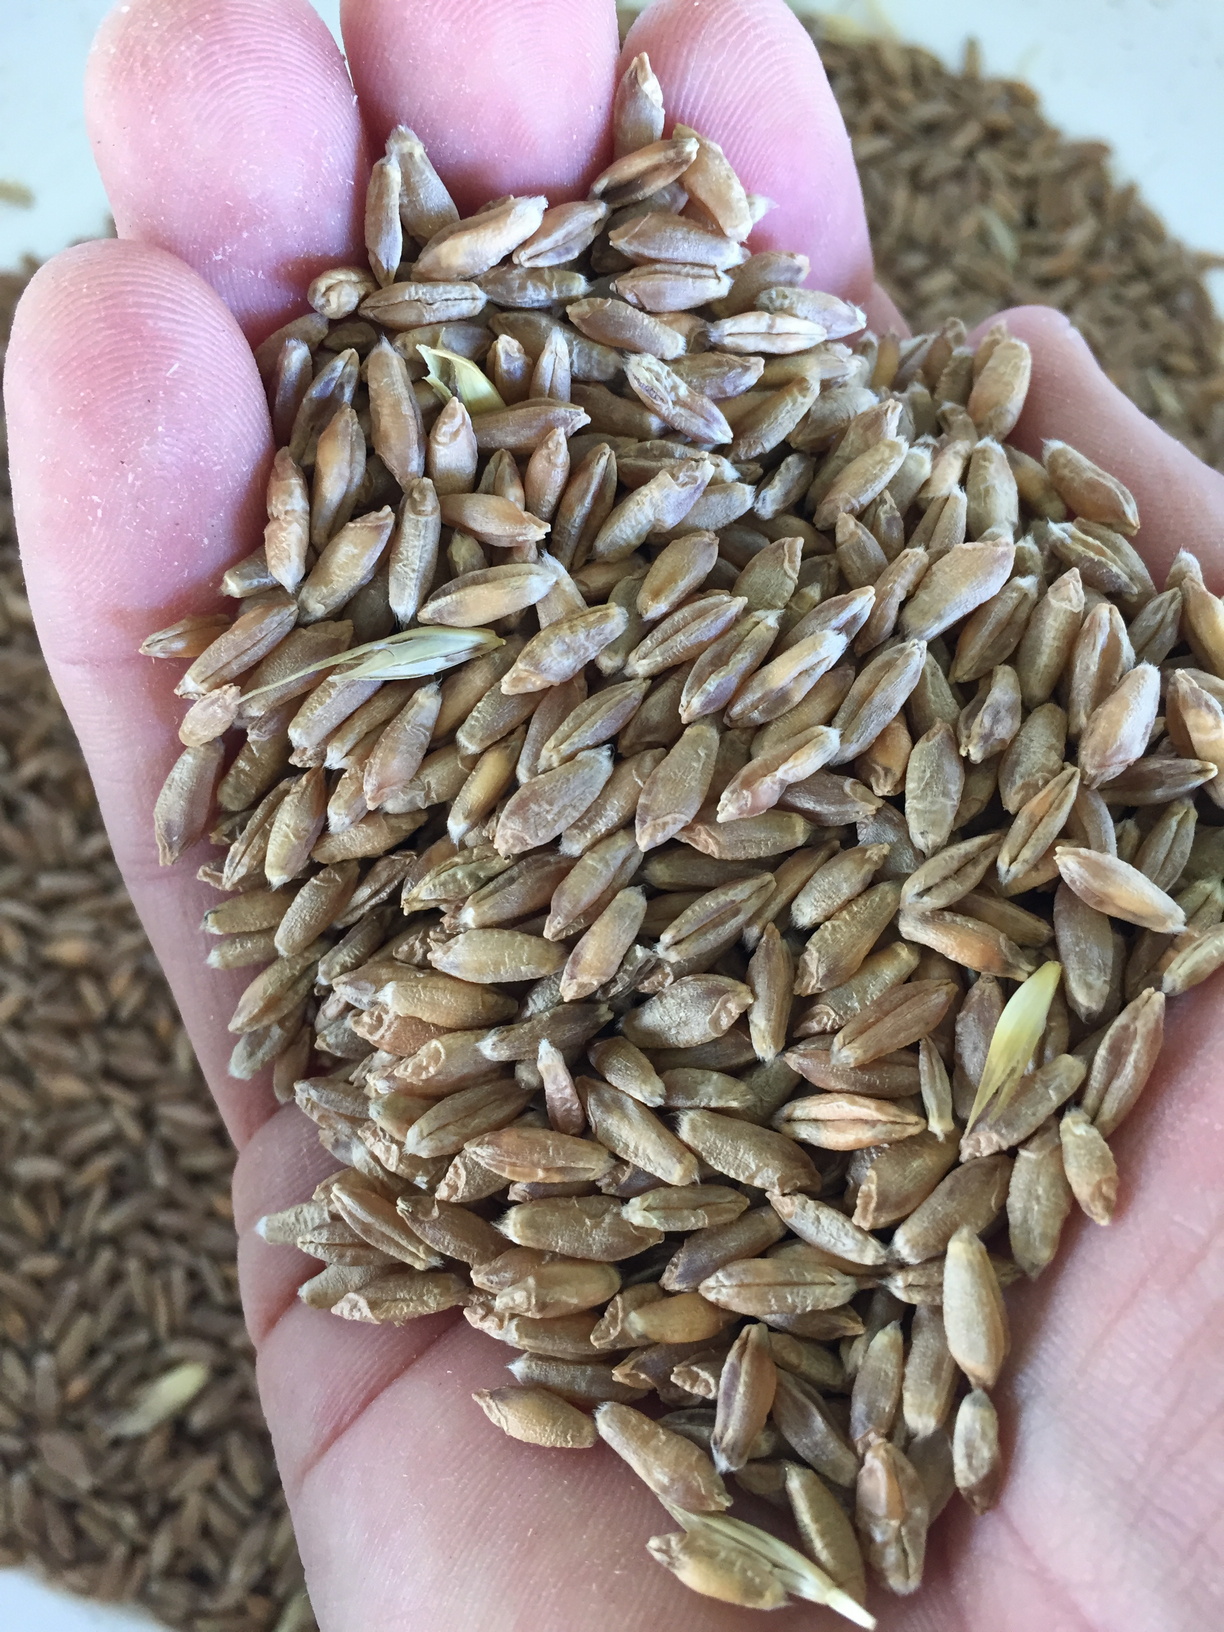
This is after winnowing. There are still a few husks here and there, but it's mostly husk free. I picked out the remaining husks by hand.
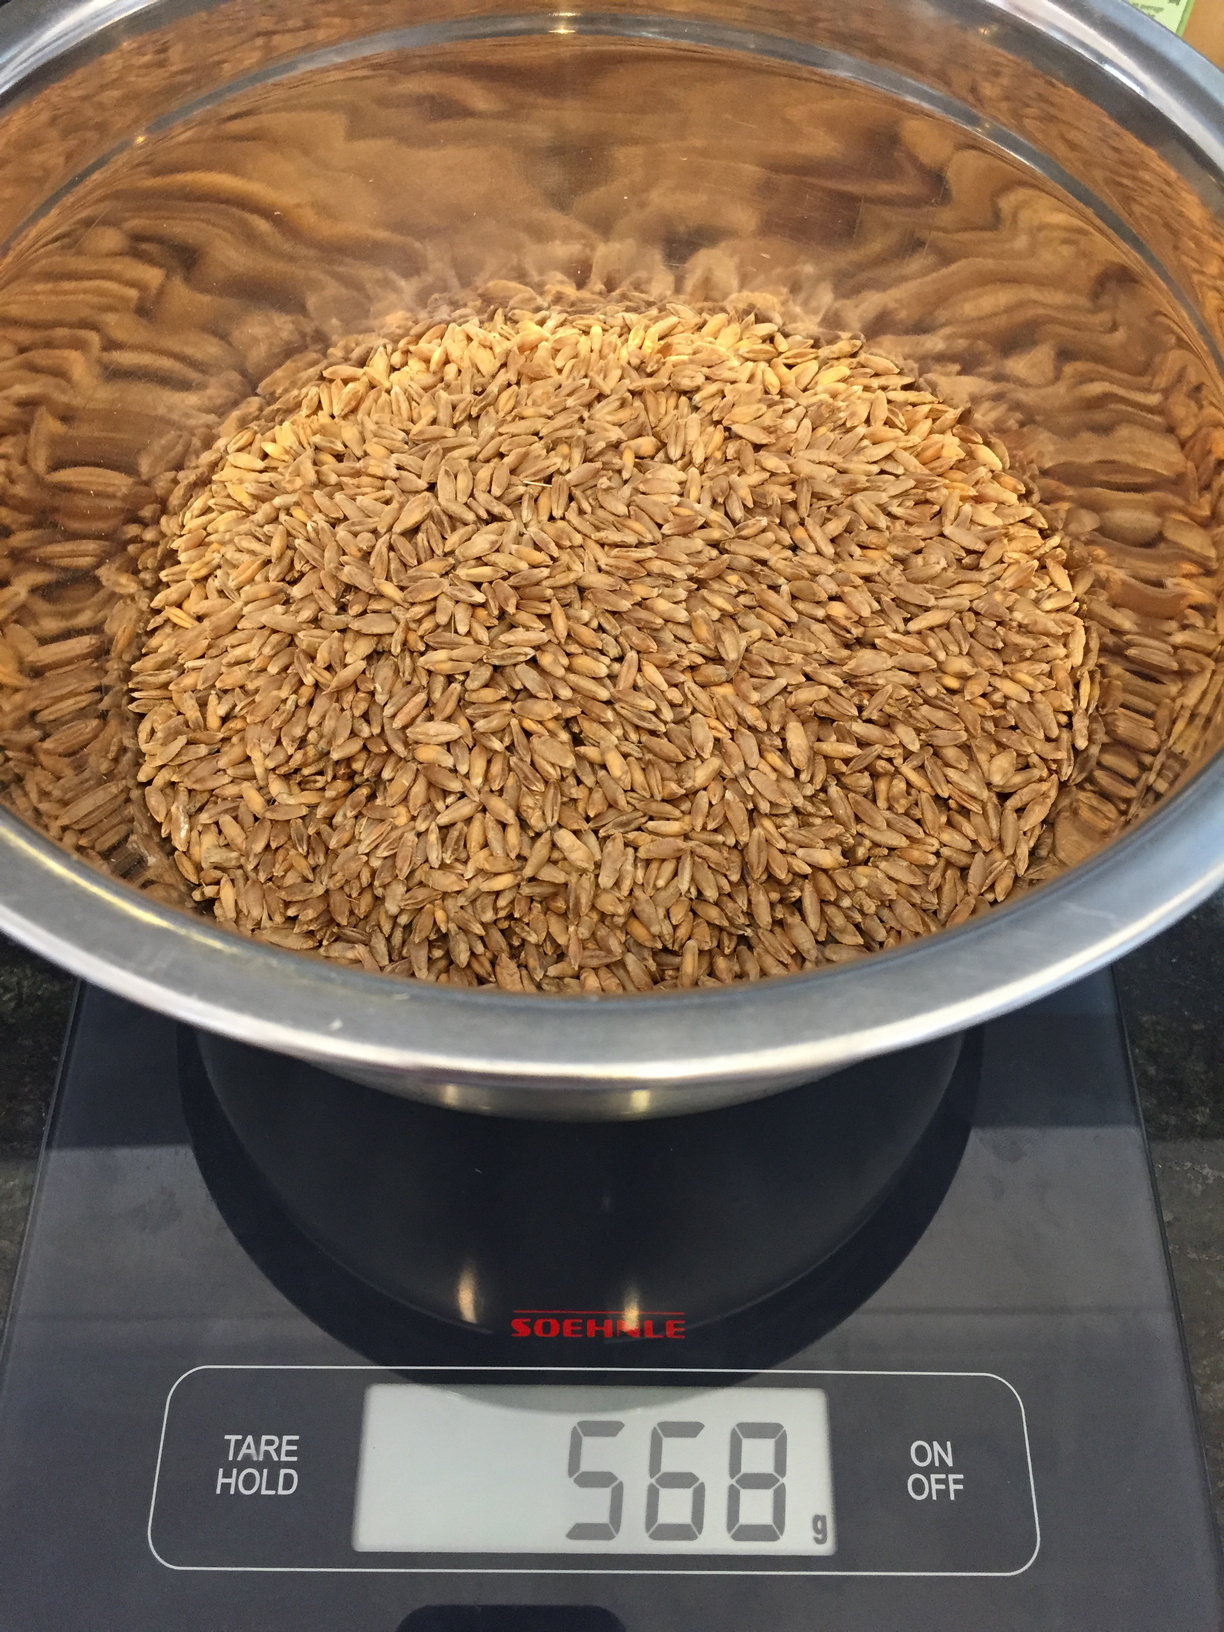
This is the sum total of 6.5 months of growing. 568 grams. I used 500 for the bread and kept 68g to plant next season. A little disappointing. My goal was one loaf of bread, but I had secretly hoped it would make more than a single loaf.
Milling
This is where things fell down a little. I have a Thermomix and had heard that you can mill your own flour in one of these machines, and you defintely can, but it is nowhere near as fine as you need for baking bread. I milled it as fine as I could, but because it is a set of spinning blades that is doing the “milling”, you end up with chopped grain, albeit very finely chopped grain. A true flour mill crushes the grain between two sets of stones, grinding the grain to a fine dust. Apparently most of the glutens are still locked away in the small pieces of chopped grain, whereas the gluten is more accessible when the flour is crushed into powder.
I am trying to convince my lovely wife that it is a wise investment to get a stone flour mill and grain flaker. She is not yet convinced.
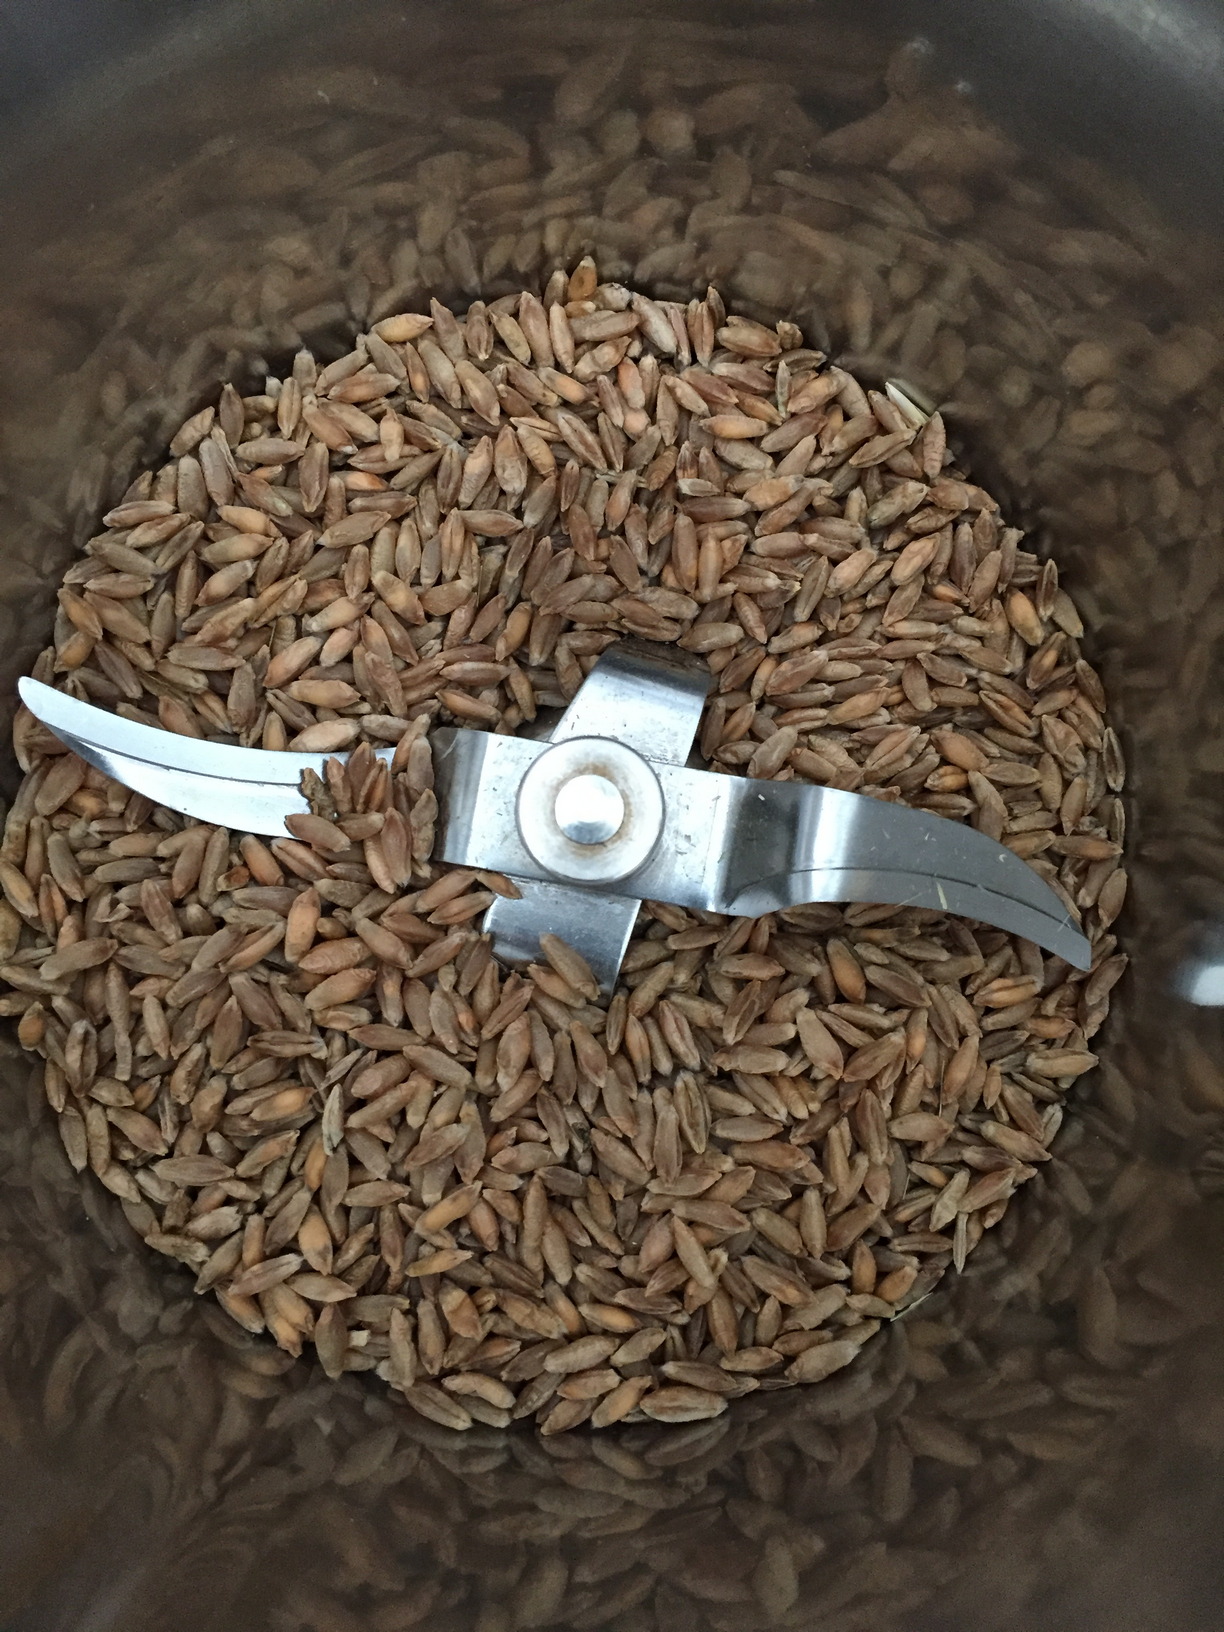
The wheat in the Thermomix.
The chopped flour. You can see that it does have a gritty texture.
Dough and Baking
The dough did rise a little, but not as much as it should have. I don’t think the dough was stretchy enough to completely trap the carbon dioxide being formed by the yeast, which is what causes a dough to rise. Consequently I ended up with a rather flat loaf. I likened it to trying to blow a bubble-gum bubble when you have other food in your mouth. The pieces of food cause the bubble-gum to rip and not to trap the air you are blowing into it, and the bubble ends up bursting before you can get it do a decent size.
I did not try to sieve out the wheat germ from the flour. I wanted to see what a completely wholemeal flour bread loaf would taste like.
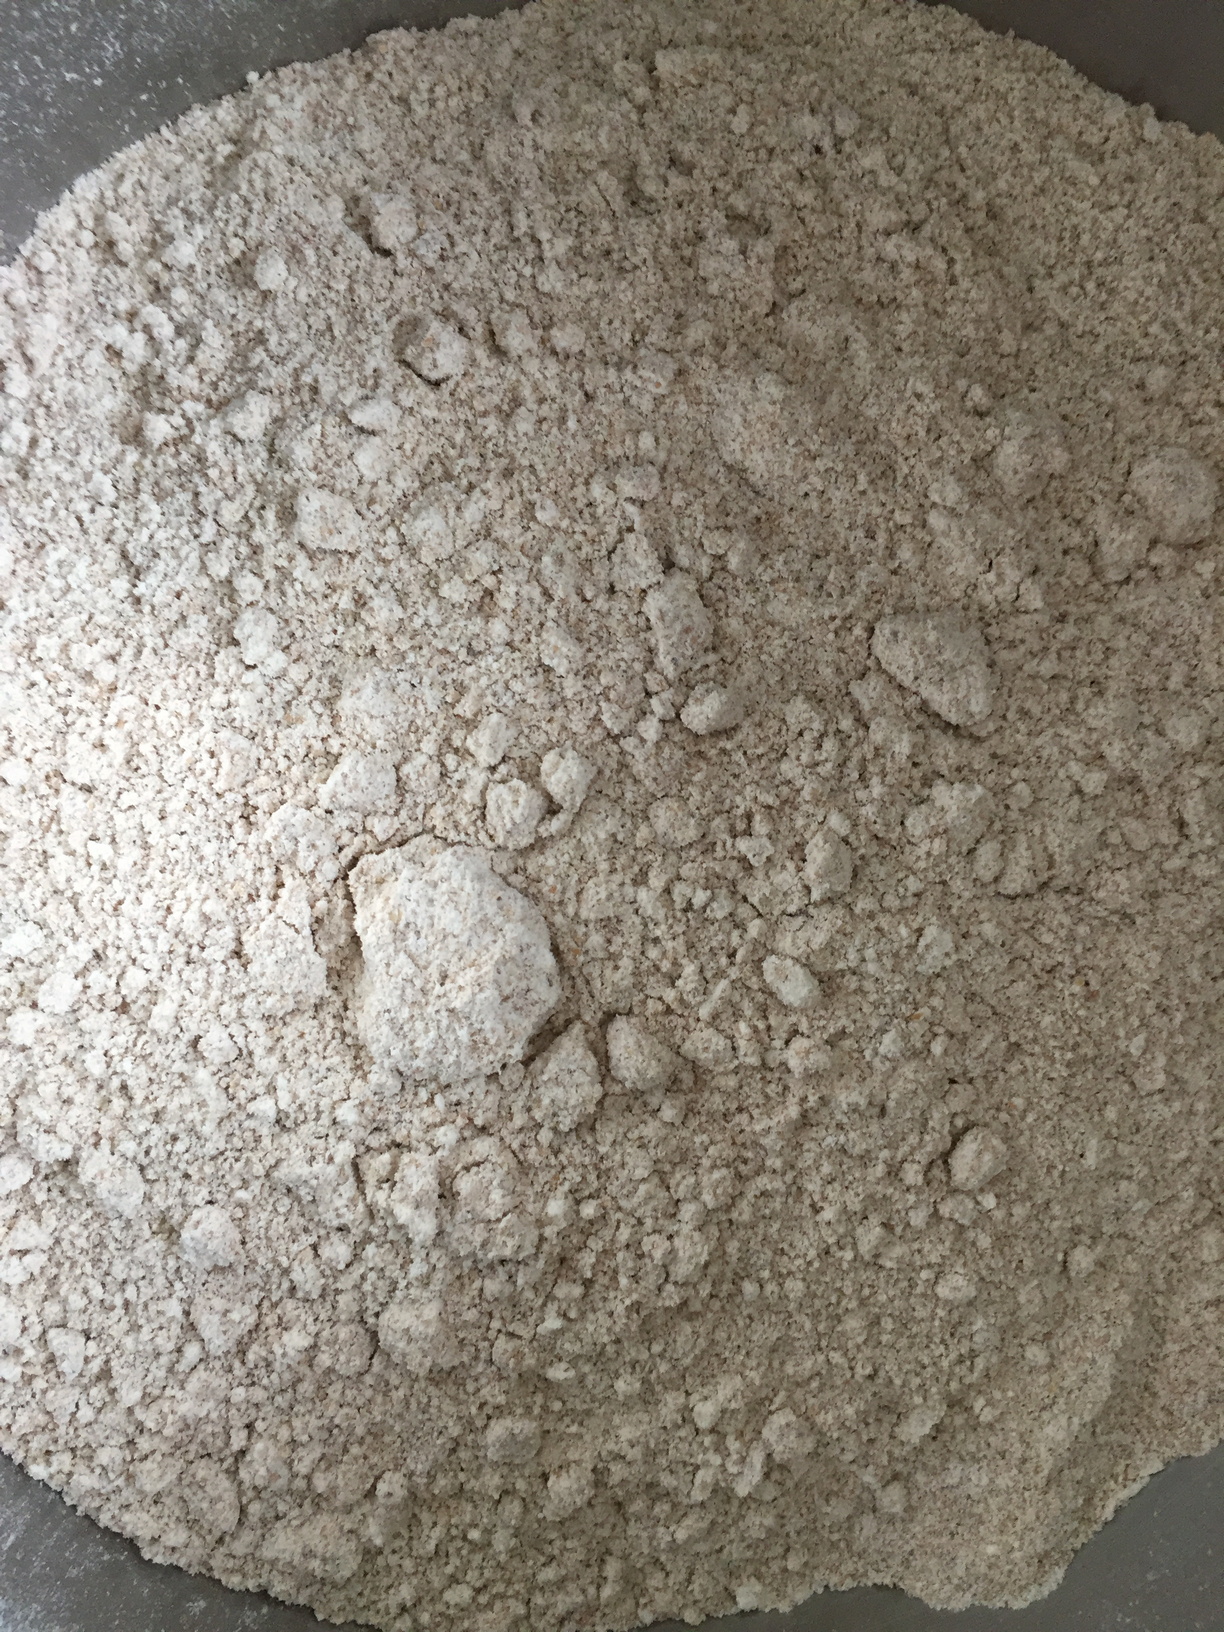
The grittiness is even more apparent in the dough. You can see that the dough does not look silky, like a normal bread dough would, and you can see that it is a lot darker than even a wholemeal flour bread dough, due to the amount of bran left in the flour.
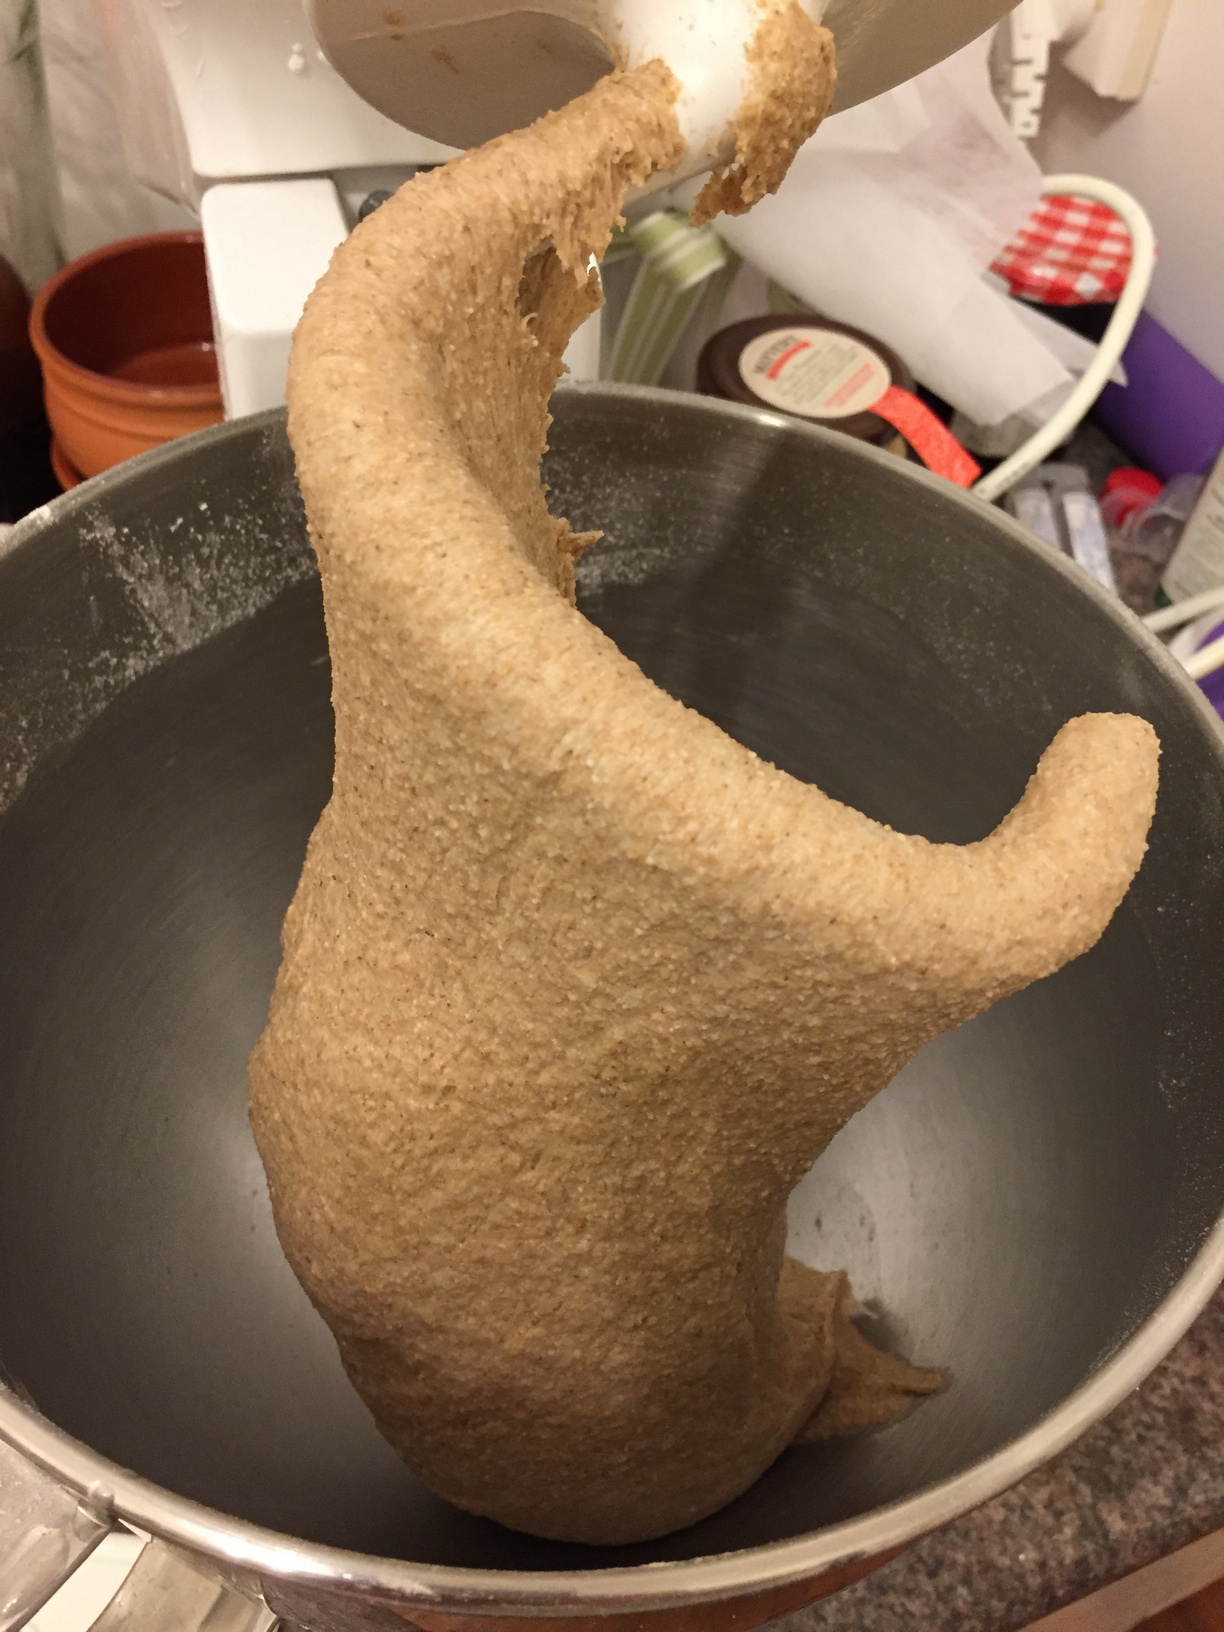
Dough mixed and ready to rise
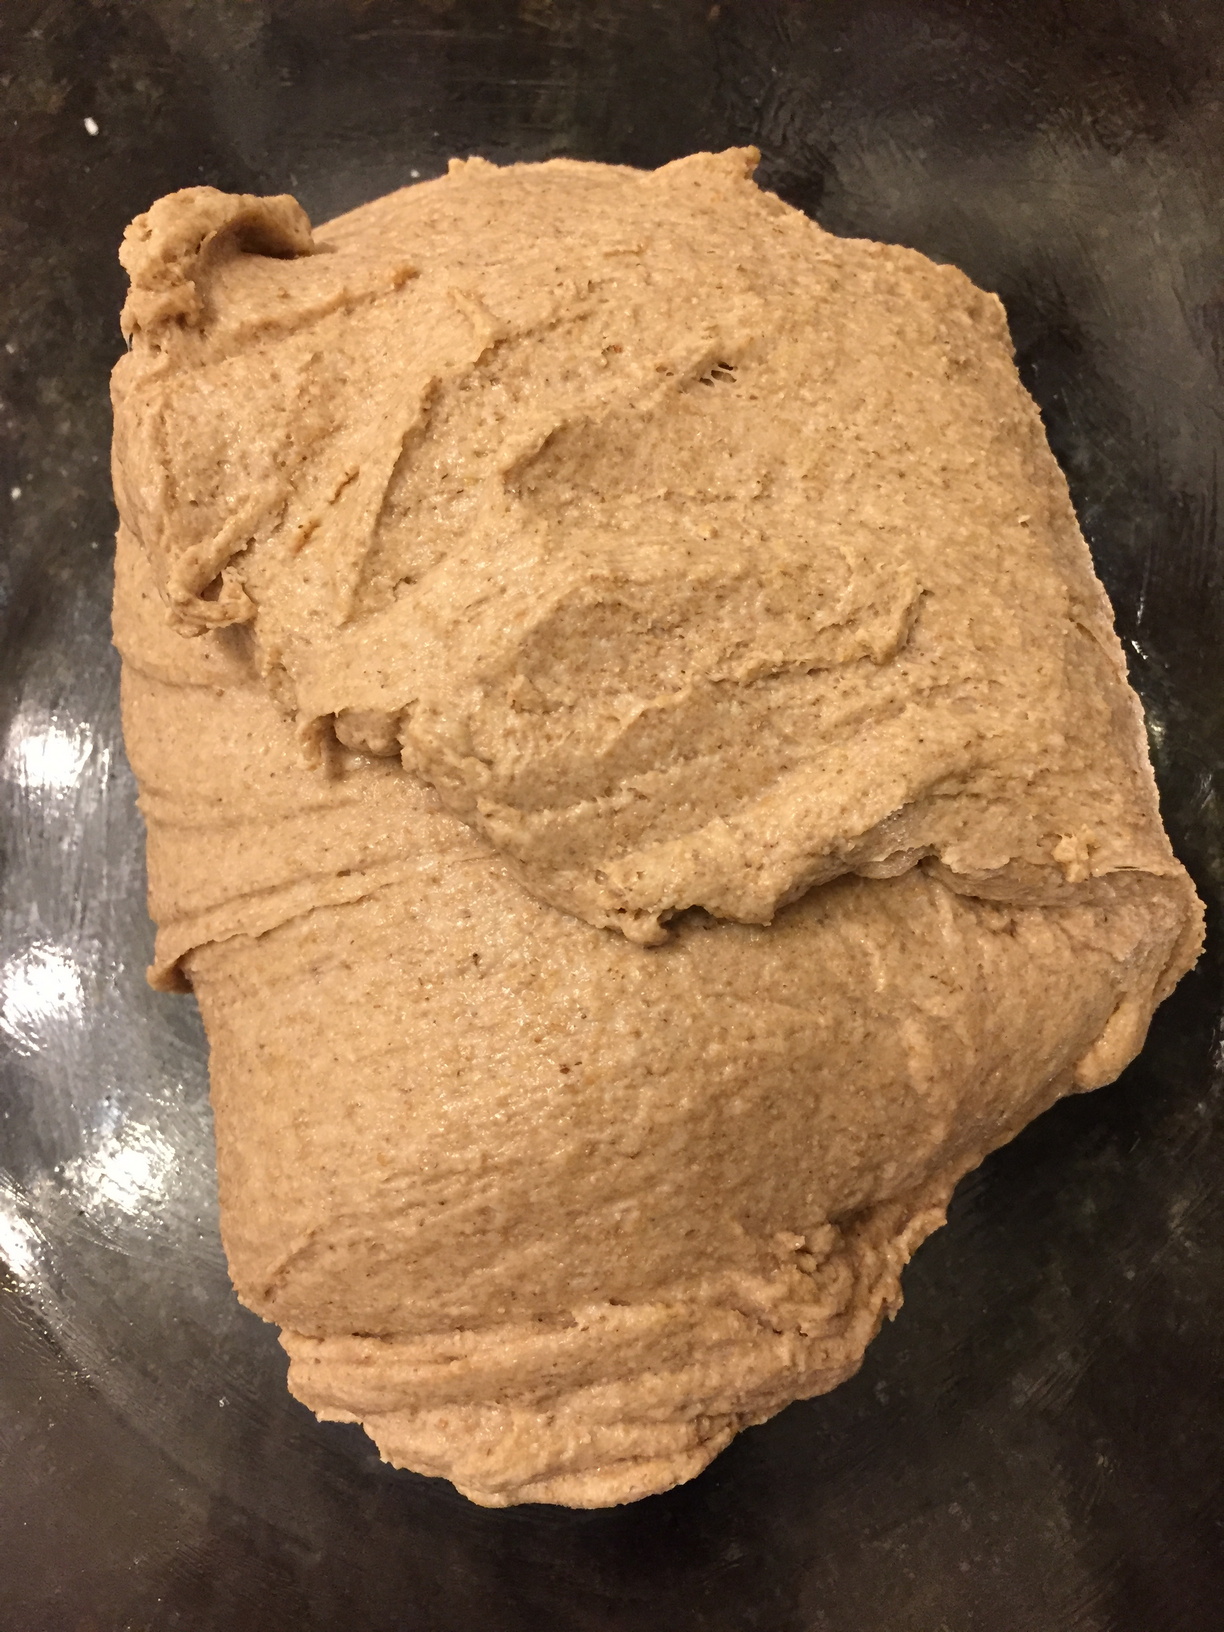
The dough after being left to rise for 1 hour
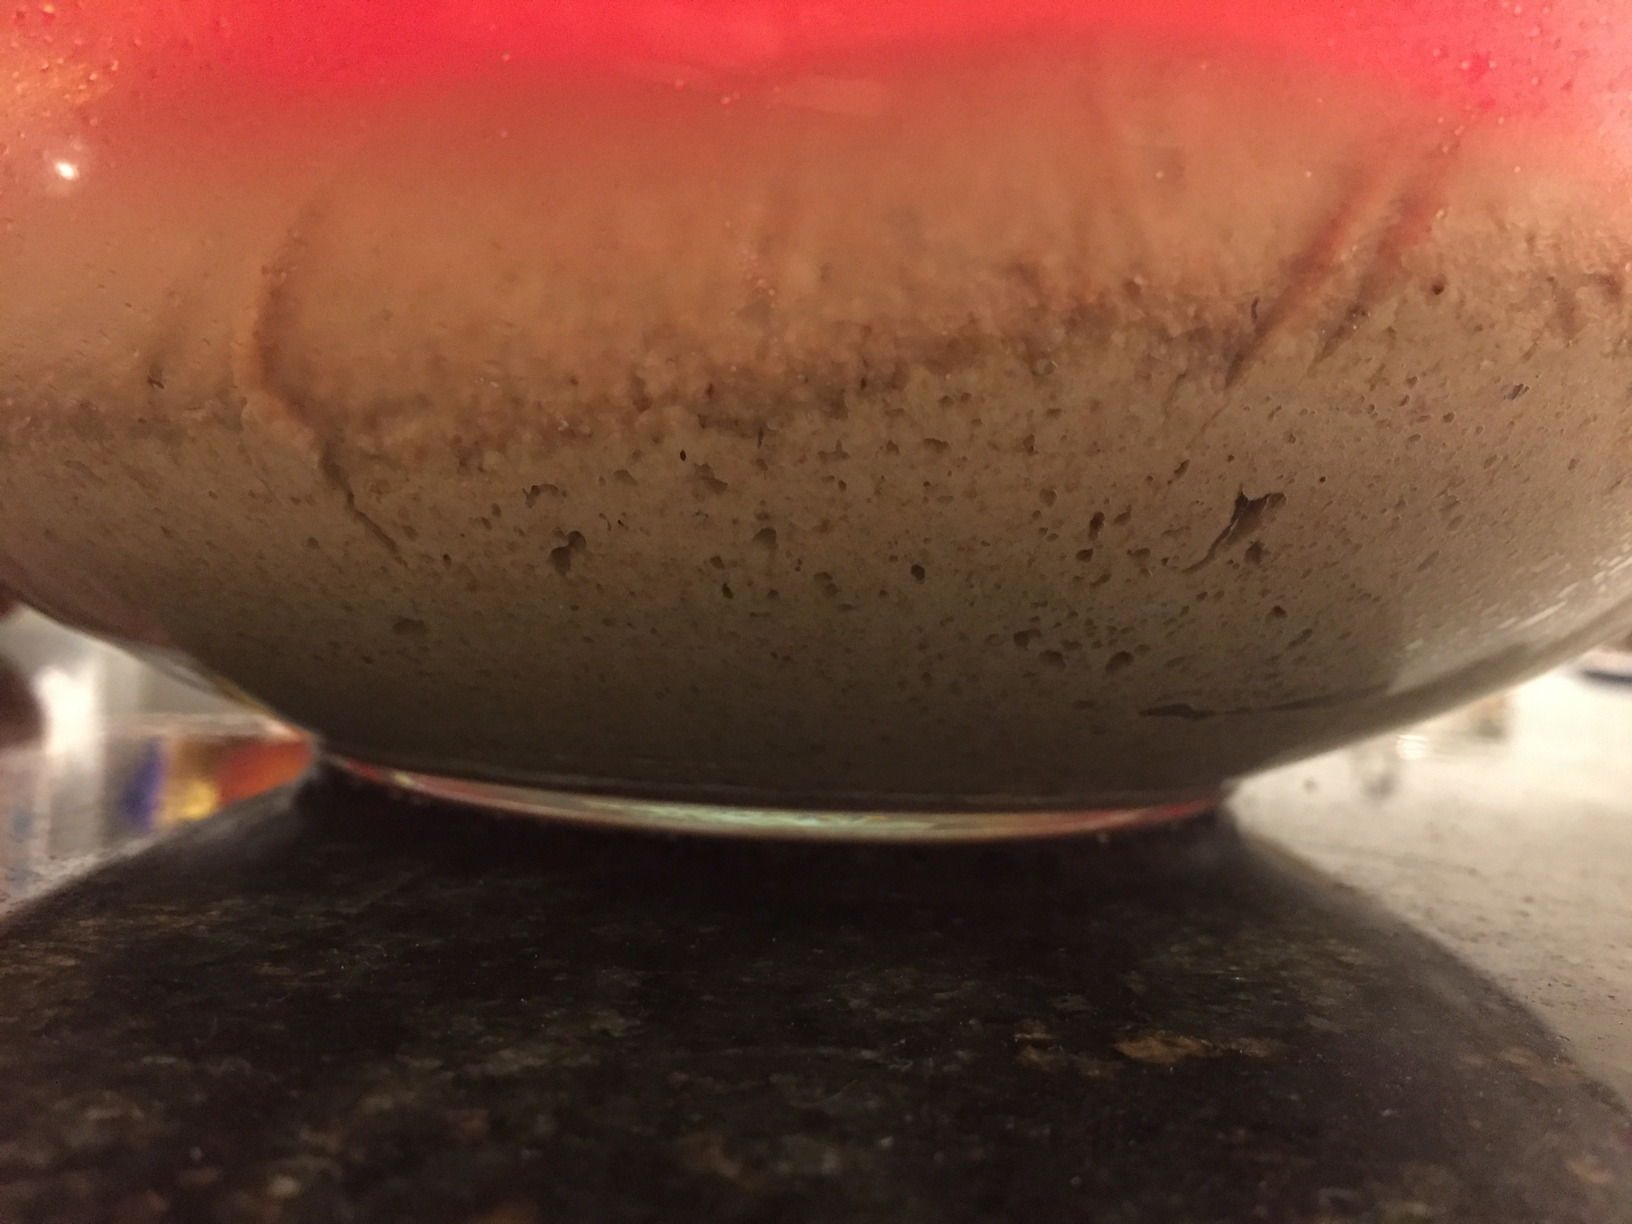
The dough after being left to rise for 4.5 hours
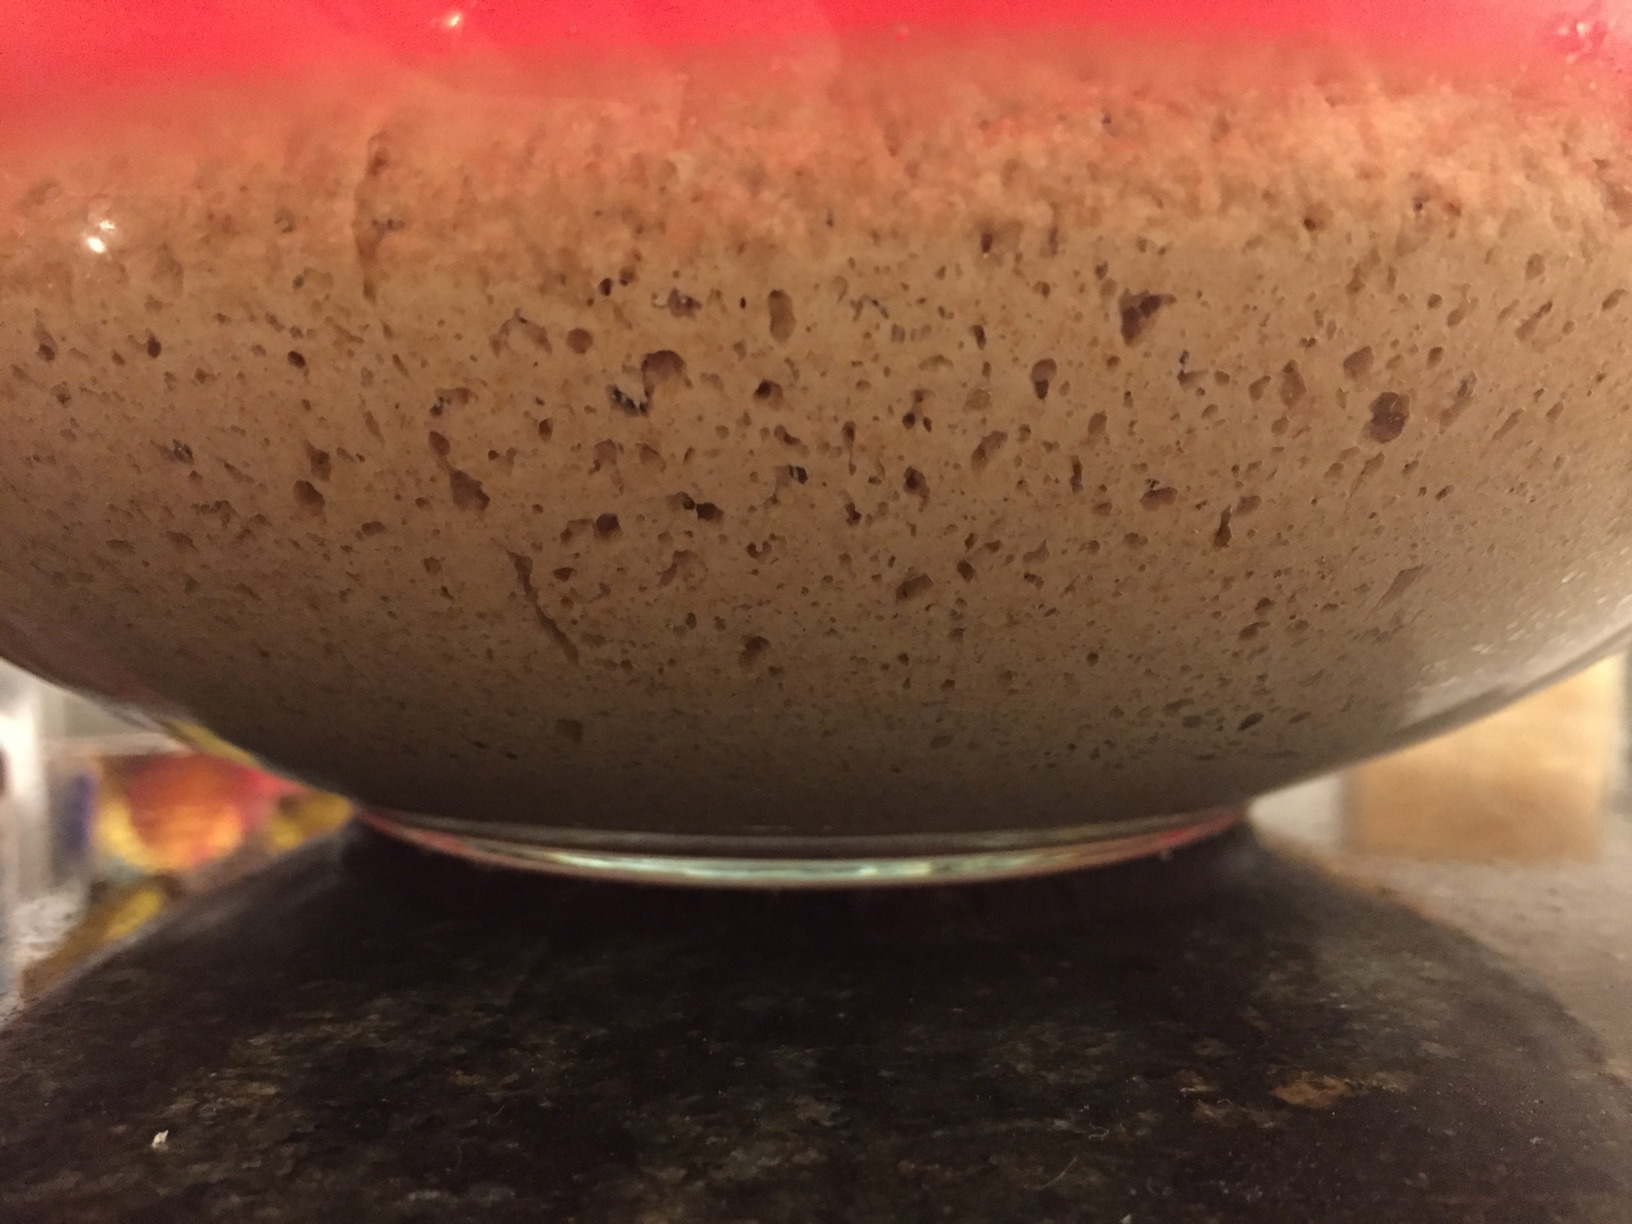
The dough after being left overnight, roughly 13 hours after being mixed
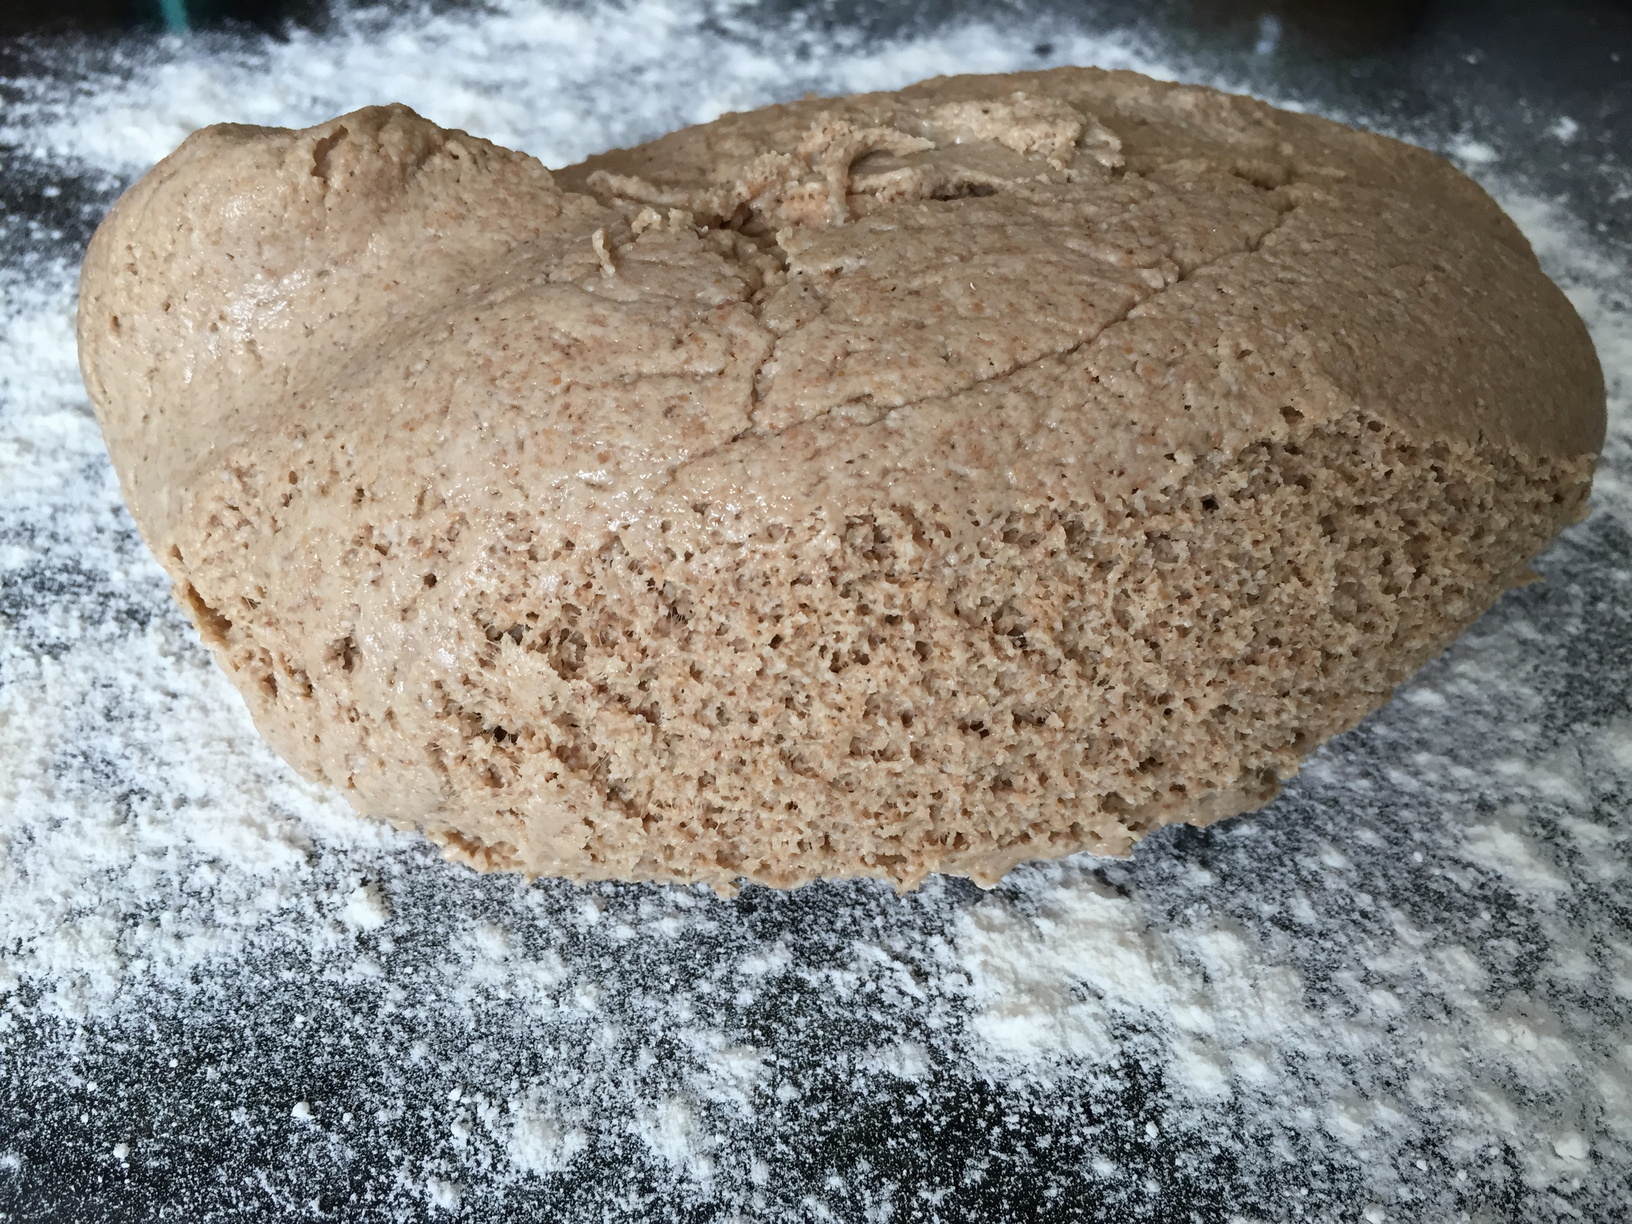
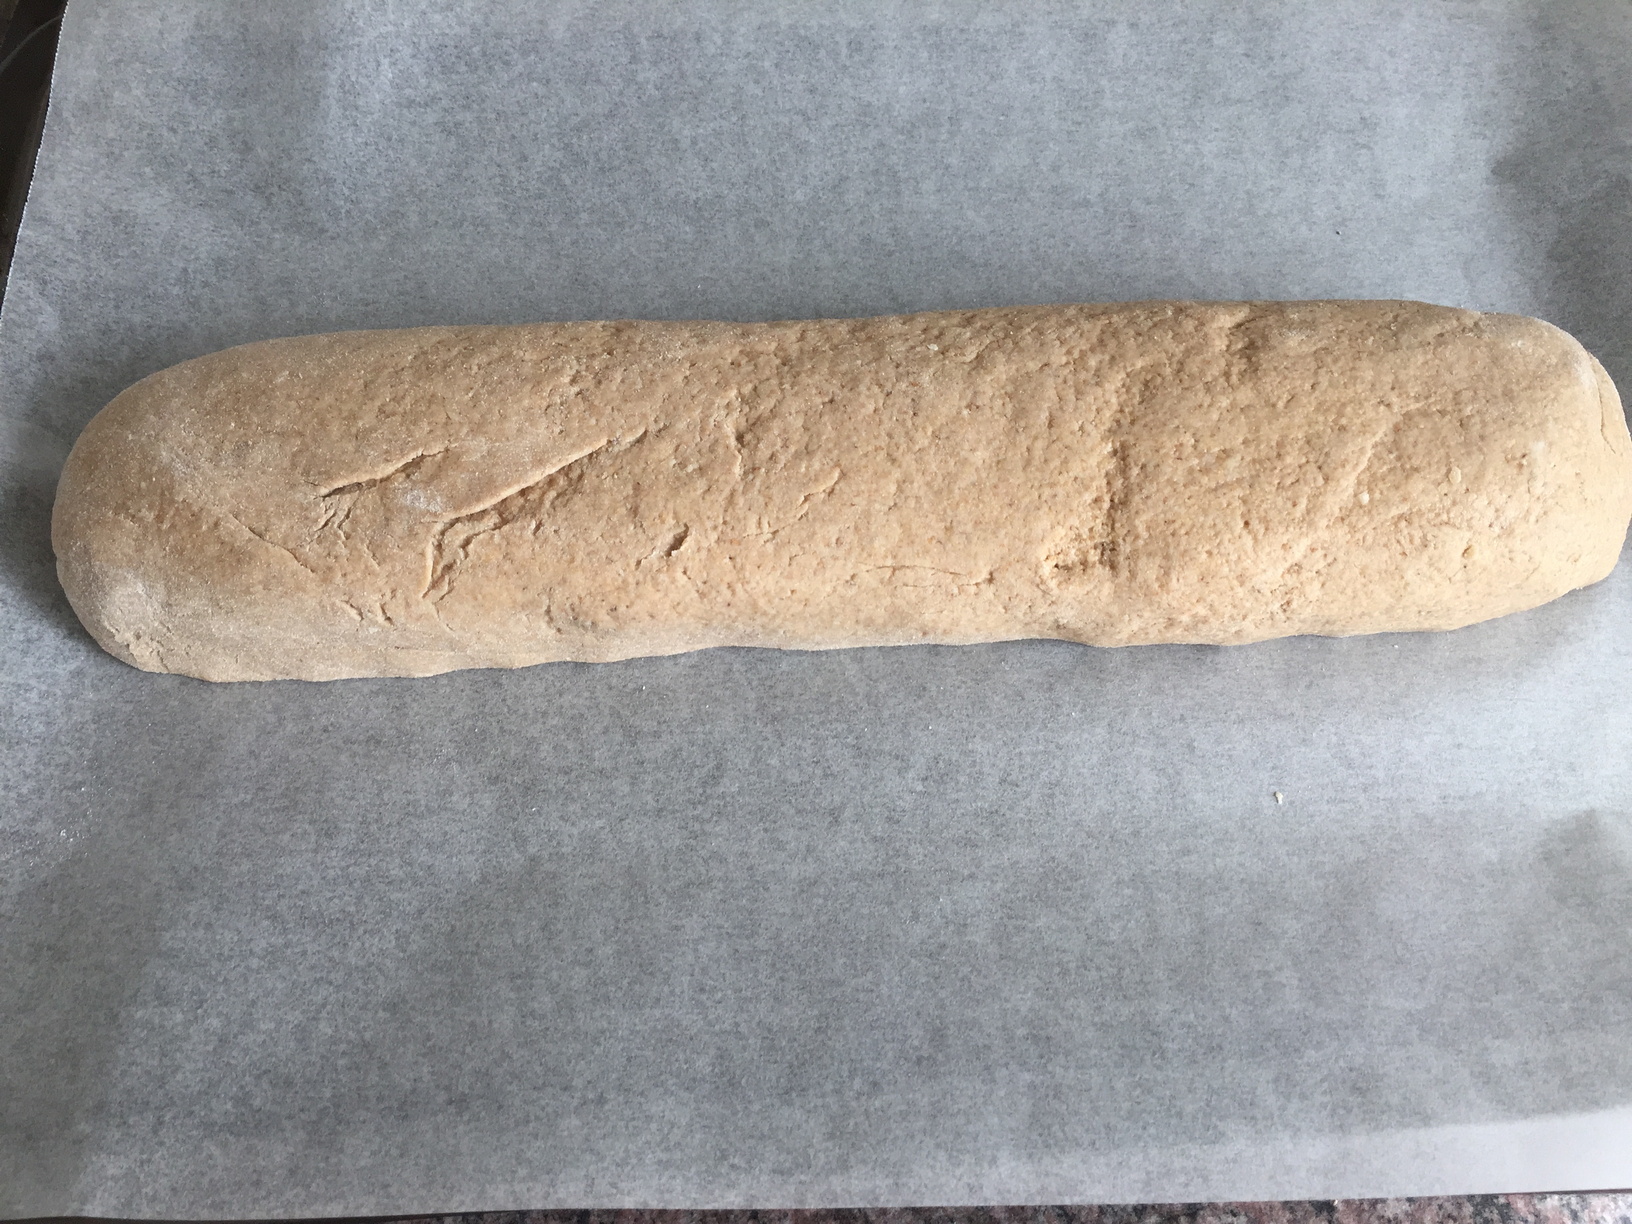
The dough shaped into a loaf to be left to prove
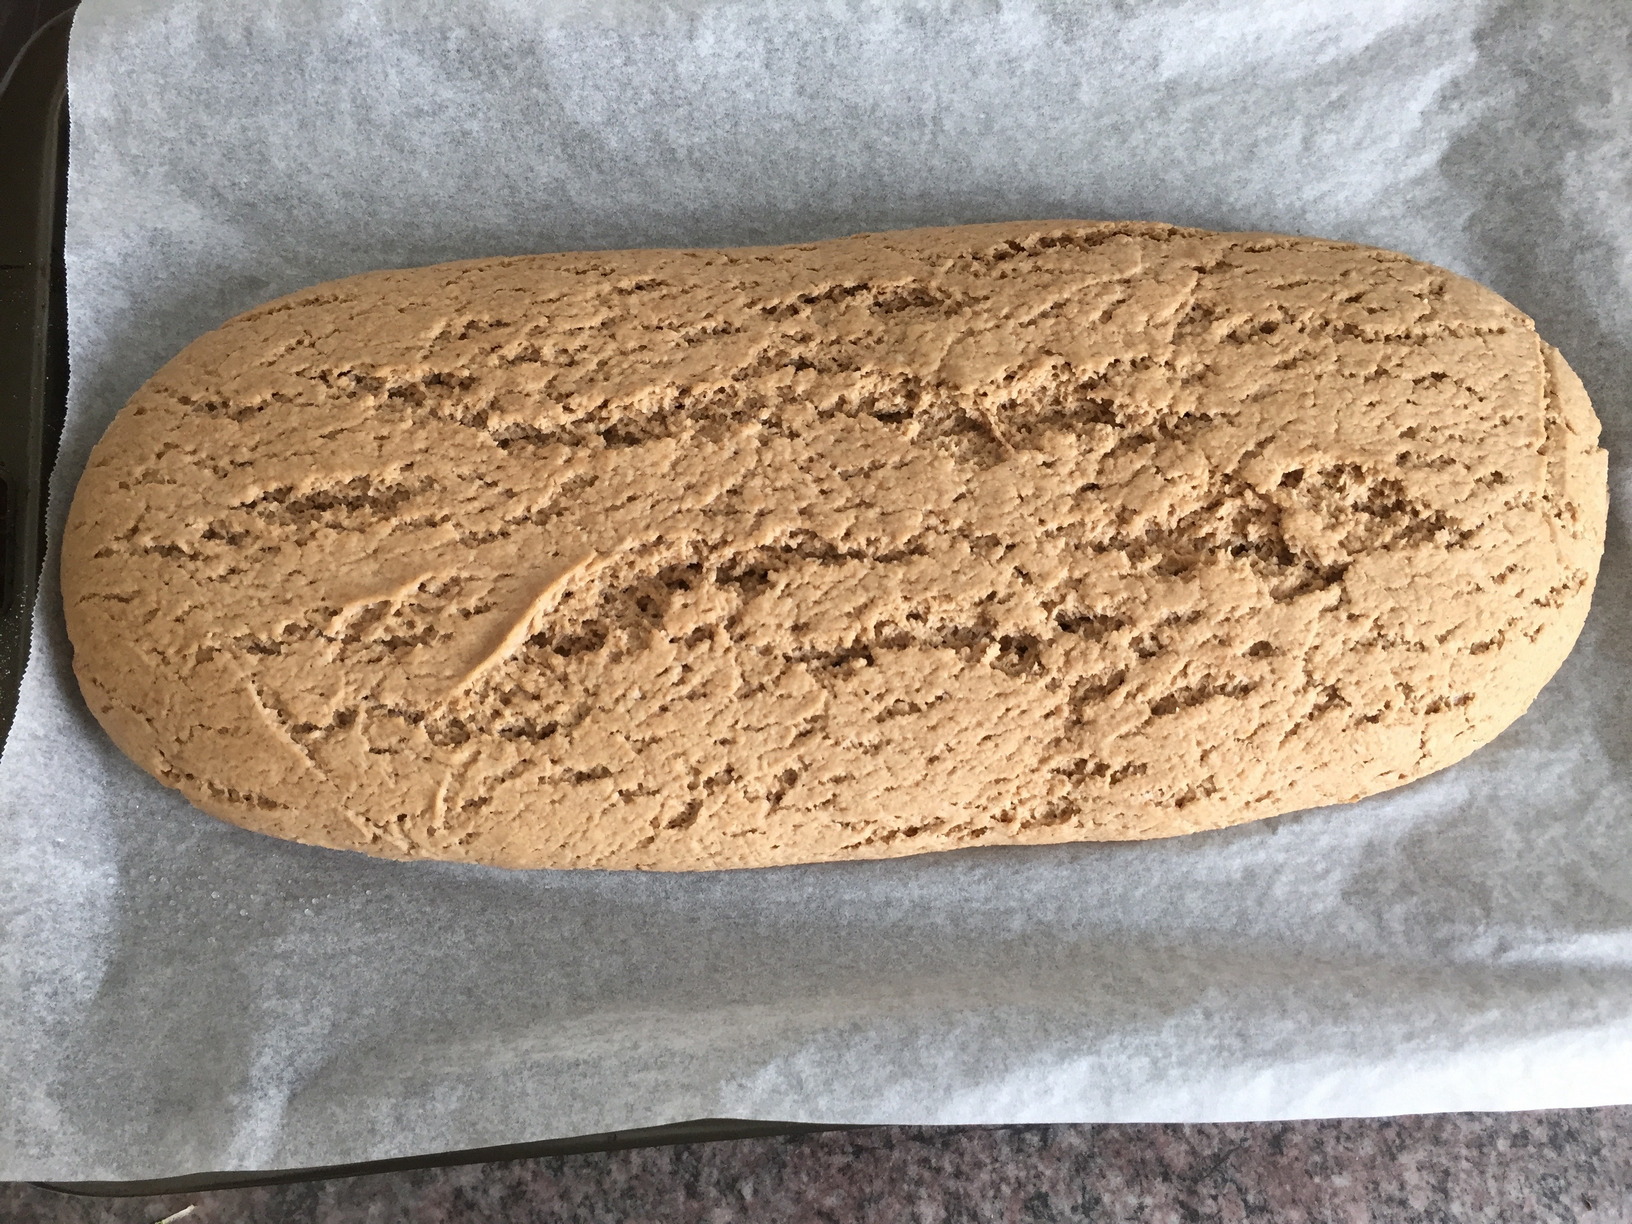
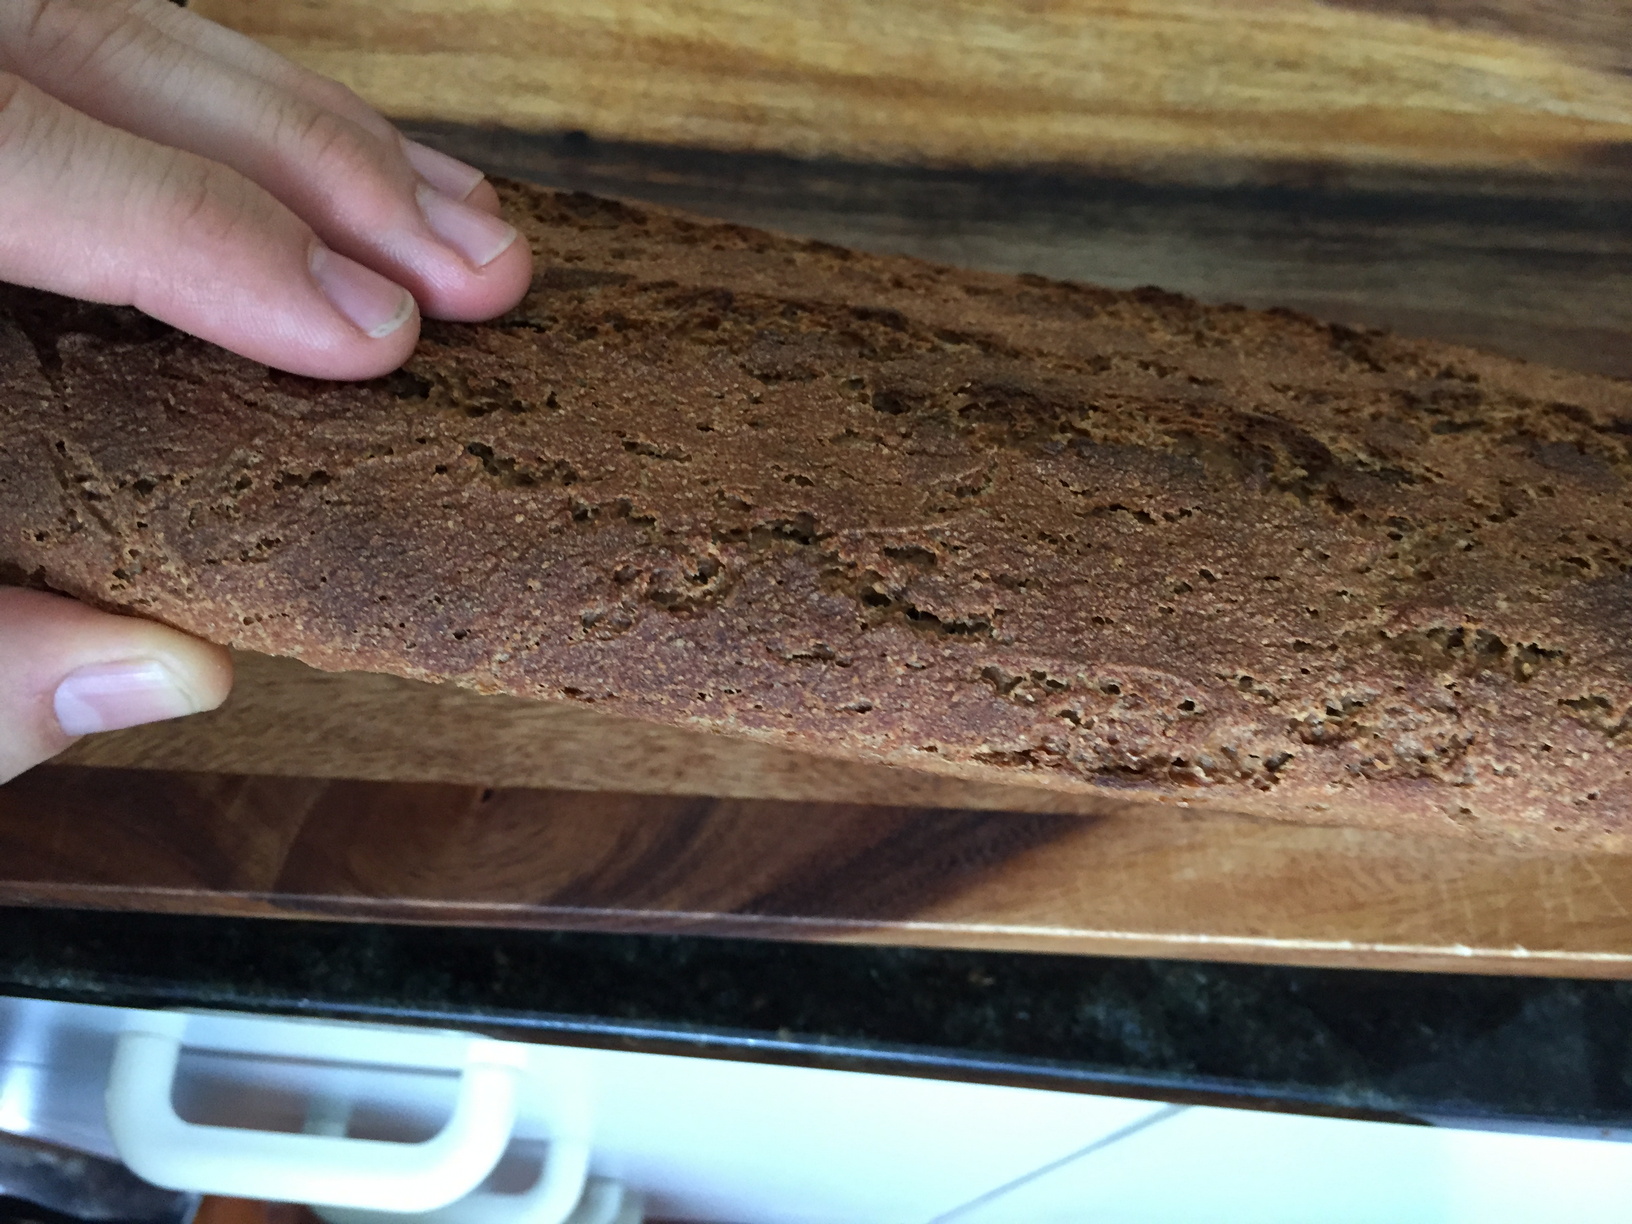
The proved loaf, 4 hours later, ready to bake. It spread a lot more than it rose.
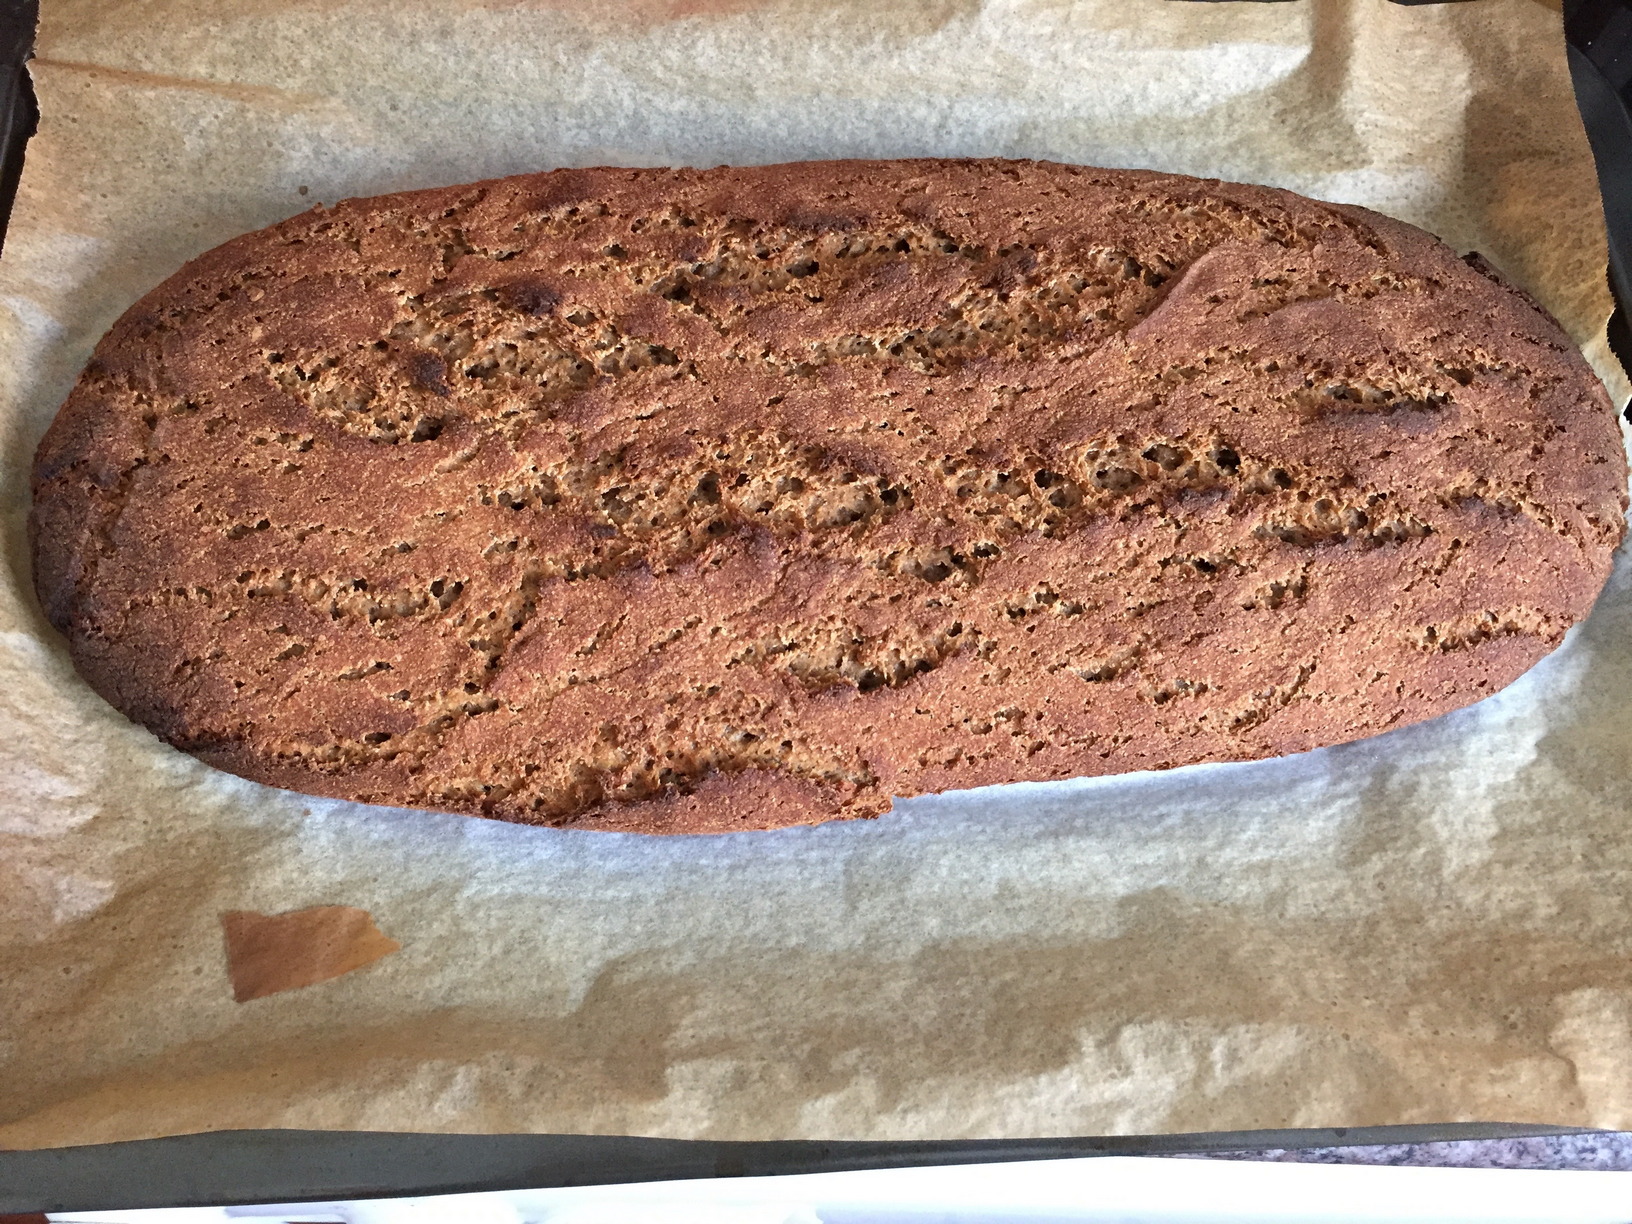
The baked loaf
Unfortunately I did not get the rise I was hoping for
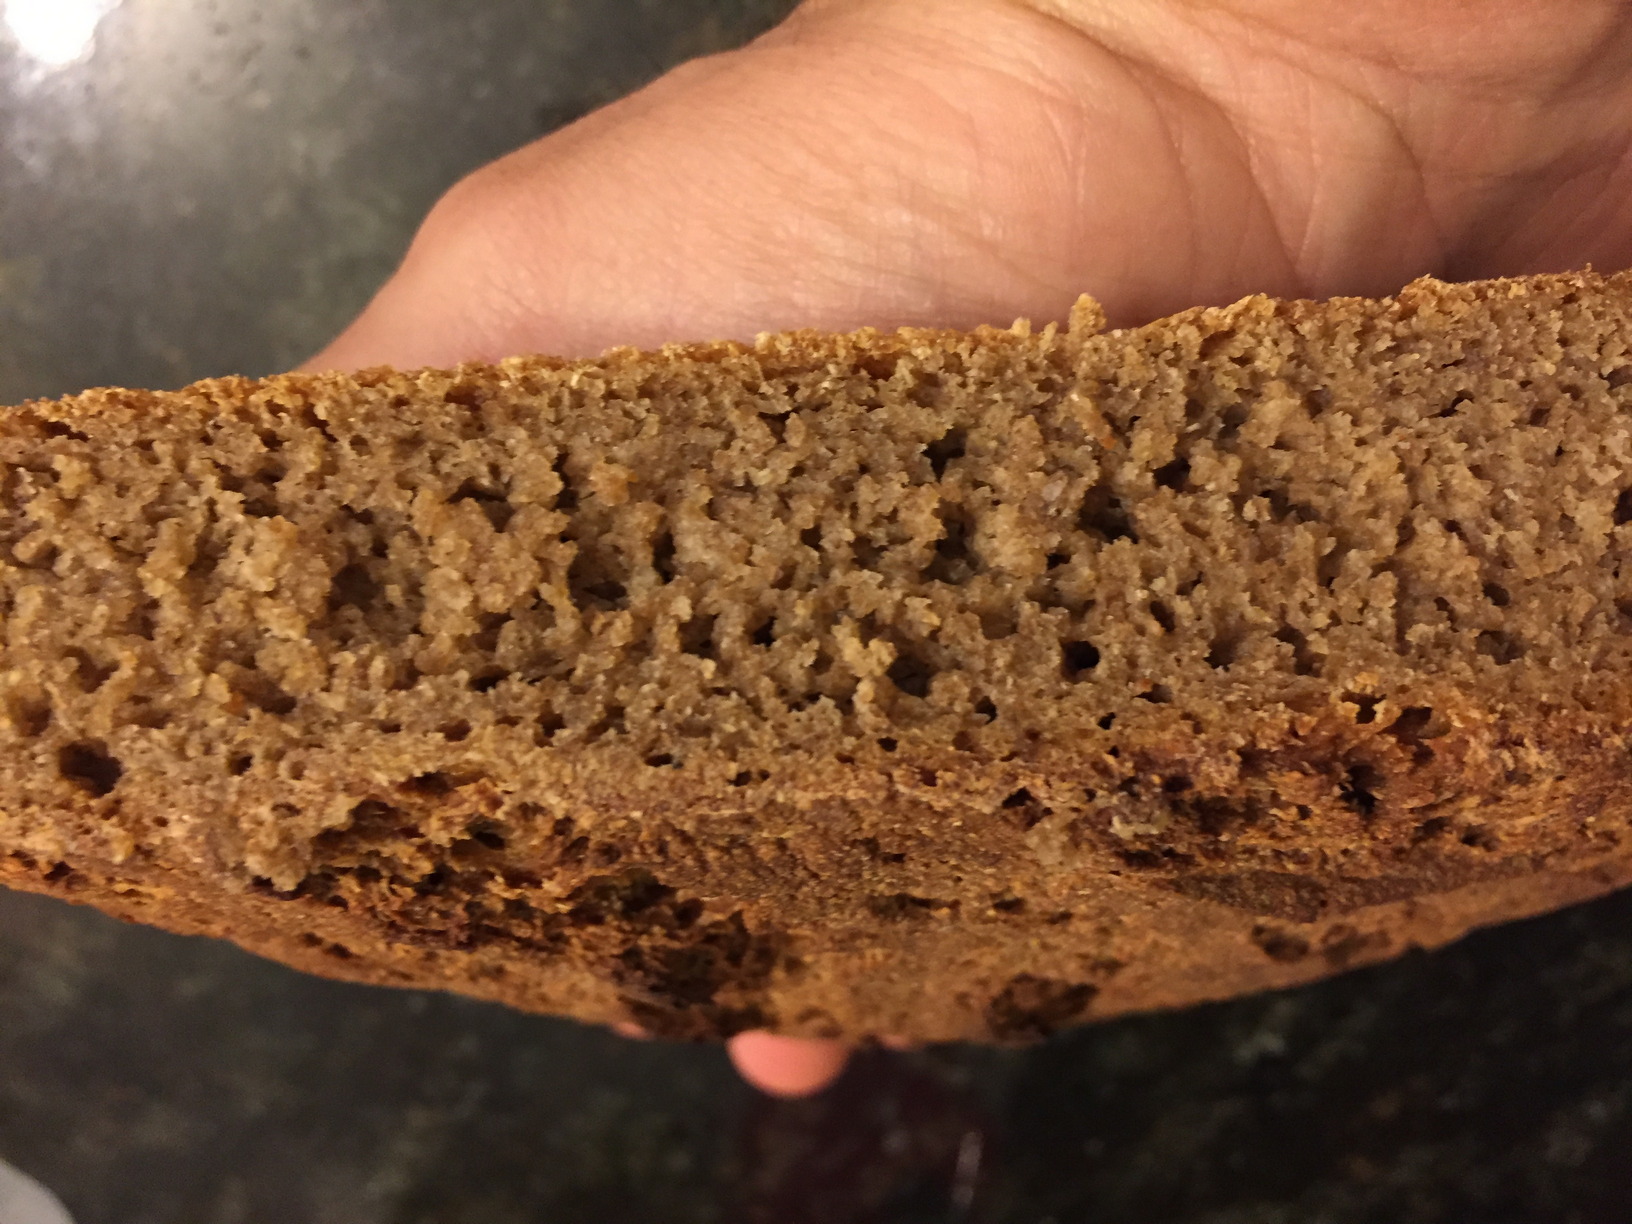
Cross-section of the bread
Eating
The whole-wheat flour gave the bread a strong bran flavour. The crust and body of the bread were much darker than even a regular wholemeal flour loaf. The crust was quite crunchy and I enjoyed the flavour. The texture of the bread was also grainier than it should have been. Overall though, it was definitely edible. We ate it on the day with a variety of ingredients, and I took it in to work the next day with some butter. No one spat it out, and some people did come back for seconds, so it can’t have been too bad!
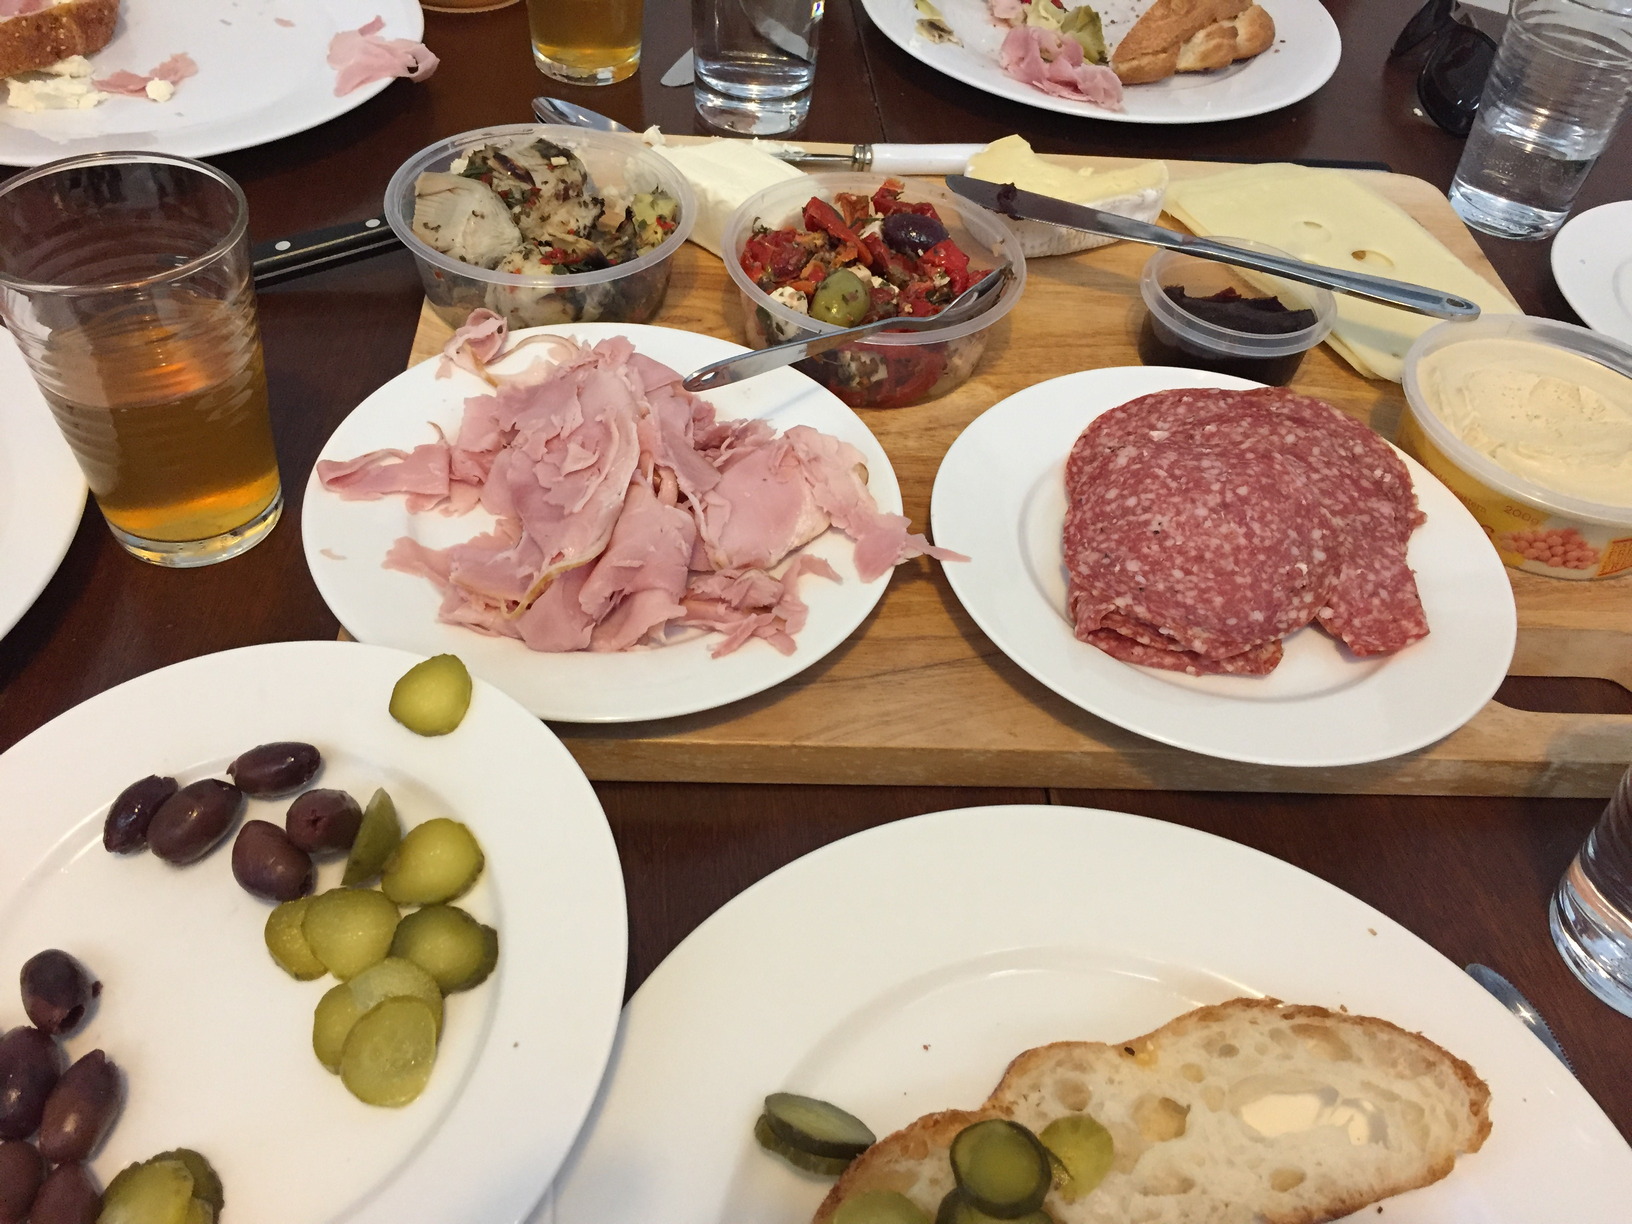
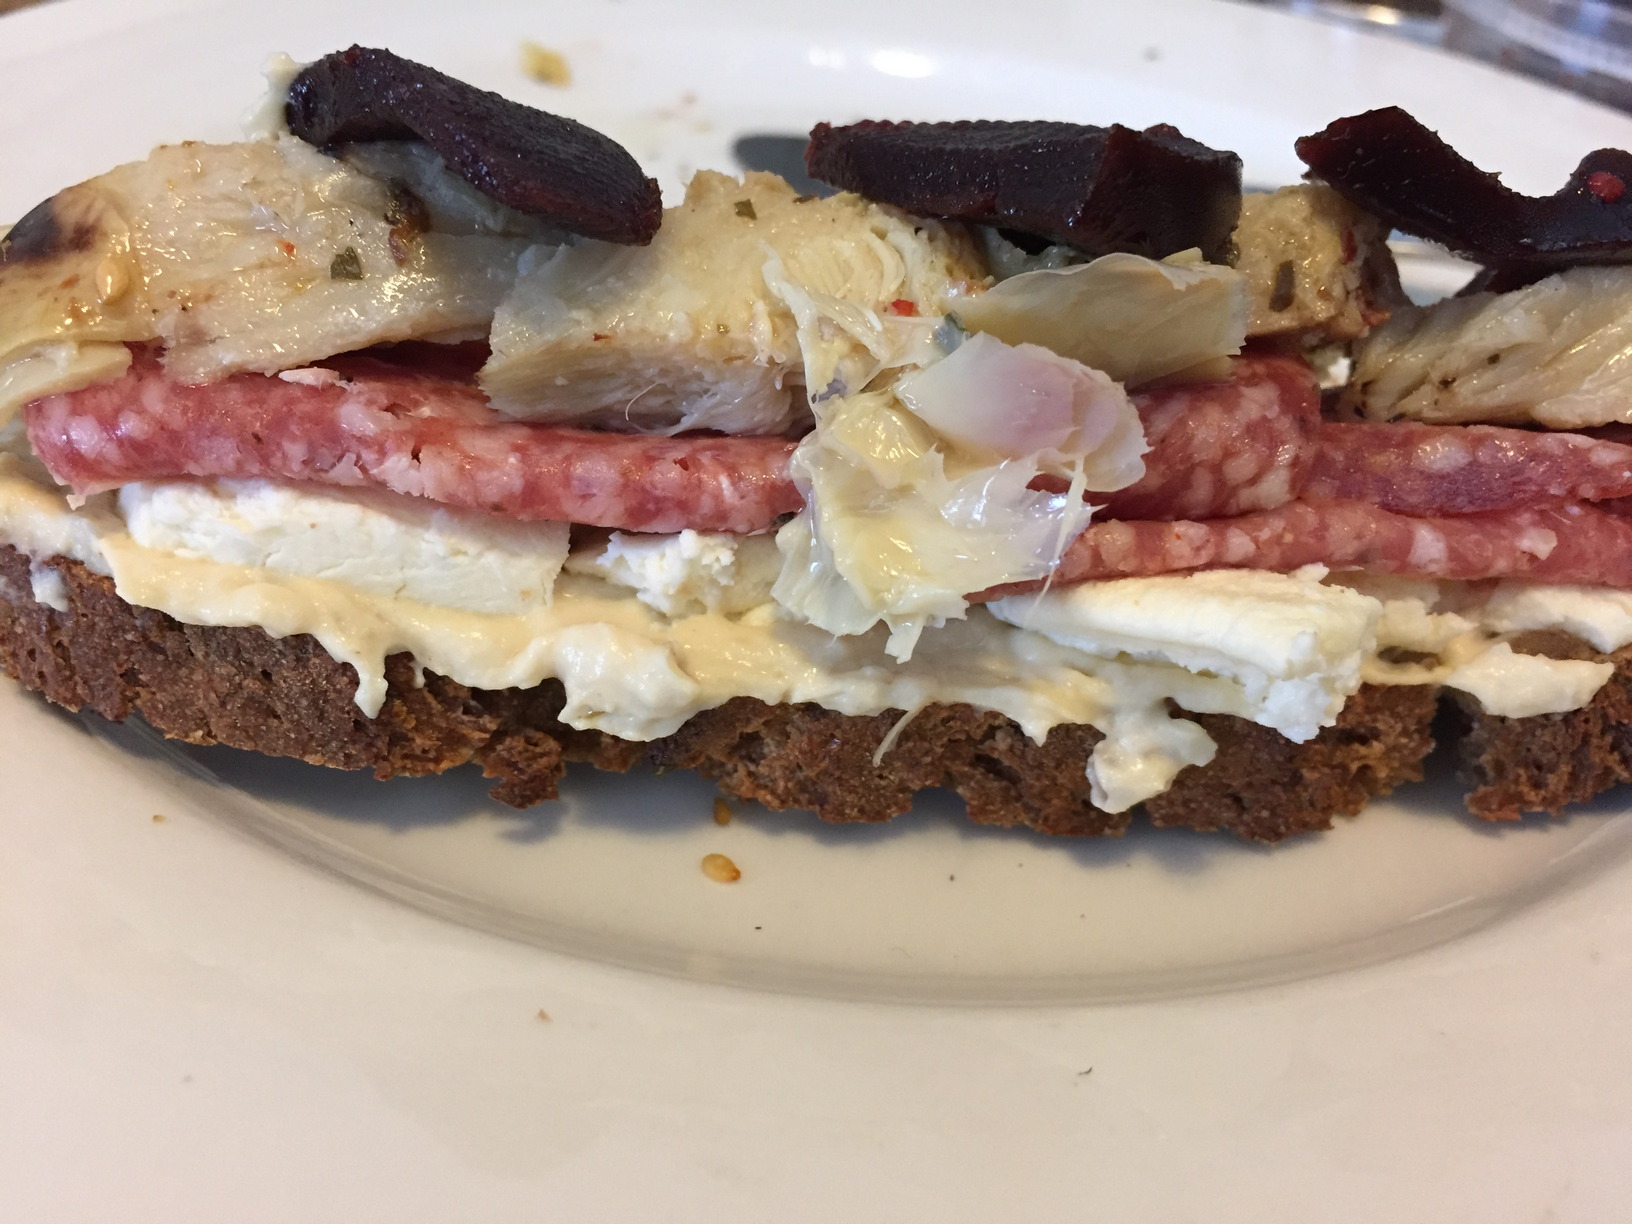
This is what we had with the bread for lunch. The bread on the plates was a 'backup loaf' that my wife bought, just in case... Such faith!
This was an assembled slice of bread, prior to being devoured. Salami, soft cheeses, artichoke hearts and quince paste
What I was hoping for
Here is a loaf of bread I made the following weekend, using a combination of commercial baker’s flour and wholemeal flour.
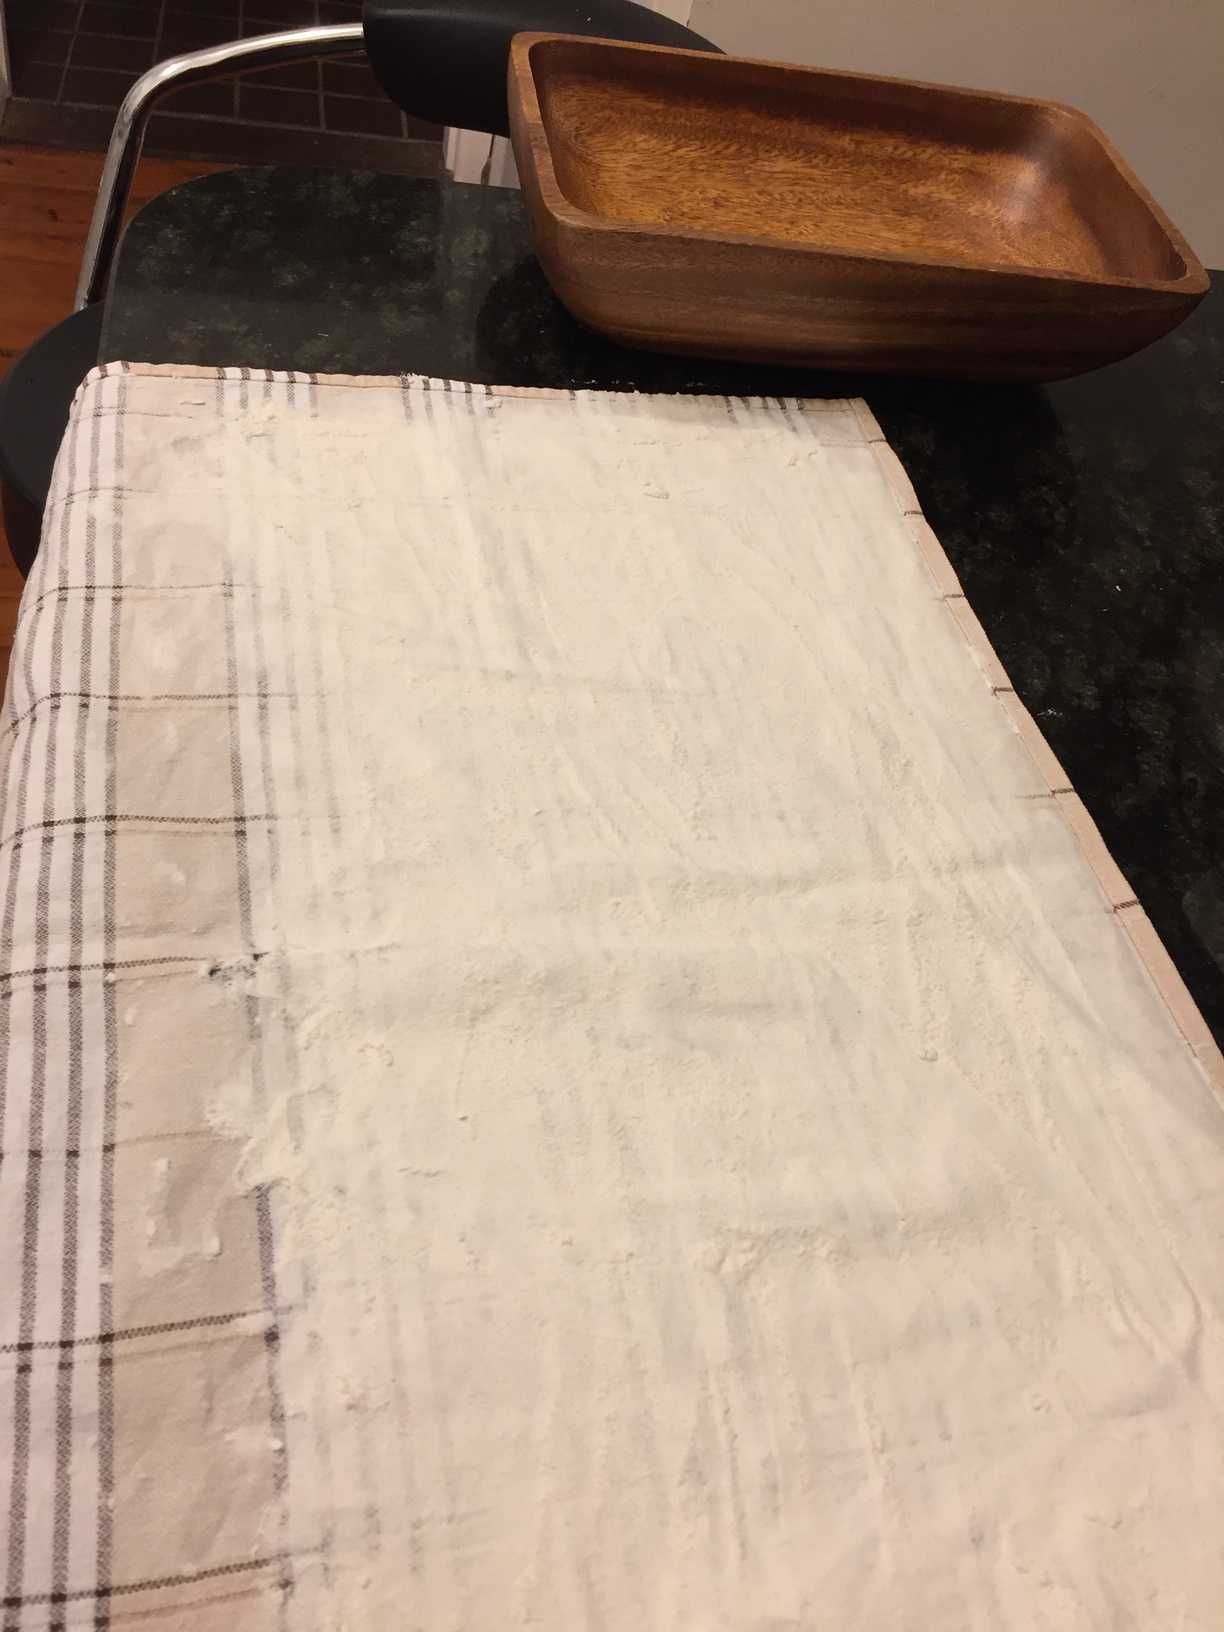
I used a different method for proving this bread, using a floured tea towel and a make-shift banneton
The floured tea towel was placed in a dish. I don't have a banneton, so just used a bowl of similar/close-enough dimensions.
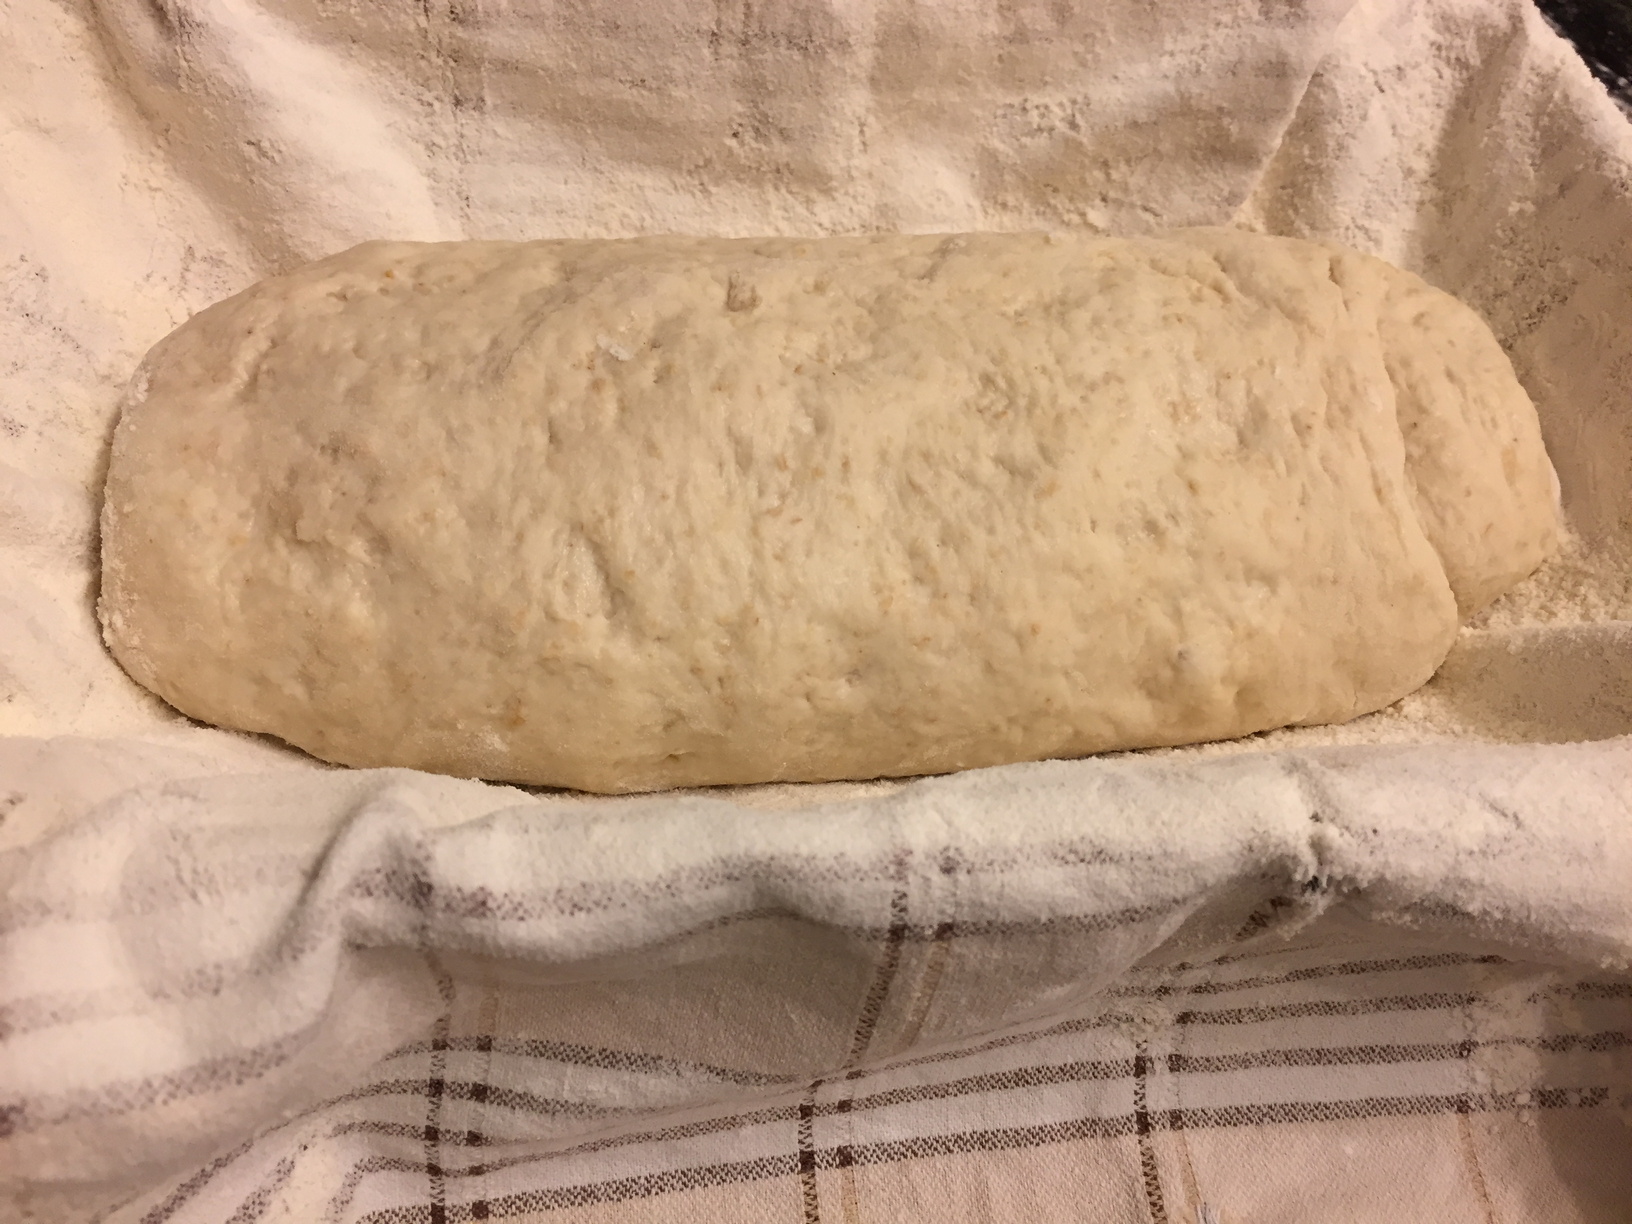
After an hour or so of proving
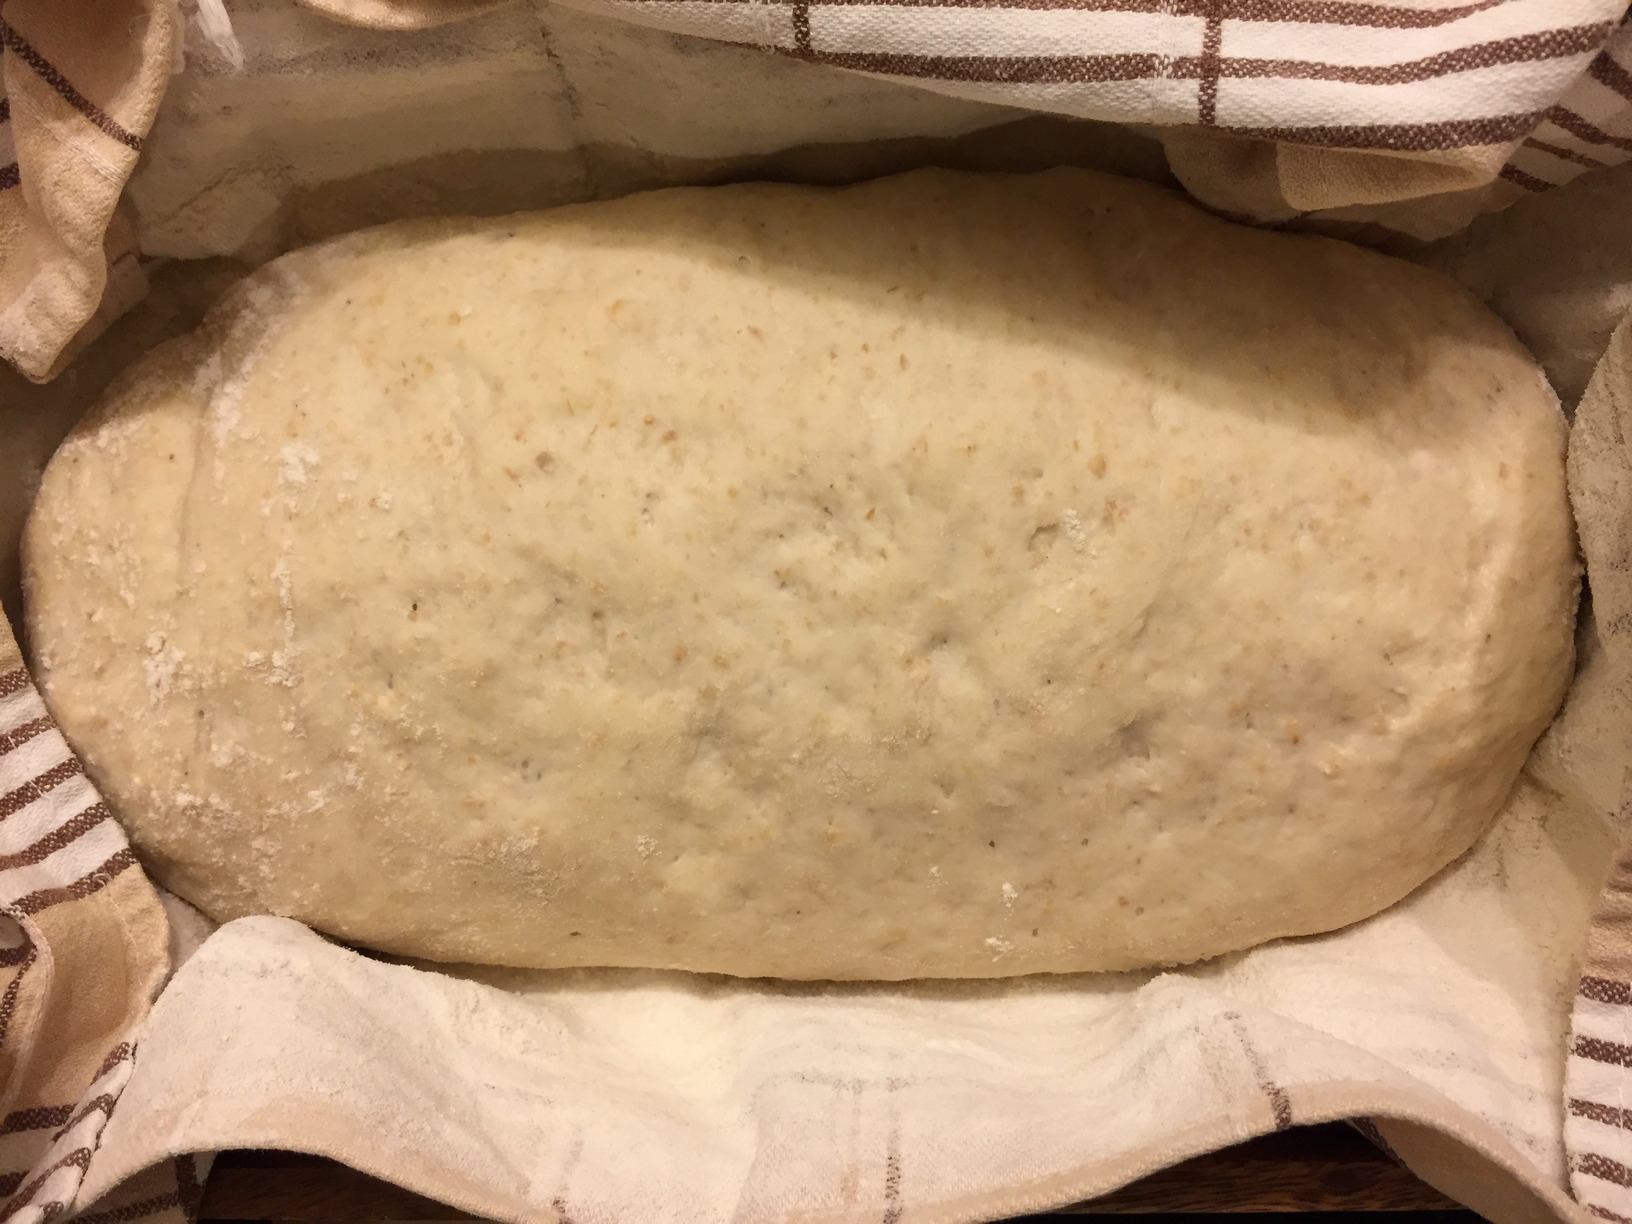
After another hour or so of proving
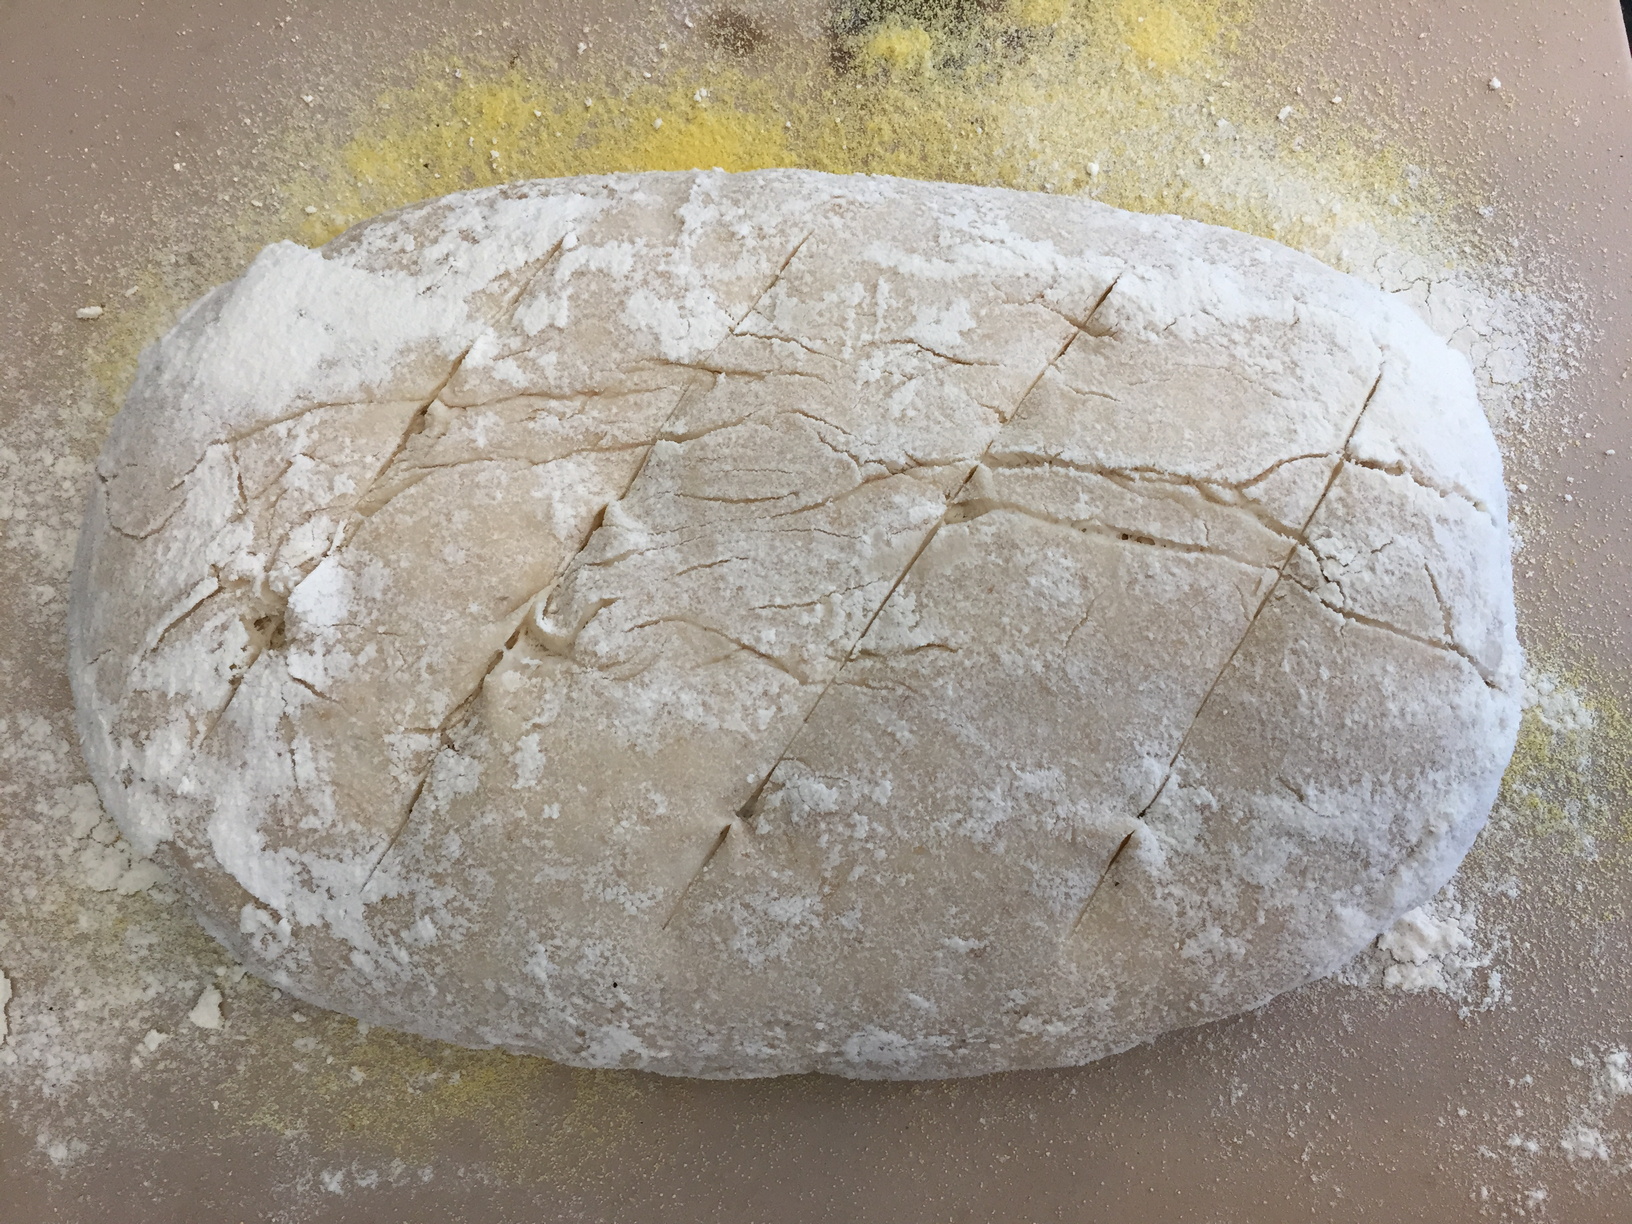
Tipped out onto the baking tray, which was dusted with flour and polenta, and slashed
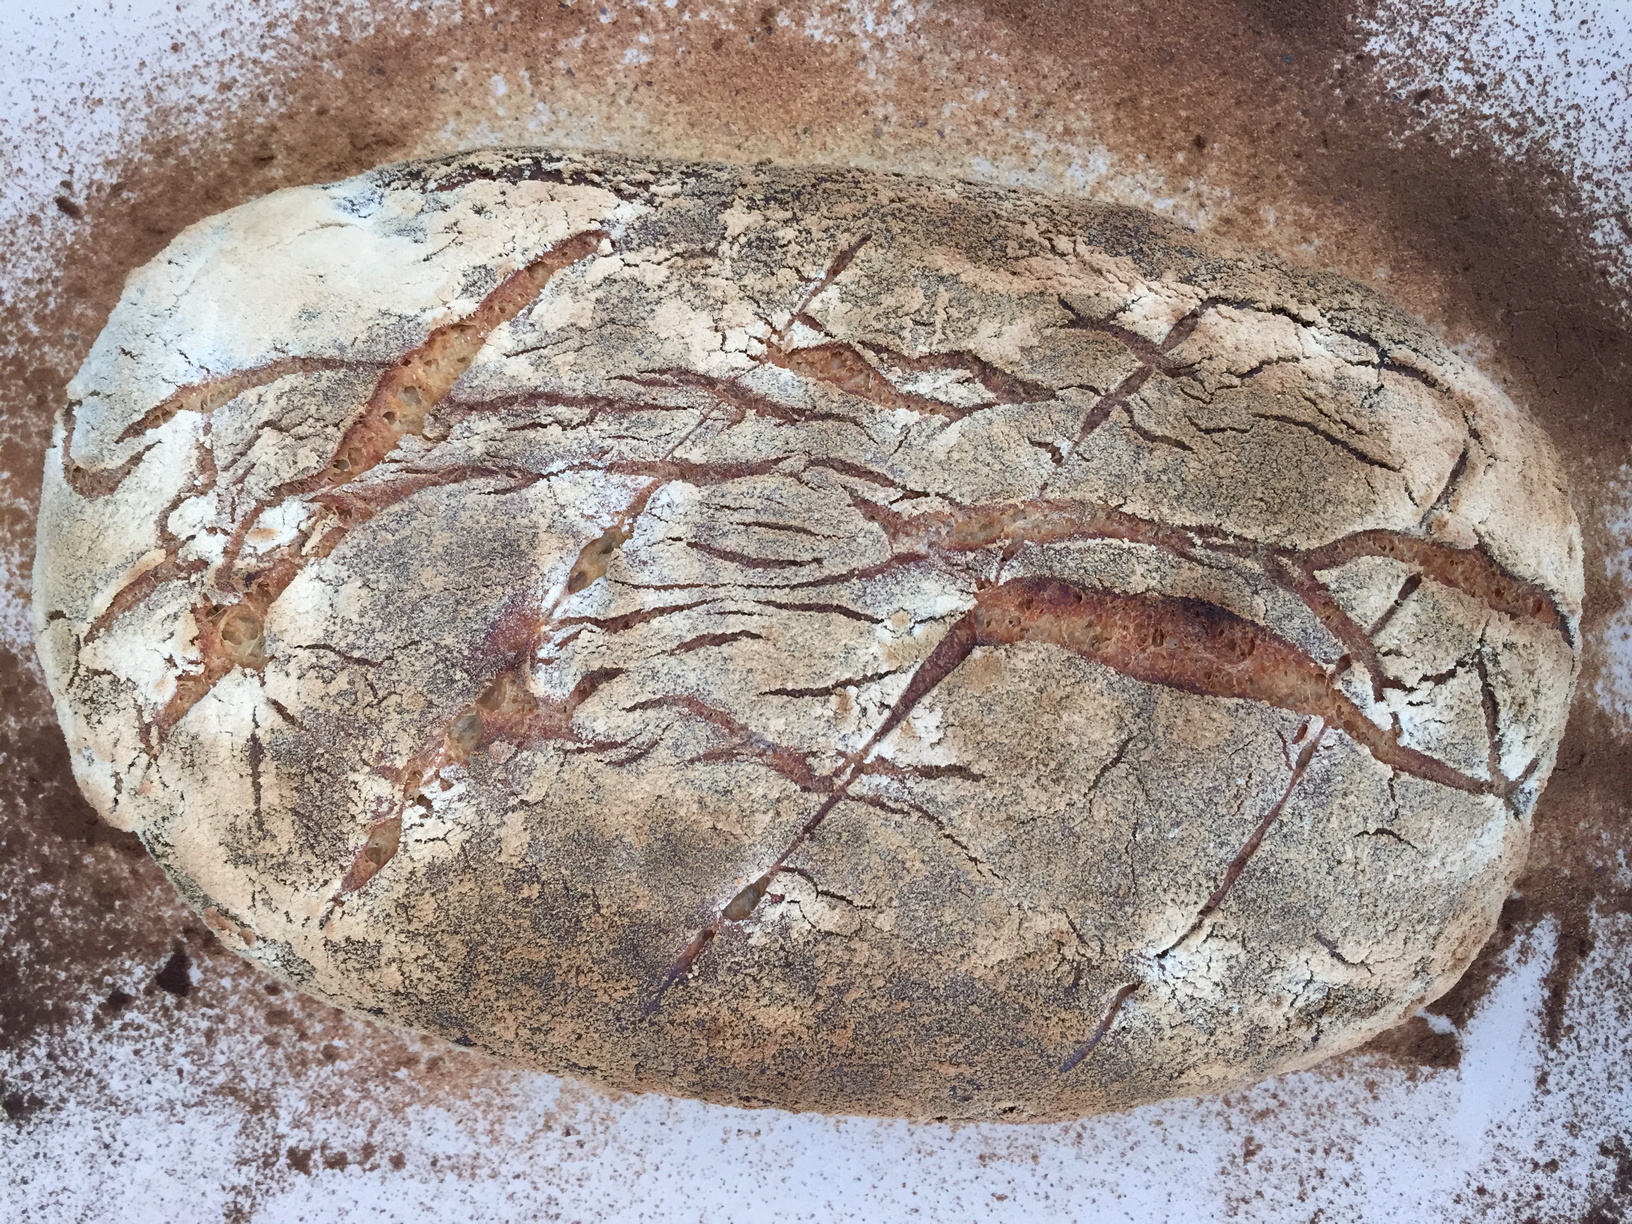
Baked
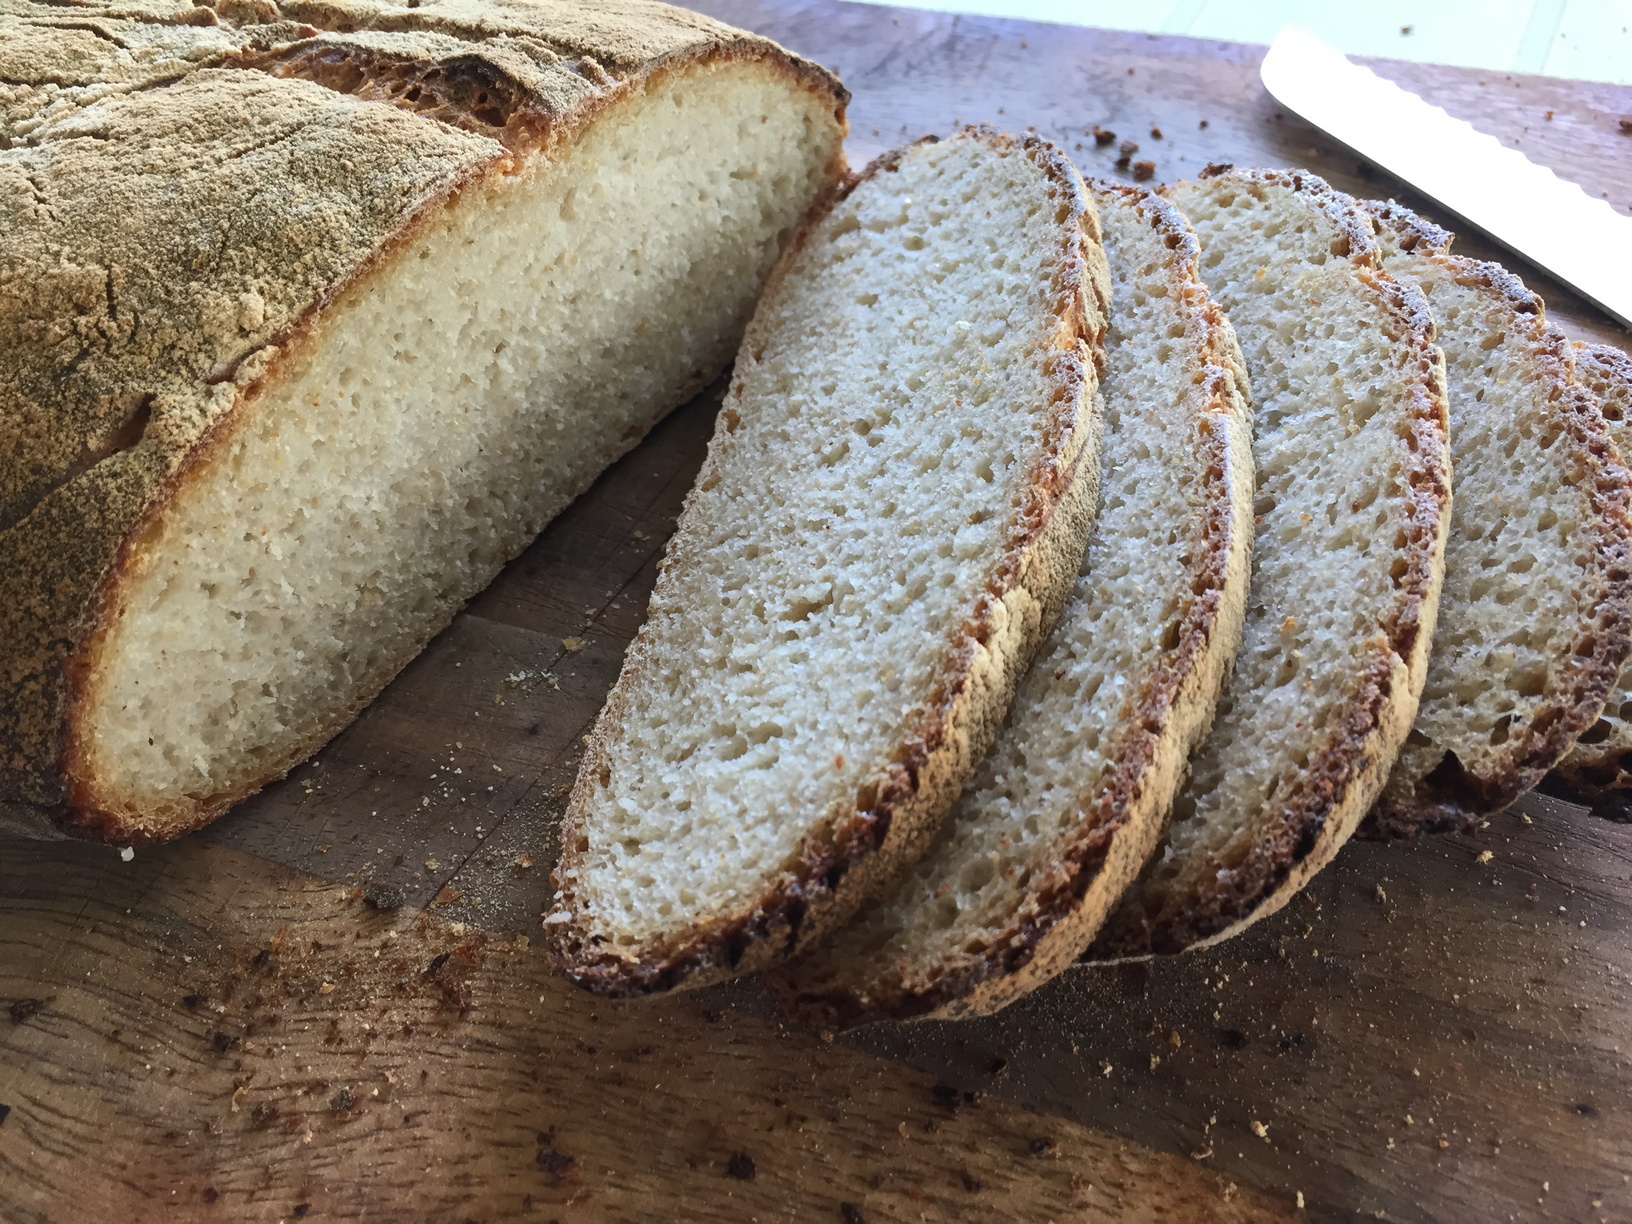
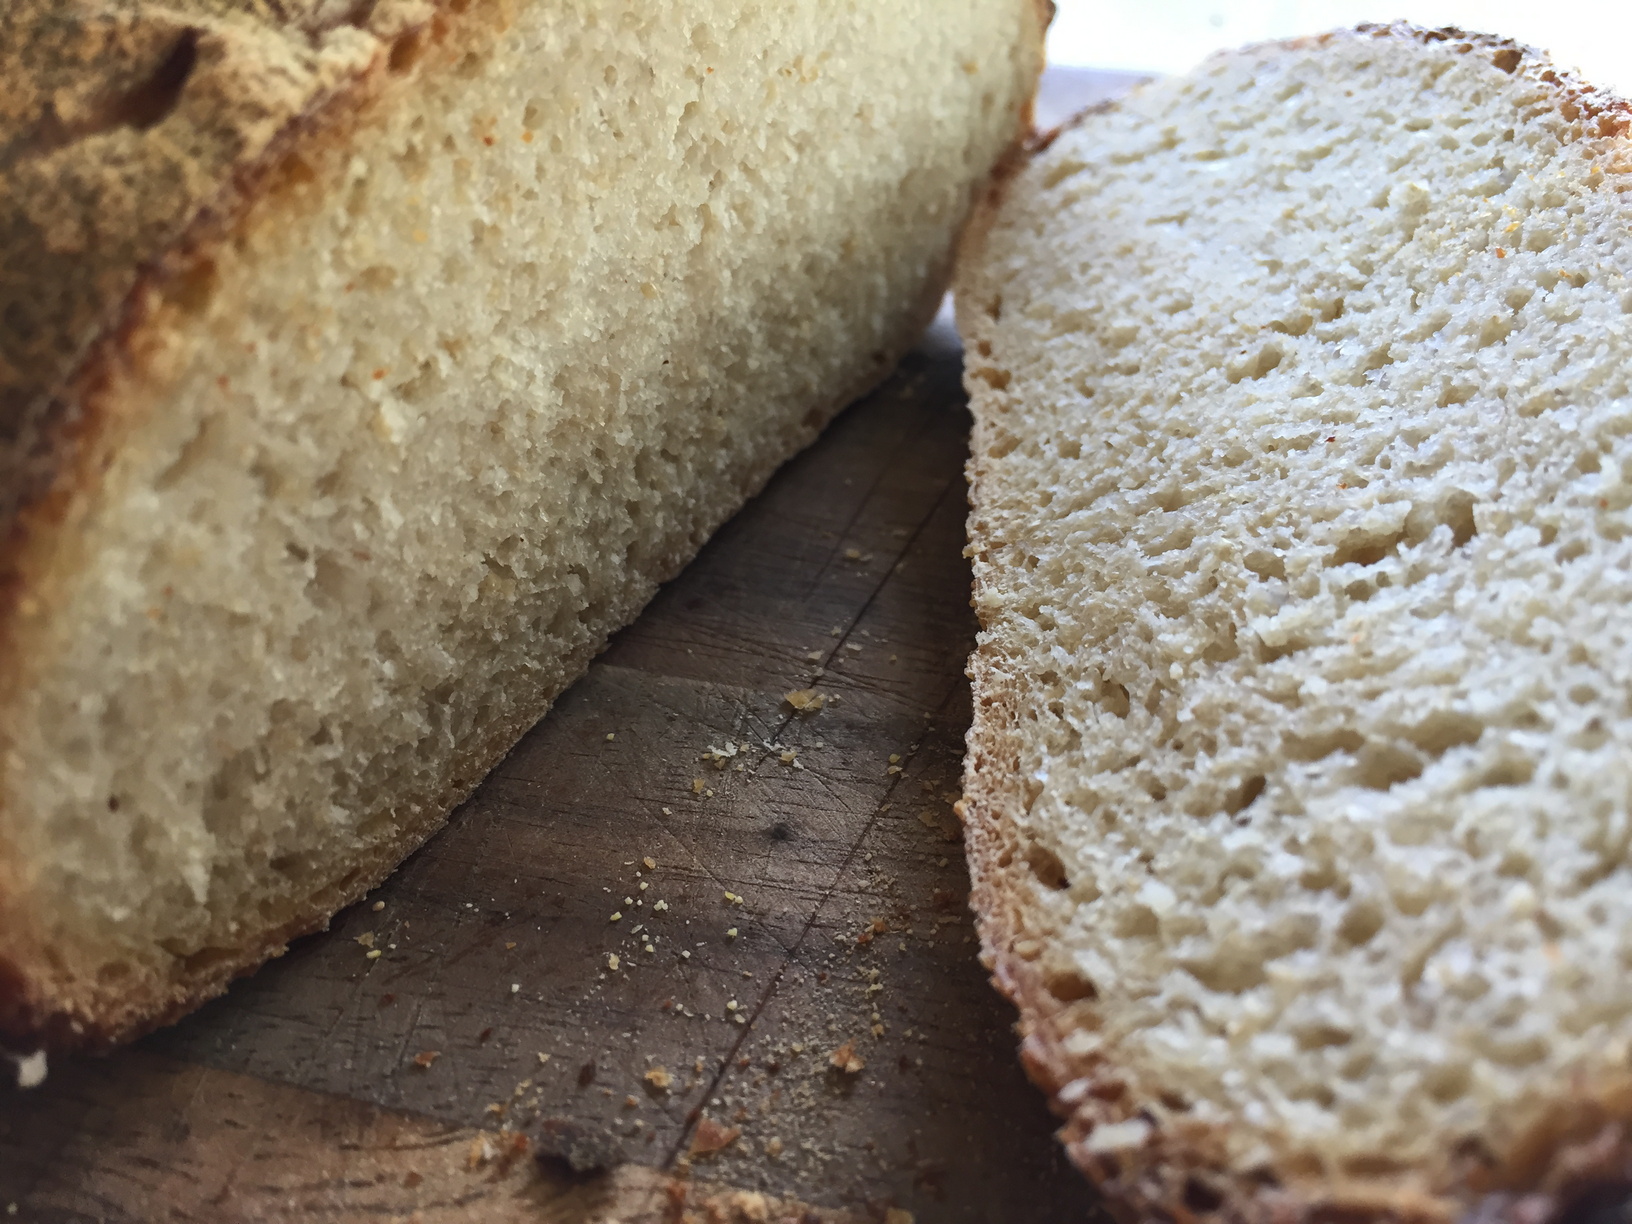
Sliced
This is much more like what I was hoping for from my own flour. I guess there is always next season!!